
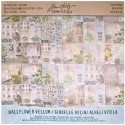
if you haven’t tried the new wallflower vellum, this tutorial from paula cheney is sure to inspire. there are so many layers, textures, and details in this beautiful burlap panel project including a few sizzix dies. i always love the classic style paula brings to her creations that are technique-filled yet totally doable – see for yourself…t!m
The new Wallflower Vellum that was just released is stunning so I wanted to create a small Burlap Panel using the Vellum as the star. I found it easy to cut or tear, yet sturdy enough to hold up to sewing machine stitching, making this product super fun to work with. Really, the ideas are limitless. Hope you will follow along…
Supplies:
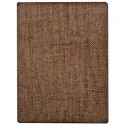
- surfaces: Idea-oloy Burlap Panel – 4 x 6”, Wallflower Vellum, Ranger Manila cardstock
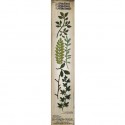
- dies: Sizzix Frameworks Honeycomb and Spring Greenery decorative Strip
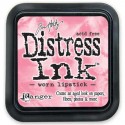
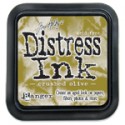
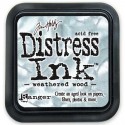
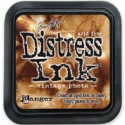
- ink: Distress Embossing Ink; Distress Ink- Crushed Olive, Vintage Photo, Mini Distress Ink kit #7 (Worn Lipstick, Weathered Wood, Wild Honey)
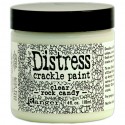
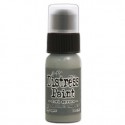
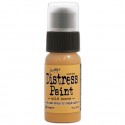
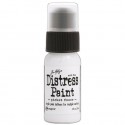
- paint: Distress Crackle Paint Clear Rock Candy; Distress Paint- Iced Spruce, Wild Honey, Picket Fence
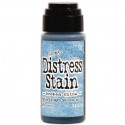
- stain: Distress Stain- Broken China
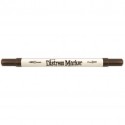
- marker: Distress Marker- Gathered Twigs
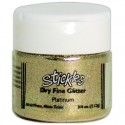
- glitter: Stickles Dry Glitter – Platinum
- other: Ranger Sticky Embossing Powder
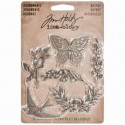
- embellishments: Idea-ology Crinkle Ribbon – 1 yd, Remnant Rubs- botanical, Adornments- Nature
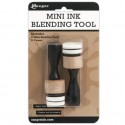
- tools: Distress Marker Spritzer; Mini Blending Tool; Ranger Heat it tool; Ranger craft sheet; Tonic Distresser Tool; Vagabond Machine
- adhesive: Ranger Multi Medium; foam tape

Color edges of 4 x 6” Burlap Panel with Picket Fence Distress Paint. Set aside to dry.

Cut a 3 1/4 x 5 1/4” piece of white cardstock (I used Ranger Watercolor paper). Use a metal ruler to rip edges of Wallflower Vellum so is about the same size as the Burlap Panel.

Machine stitch the Wallflower Vellum to the white cardstock leaving the vellum overlapping the edges.

Add the vellum to the Burlap Panel with Multi Medium. Don’t you like how it looks like it was stitched right to the Burlap? Once the Vellum is secure, crumple and tear the overlapping vellum. Set aside.

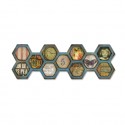
Gather Supplies – Frameworks Honeycomb die cut (Ranger Manila cardstock), Distress Embossing Ink, Stickles Dry Fine Glitter – Platinum, Heat it Tool, and a scrap paper.

Ink the honeycomb Frameworks with Distress Embossing Ink. Lay Honeycomb on scrap paper and pour Sticky Embossing Powder over the top. Tap off excess and return to the jar.

Heat Sticky Embossing Powder with Heat it Tool to melt the powder. The melting step goes very quick so have your glitter chosen and read to use.

Once powder is melted, pour Stickles Glitter – platinum over the top. Shake off excess glitter and return to jar.

I like to go one step further and quickly go back over the Glittered piece with the Heat it tool for about 30 seconds. I think this step ensures the glitter will adhere to the melted powder underneath. I always use Sticky Embossing Powder on small or narrow pieces since traditional glue can be super messy. I also think you get better coverage and the glitter stays in place.

Add thin foam tape to the back of the glittered Frameworks and add to the panel. (pic 10) Note: This might take a bit of patience but the honeycomb must be raised for a future step.

Now on to the Crinkle Ribbon. Add three colors of Distress Ink right next to each other on a Craft Sheet (Worn Lipstick, Weathered Wood, and Wild Honey). Spritz ink with water.

Fold 1 yard of Crinkle Ribbon 4 to 6 times and lay it into the Distress Ink so soak up each color separately. Flip Crinkle ribbon over and soak up more ink.

If there is remaining white ribbon, just move it around to soak up more color or spritz with water. Dry the ribbon with a Heat tool.

Once the Crinkle Ribbon is dry, cut into 2 pieces: 13” and 23”. Wrap the 13” piece of ribbon around the Burlap Panel.

Wrap the 23” piece of ribbon around four fingers until the ribbon runs out. Pull from fingers, pinching in the center.

Add the ribbon loops to the small piece of ribbon on the Burlap Panel.

Tie a knot to secure. Pull the loops apart to create a bigger bow. Set panel aside.

Die cut Ranger Manila cardstock using Spring Greenery Decorative Strip. Color the cardstock with a combination of Crushed Olive and Vintage Photo Distress Ink. Bend leaves to make them more realistic looking. Finish up by spritzing leaves with the Spritzer tool and Gathered Twigs Distress Marker.

Clip off one section of the branch. Save small piece for later.

Slip branch under the glittered Frameworks. Secure with a bit of Multi Medium.

Cut a small piece of manilla cardstock (1/2 x 2”). Add a bit of Distress Stain: Broken China to Craft Sheet, spritz with water. Swipe cardstock through Distress Stain then dry with Heat Tool. Once dry, use a Tonic Paper Distresser to age the edges. Add Remnant Rub word Discover. Ink the edges with Vintage Photo Distress Ink and a Mini Blending Tool. Create the speckles using Spritzer and Distress Marker. Add over Frameworks with foam tape. Secure small branch under the cardstock with Multi Medium.

Choose one the metal Adornments pieces to add to the panel. I chose the butterfly.

Pounce Iced Spruce Distress Paint onto metal butterfly with dabber top.

Wipe paint away from the high points of the butterfly.

Pounce a bit of Wild Honey Distress Paint over the iced spruce.

Once dry, add a layer of Crackle Paint – clear rock candy.

Set aside to dry until the crackle finish is hard.

Add butterfly to panel with foam tape. Choose a few Remnant Rubs for embellishment.

I hope you will try out the new Wallflower Vellum. I think you will find it fun to work with and easy to use.
Paula
*be sure to check your local stores for these supplies or you can
click the links below to purchase online…
(SSS=simon says stamp / IE=inspiration emporium)
|
|
|
|
|
|
|
|
|
|
|
|
|
|
|
|
|
|
|
|
|
|
|
|
|
|
|
|
|


