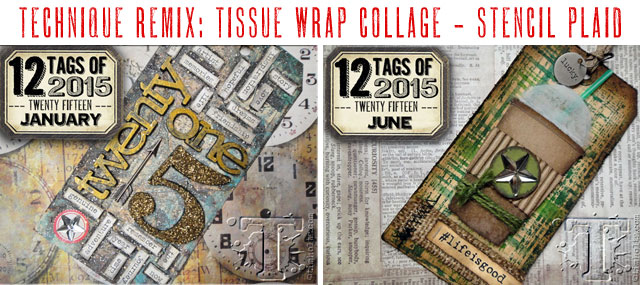
 i’ll be the first to admit i had such a great time experimenting with this month’s technique remix. my initial ideas weren’t quite working out the way i was hoping for so i started trying these techniques on new surfaces which allowed for entire new possibilities. while individually each technique is fairly basic, their fusion created something really unique i hope you enjoy trying for yourself. my finished tag has a definite masculine look to it, but don’t let that limit your creative imagination of where the ideas will take yours. remember art allows you to explore undiscovered opportunities…
supplies:
- surfaces: substrate sheets, textile surfaces, tissue wrap/plain, #8 manila tag
- inks: distress ink/fired brick/black soot/walnut stain, distress marker/black soot, jet black archival
- mediums: distress collage medium/vintage/matte
- embellishments: chitchat stickers, pen nibs, trinket pins, adornments/souvenir, heirloom roses, jump rings
- stamps & stencils: CMS267 dapper, CMS258 tailor & houndstooth, THS004 stripes
- dies: bigz dapper, thinlit tags, vagabond
- tools: distress sprayer, heat tool, scissors, paper distresser, distress collage brush
- misc: sewing machine

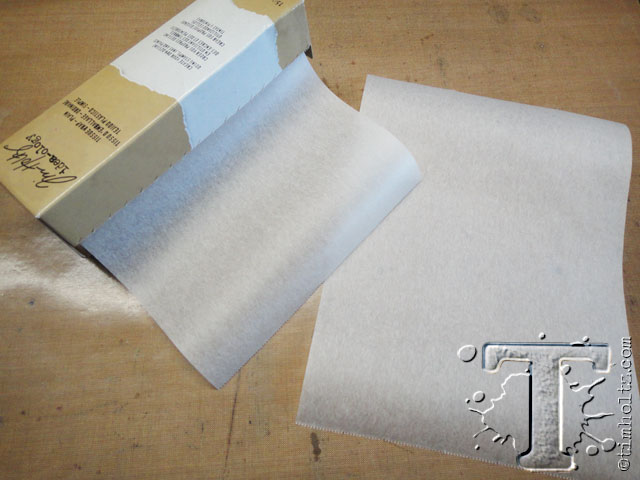 – for this tag we are going to follow the technique for tissue wrap collage, but with the new plain tissue wrap we can create our own background. tear a piece large enough to cover your tag.
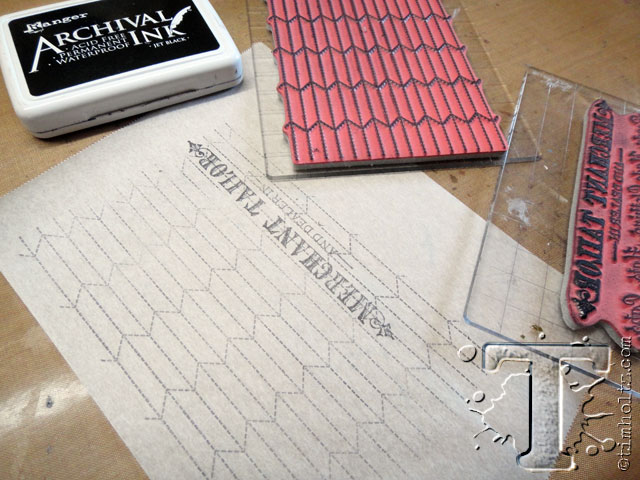 – stamp your desired background images using archival ink. *note: the ink must be permanent for this technique or the images will smear.
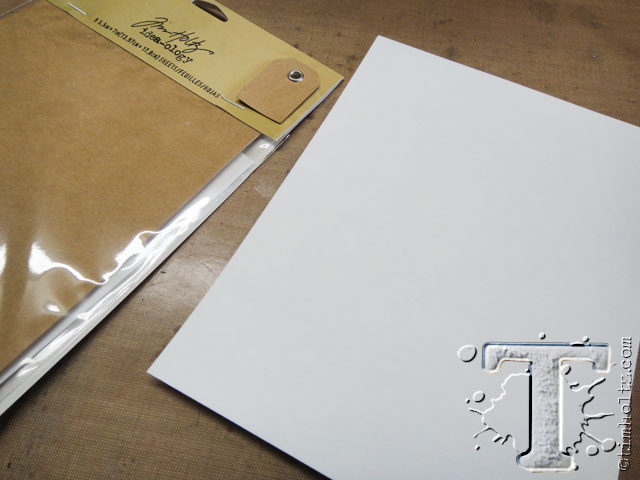 – another new surface i’m working with is substrate sheets. this flexible paper based product is thinner than grungeboard, thicker than grungepaper, and comes in a pack of three colors: white, kraft, dark brown. this paper surface can be inked, stamped, sewn, washed, dried, and the best part…die cut with thick AND thin dies.
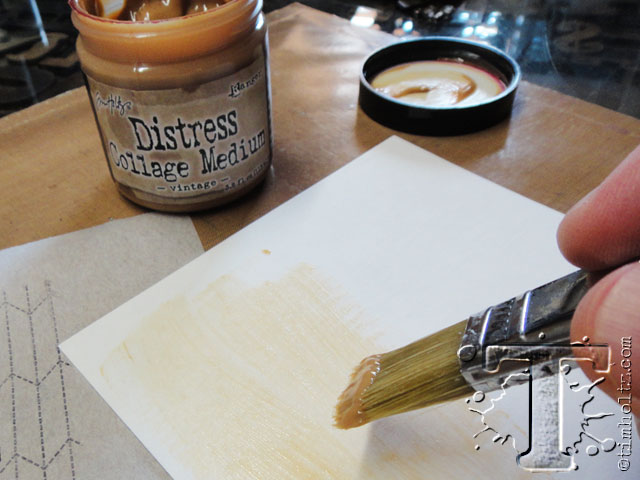 – apply a thin layer of vintage distress collage medium. this pre-tinted medium is perfect for creating quick vintage backgrounds.
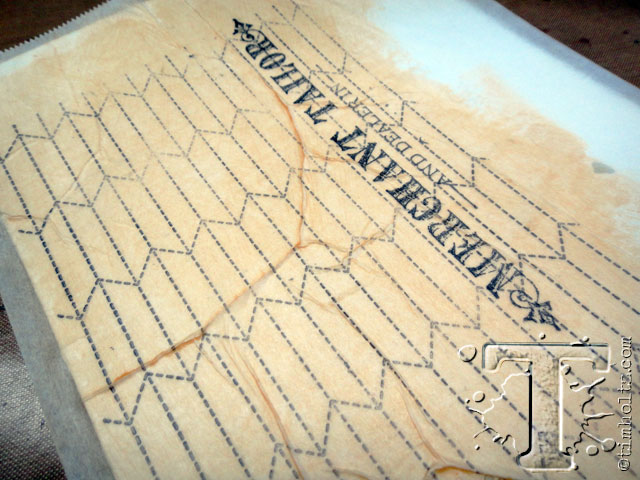 – while the collage medium is wet, place the tissue wrap on top of it and quickly “scrunch” the tissue to create wrinkles. press the surface flat with your hand and apply another layer of vintage distress collage medium over the top. *note: since this is a translucent colored medium, the more layers you apply the darker the color will be so keep that in mind.
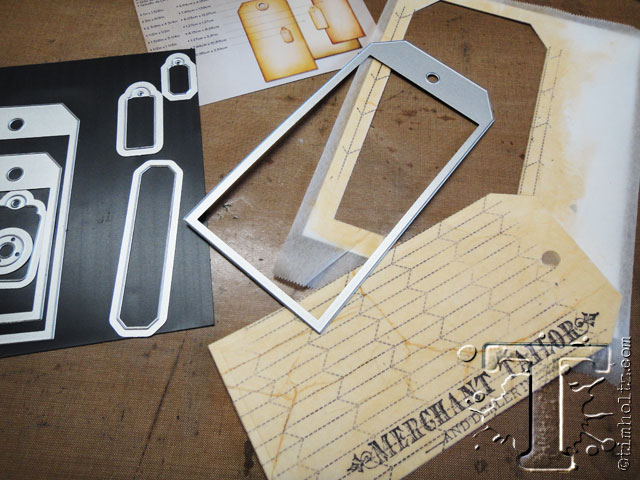 – once the background is dry, die cut into a tag shape. (did i mention you can cut substrate sheets with thin dies?)
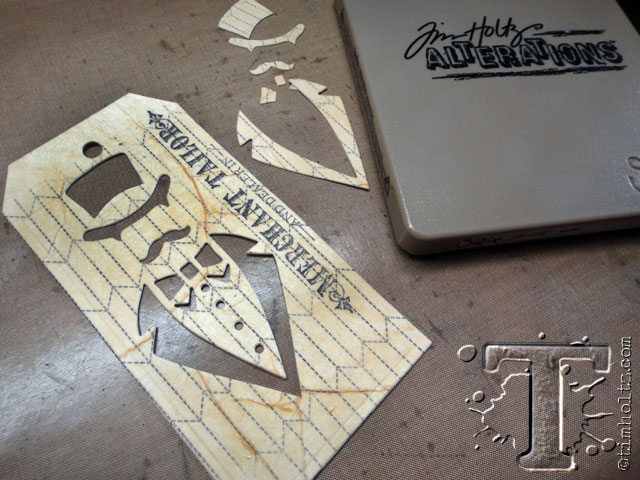 – die cut the new dapper design through the tag. what’s cool about this die is that you can use both the positive and negative of the design.

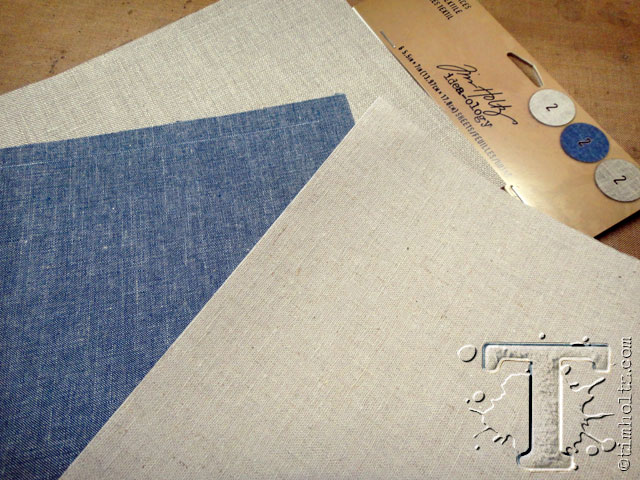 – for the stencil plaid technique, i was curious to see how it would work on the new textile surfaces. the package includes 6 sheets of three different types of adhesive backed fabrics: textured linen, smooth linen, and stonewashed chambray that looks like denim.
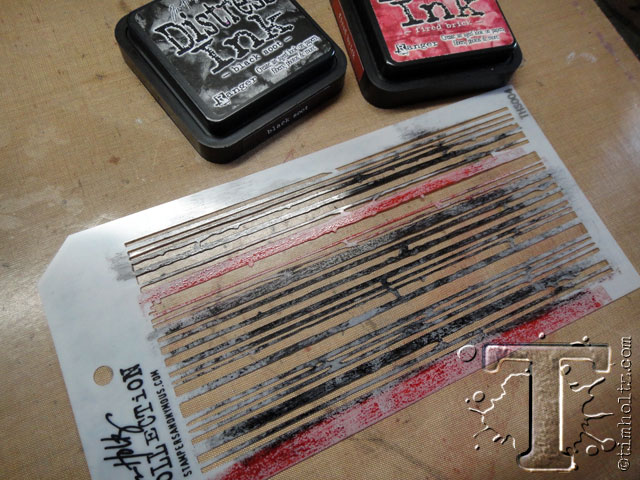 – instead of a custom distress pad, i used two different distress ink colors and only used the fired brick as an accent color on a couple of stripes.
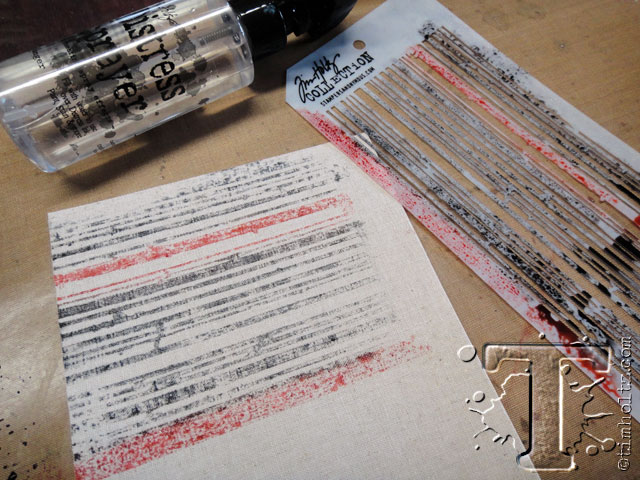 – after misting the inked stencil with water, i pressed and held it on the smooth linen texture surface to get the best ink transfer.
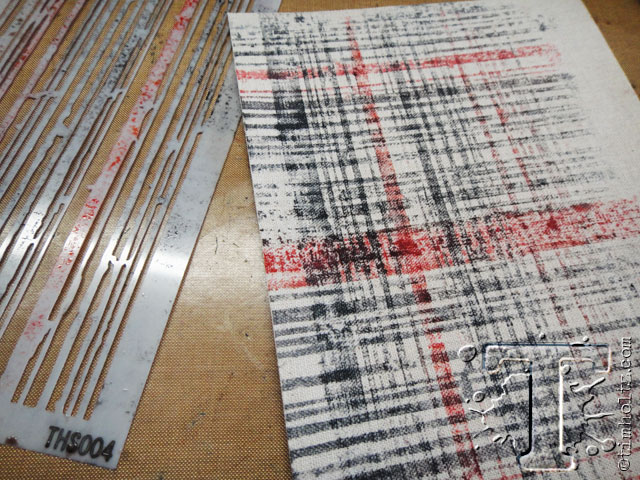 – by the time i had made my final print it really looked like vintage plaid from and old suit – perfection.
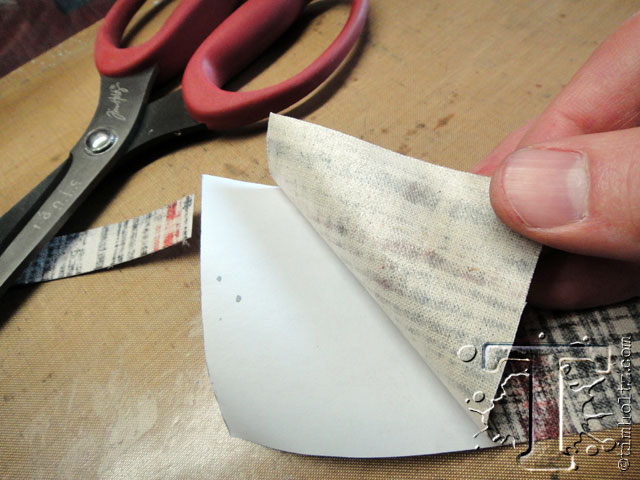 – as i mentioned, this is already adhesive backed so simply peel off the paper backing and adhere the textile to a plain manila tag.
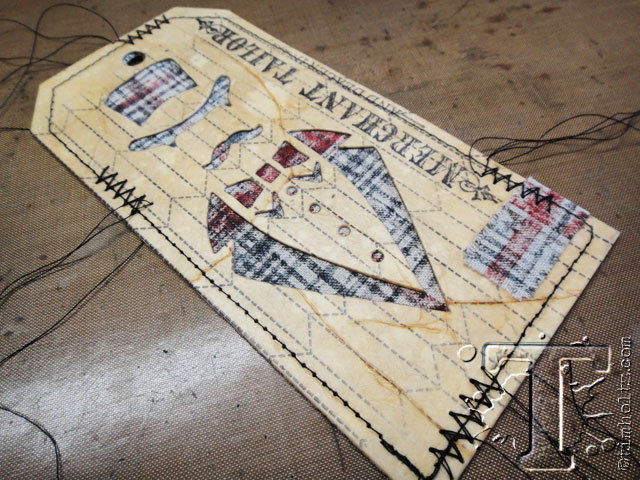 – adhere the die cut layer tag to the base tag with matte collage medium, and if you’re feeling crafty add a little sewing around the edge – it’s easier than you think. next i tattered the edges with a paper distresser, inked the tag with walnut stain distress ink using a blending tool, then splattered it with water.
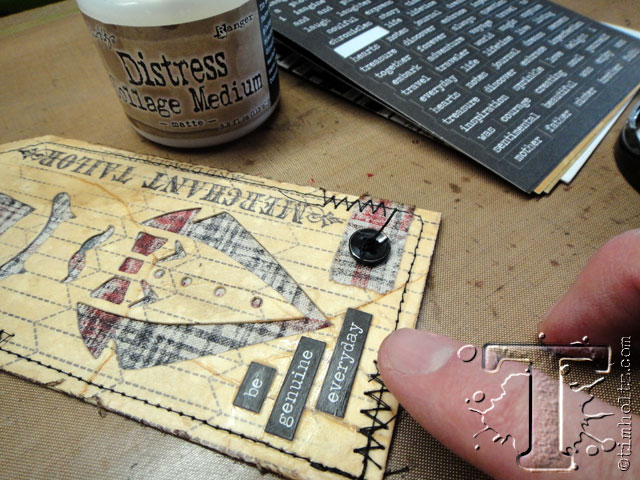 – adhere some chitchat stickers and cover them with a thin layer of matte collage medium using your finger.
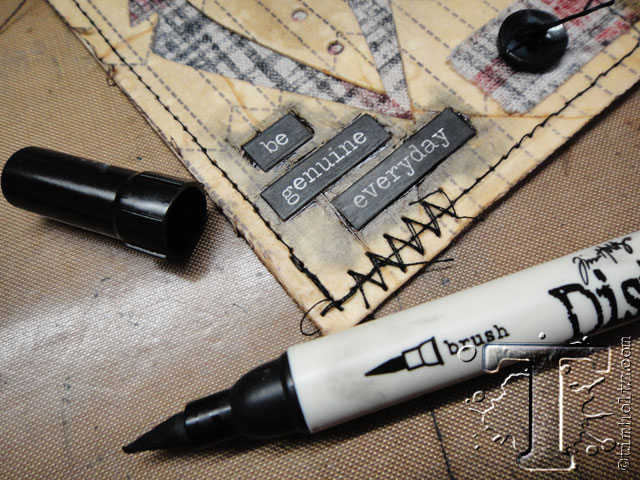 – once the collage medium is dry, outline the edges with black soot distress marker and smudge with your finger to create a drop shadow, simple as that.
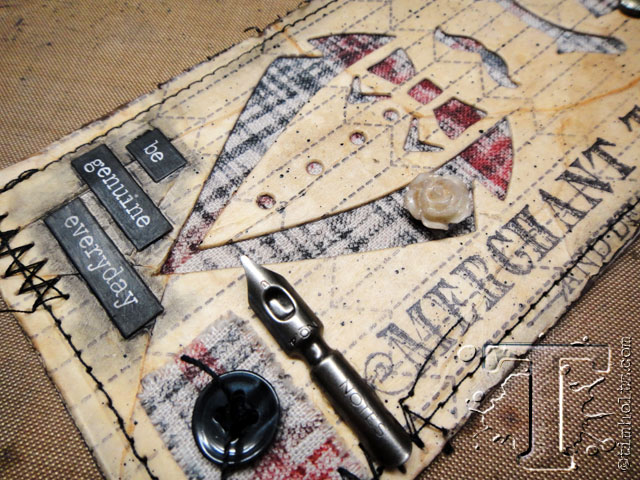 – combining these techniques created a layered, dimensional, and textured masterpiece i think resembles a vintage sampler from a haberdasher. the details of sewing, adding a scrap of the plaid and a button, and a couple of embellishments really finished the whole thing off. now it’s time for you to enjoy a little creative play – can’t wait to see what you imagine…t!m
congrats to the winners from the may 12 tags of 2016. if you see your name (and it links to your tag), please email [email protected] to claim your prize…
1. Ana Santos
2. 365 Designs
3. Maria Slavkovska
4. Julia Aston
5. LaVon Hall
6. Kathy Jo
7. Kaz Hall
8. Tasha F
9. Karina
10. Sue W
11. AmberS
12. Crack Of Dawn Crafter
*be sure to check your local stores for these supplies, or click on the links below to purchase online from Simon Says Stamp with a discount of 10% off your purchase – use code: 10JUNETH6


