 exploring the use of color and texture is one of my favorite things to do. by combining these elements in various ways it allows the imagination to run wild with possibility. alcohol inks have a unique ability to blend into vibrant colorful backgrounds on slick surfaces, and although the techniques can vary, the end results are always amazing. today we’ll take it one step further by adding transparent layers of texture and imagery to immerse yourself in an artistic wonderland…t!m
supplies:
- surfaces: #8 manila tag, alcohol ink cardstock, frosted, #8 black tag
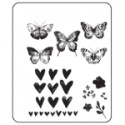
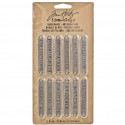
- stamp: watercolor CMS217, gridblocks
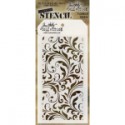
- layering stencil:THS032 flourish
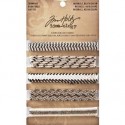
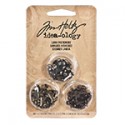
- embellishments: trimmings/black & cream, word band/observations, long fasteners, wire
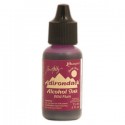
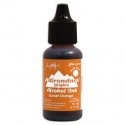
- alcohol inks: wild plum, sunset orange, sunshine yellow, citrus, lettuce, mermaid, purple twilight, gold mixative, blending solution
- distress spray stain: pumice stone, hickory smoke
- distress marker: black soot
- archival ink: jet black
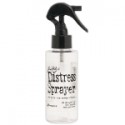
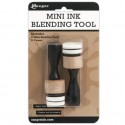
- tools: heat tool, distress marker spritzer, scissors, craft pick, palette knife, craft sheet, mini ink blending tool, distress sprayer
- adhesives: glossy accents
- mediums: texture paste/transparent gloss
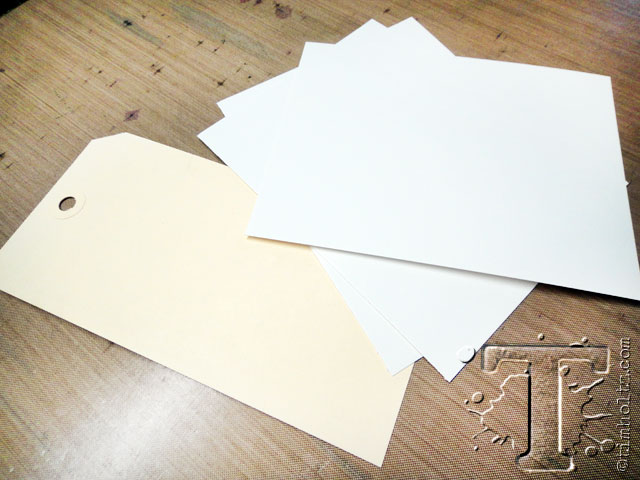 step 1: for this tag, i’m using a manila tag as my base and alcohol ink cardstock as my background. alcohol ink cardstock is a coated paper and works completely different than glossy photo paper.
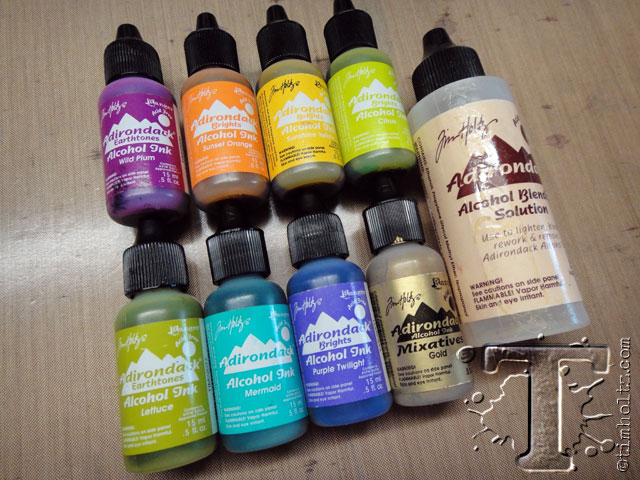 step 2: gather your favorite colors of adirondack alcohol inks, metallic mixative, and blending solution.
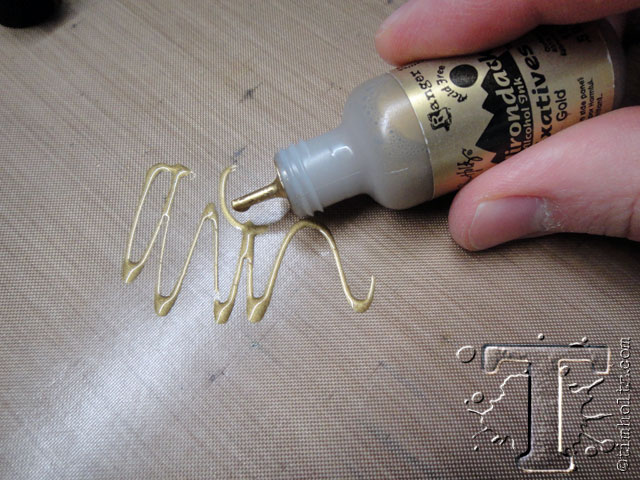 step 3: shake the metallic mixative and scribble a small amount in the center of your craft sheet.
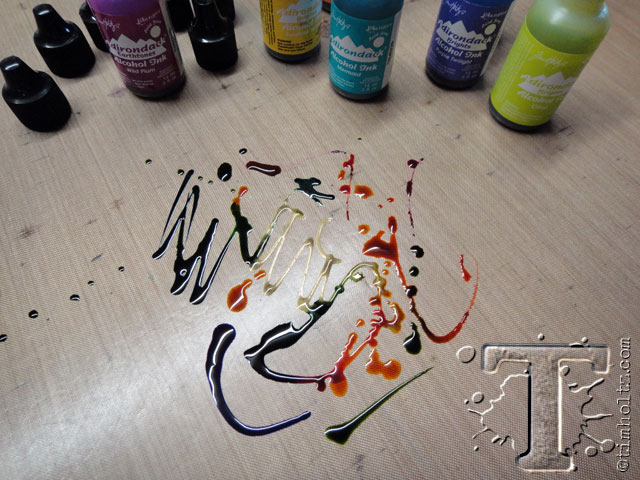 step 4: shake and scribble several colors of alcohol inks directly over the mixative.
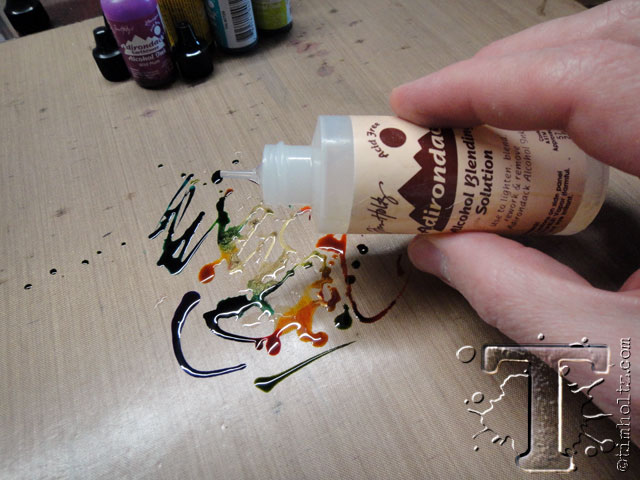 step 5: shake blending solution over ink mixture. note: this step is important so the paper can glide across the inks and blend the colors.
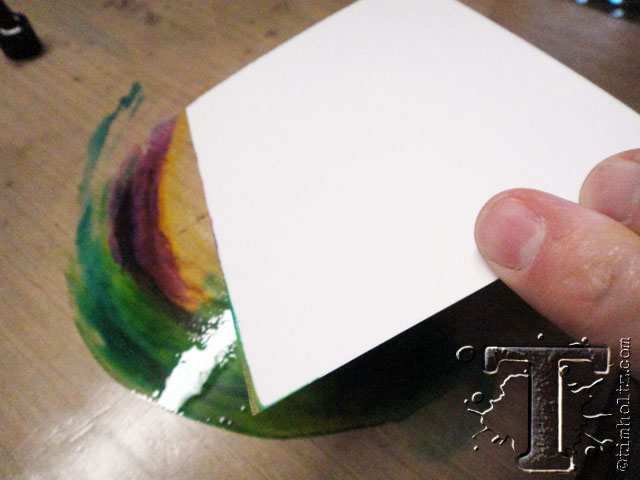 step 6: place the alcohol ink cardstock gloss-side down and swipe through the inks.
 step 7: flip the paper over so you can see the colors and determine whatever areas you want to ink next.
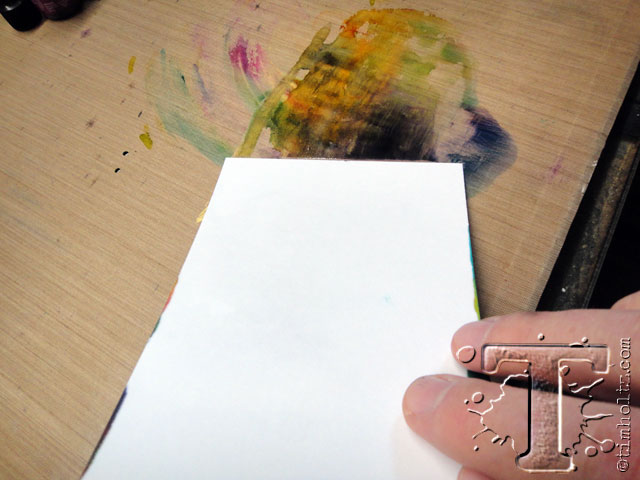 step 8: swipe the paper a second time through the remaining ink on your craft sheet. note: if you want to add more colors or blending solution, do that before the second swipe.
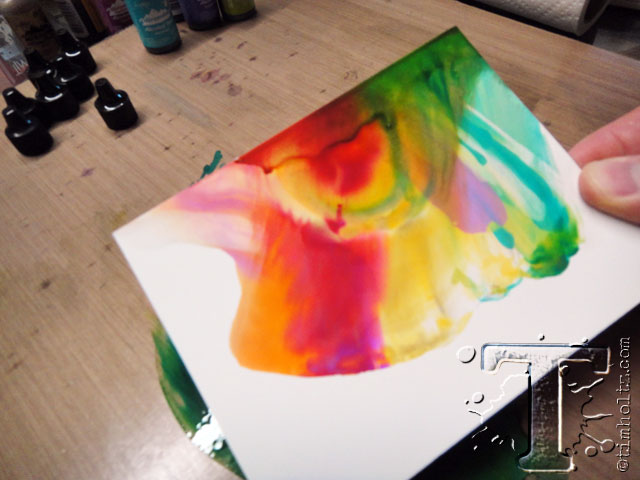
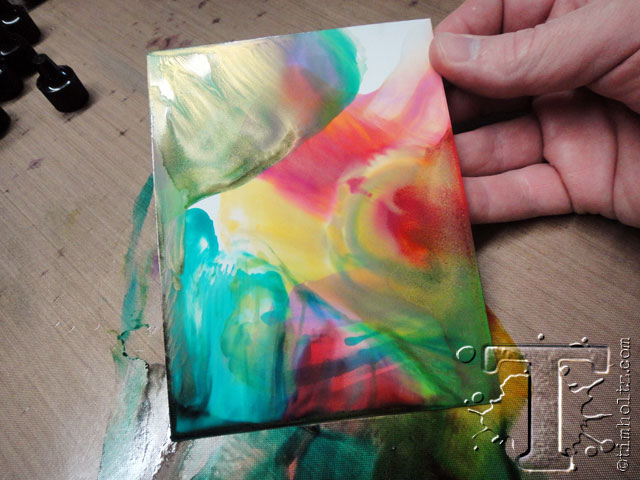 step 9: look at this colorful blending background with that float of metallic – love it. now set this aside to dry for about a minute.
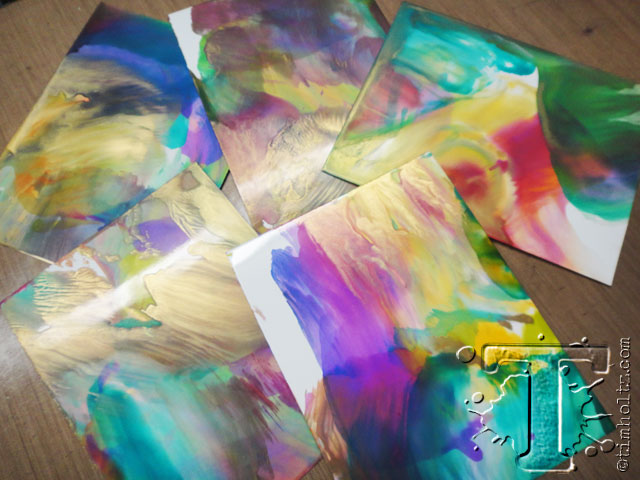 step 10: while i have all my inks out i created several backgrounds – you get a different result every time (oh and don’t worry about the white space).
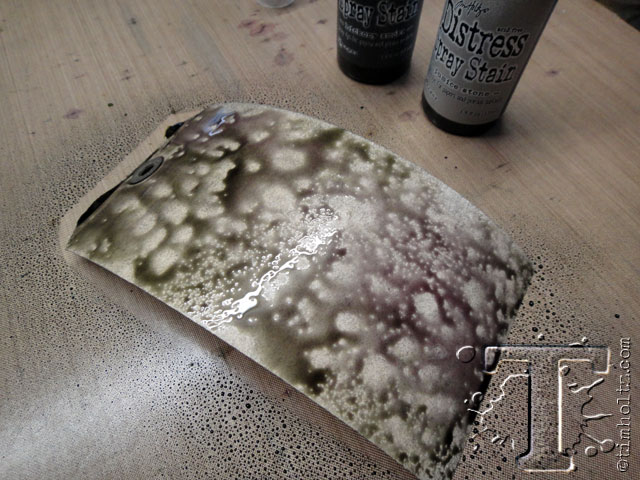 step 11: create a background on a manila tag by spraying it with distress spray stain, mist with water, and dry with a heat tool.
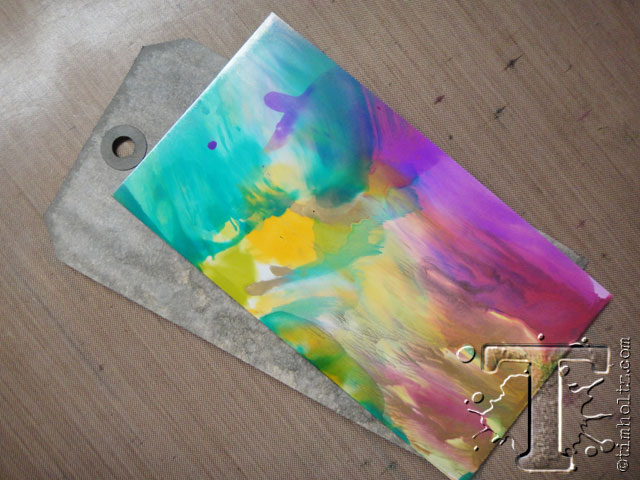 step 12: choose your favorite background and trim it to 3” x 5.5” to layer over the tag.
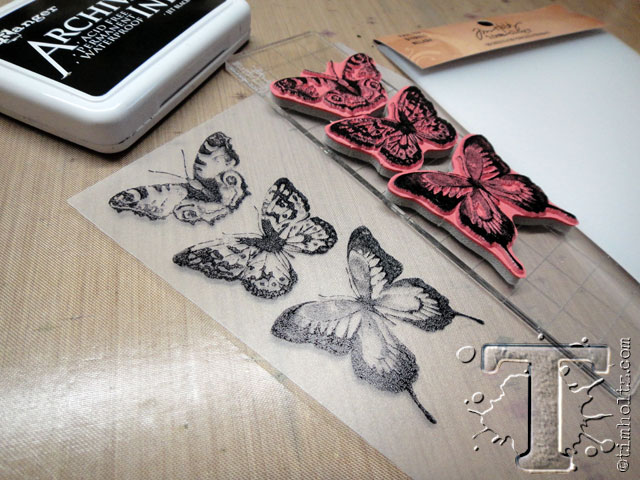
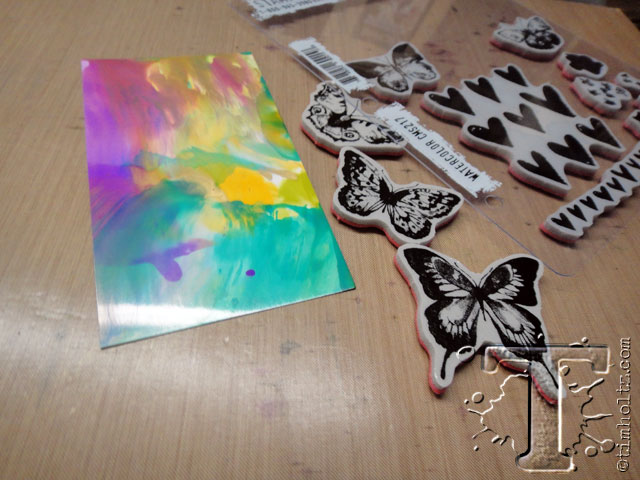 step 13: select the stamps you want to use on your background.
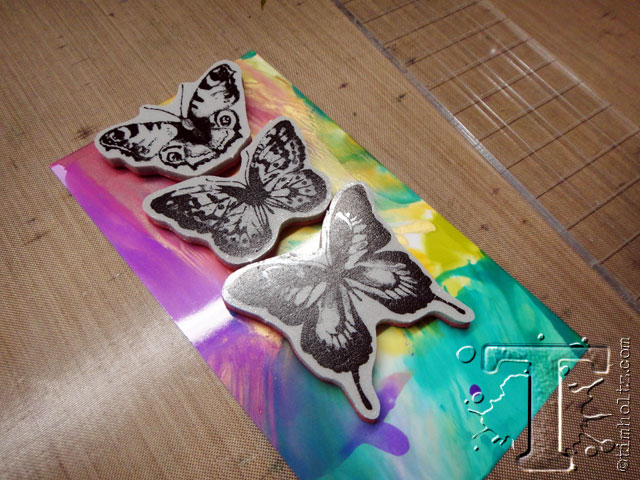 step 14: when using multiple images, i like to place the stamps over my background to get the composition i want.
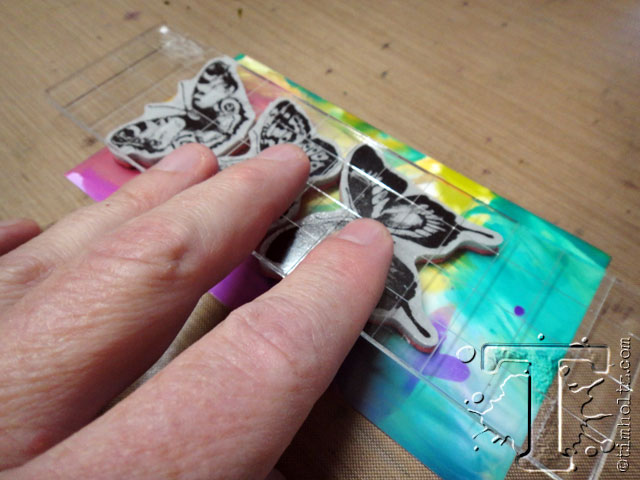 step 15: then i place a gridlock directly over all of the stamps, press the block down and lift up adhering the stamps to the block – easy!
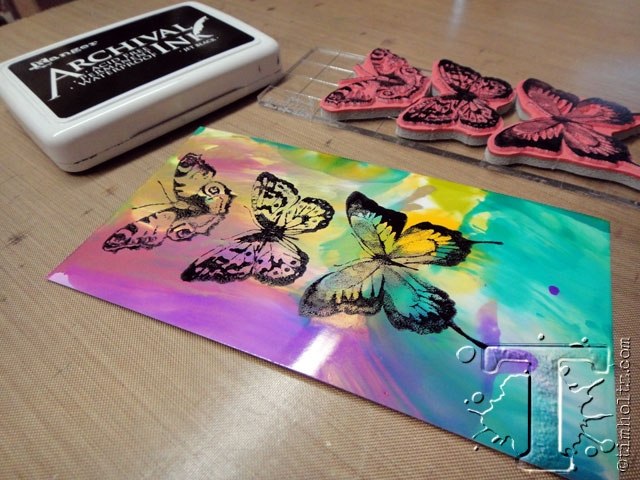 step 16: ink the stamps and stamp the entire group of images with archival ink on to your background.
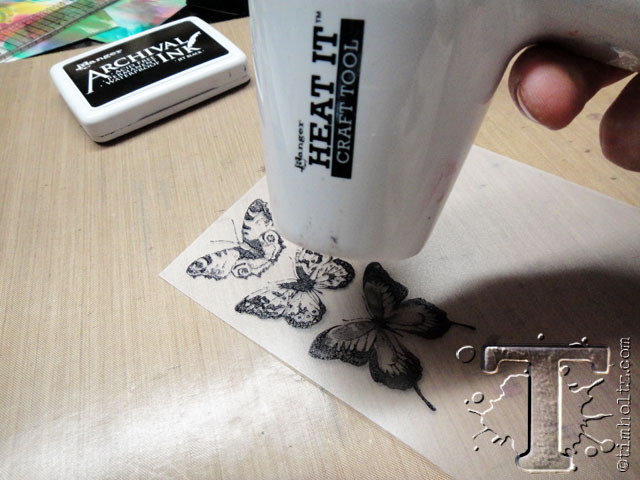
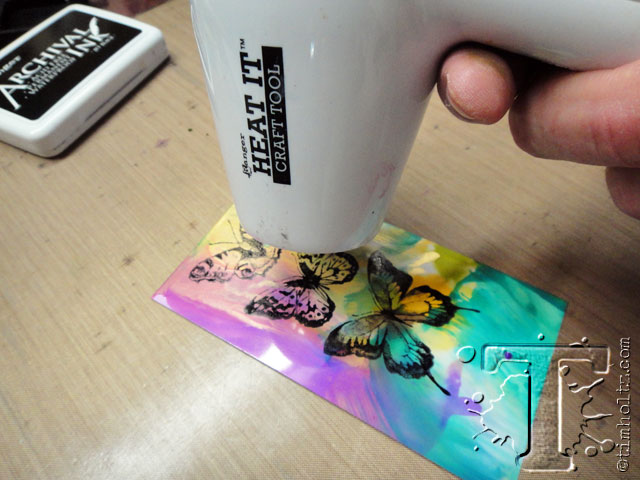 step 17: dry the archival ink using a heat tool. note: i prefer stamping with archival ink over alcohol inks since archival is oil based and won’t react with the inks.
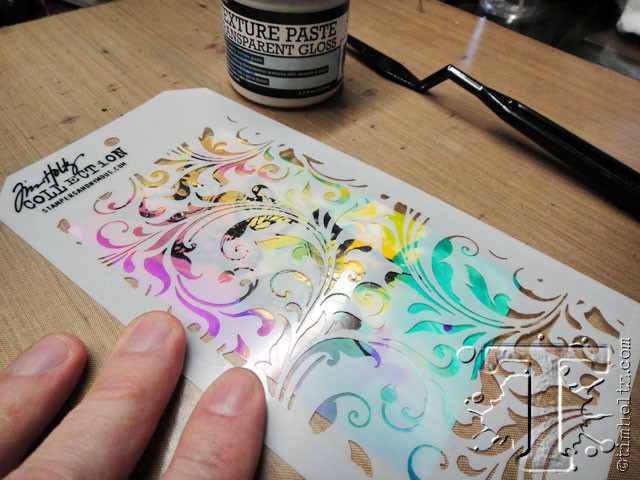 step 18: place a layering stencil over the stamped background.
 step 19: apply gloss transparent texture paste through stencil using a palette knife.
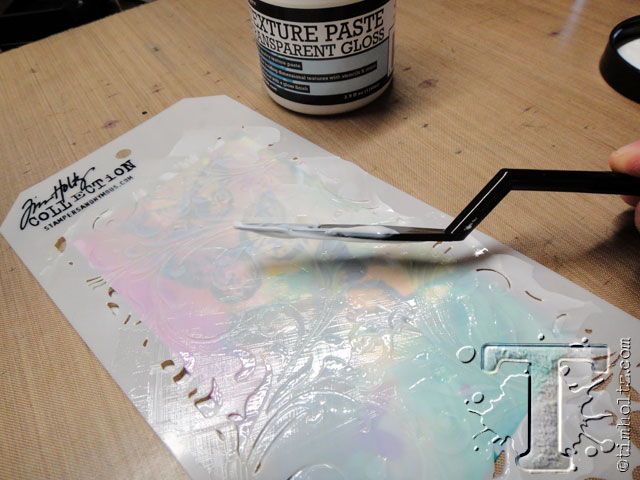
 step 20: carefully lift the stencil and allow the paste to dry on the background (it will dry clear). immediately clean the texture paste off your stencil and palette knife with water.
 step 21: stamp the same butterflies on to a sheet of idea-ology frosted. note: there is no front or back to frosted so you can stamp on either side.
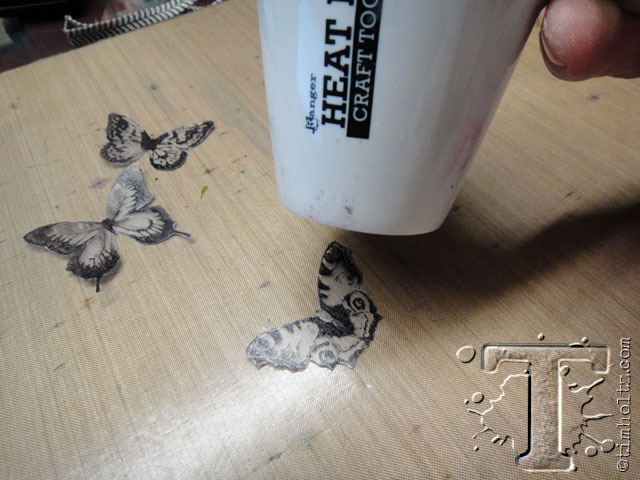
 step 22: dry the image with a heat tool – LET COOL. note: frosted is heat stable, but still be careful not to melt the plastic with too much heat.
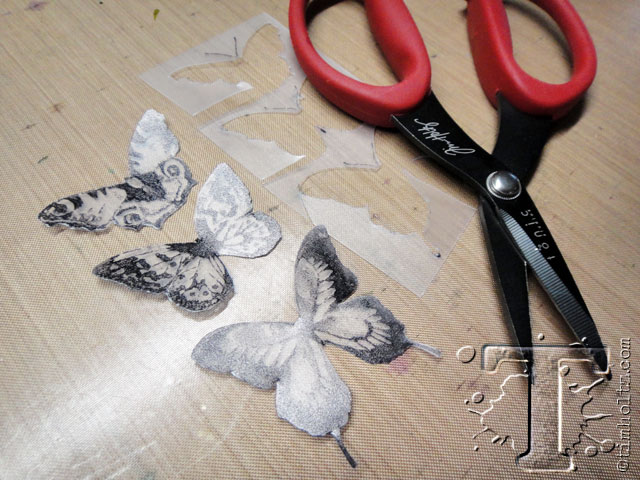 step 23: cut out the stamped images using scissors.
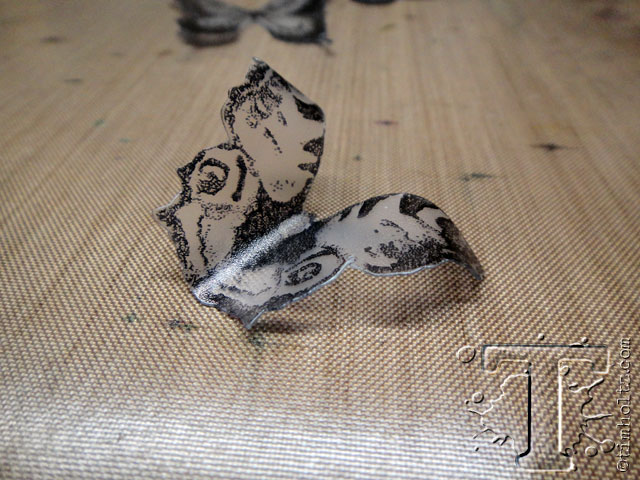
 step 24: warm the frosted using a heat tool until it becomes pliable.
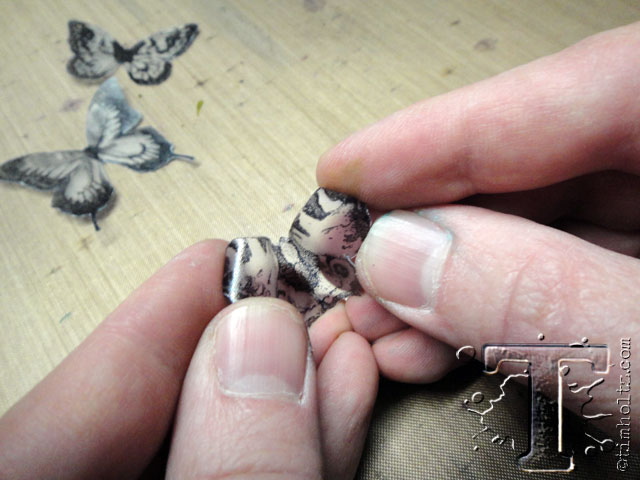 step 25: while frosted is warm carefully pick it up to bend and shape the wings – BE CAREFUL NOT TO BURN YOURSELF.
 step 26: the frosted will cool almost immediately and hold the shape you’ve given it. note: if you don’t like it, simply reheat it and reshape it.
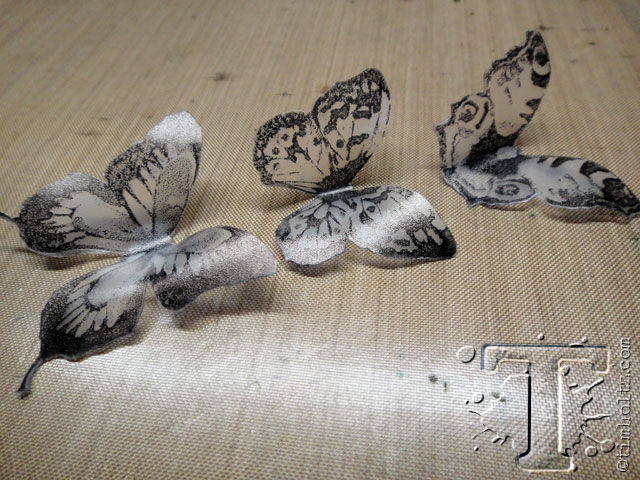 step 27: repeat the previous steps for all three butterflies.
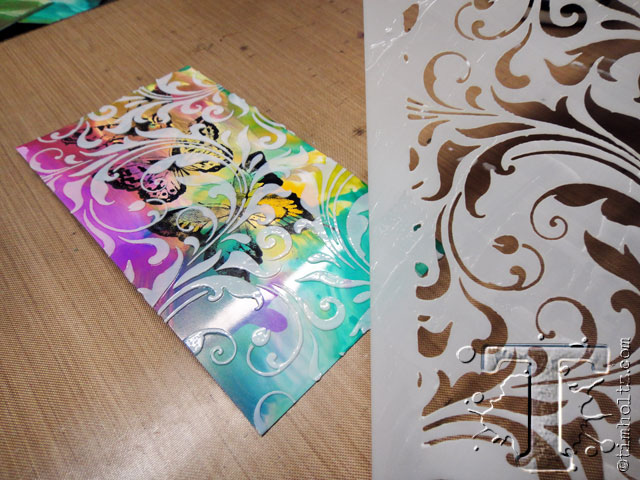
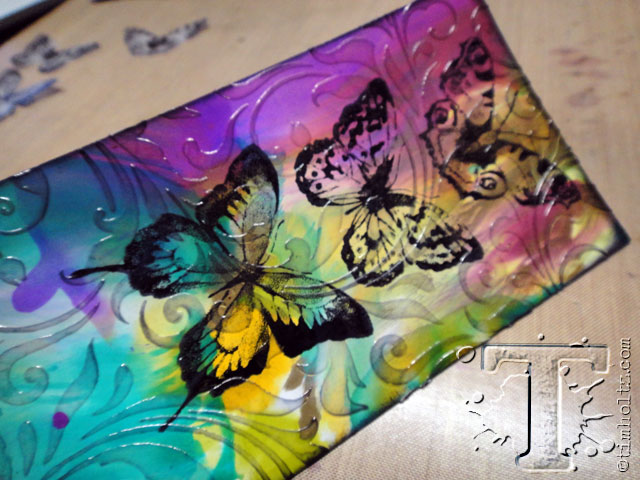
 step 28: once the texture paste is completely dry it will be transparent and smooth.
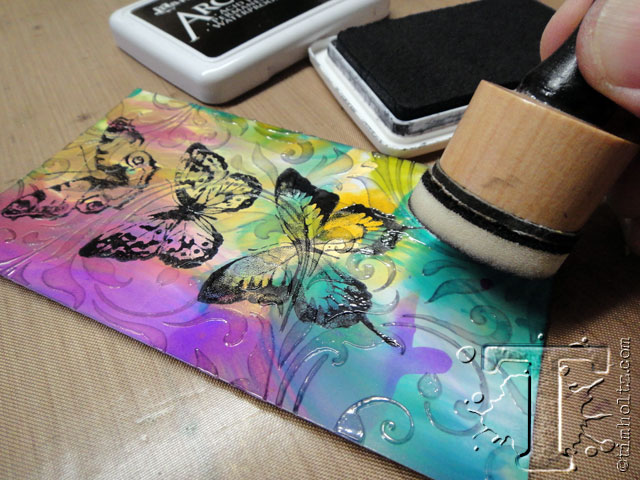 step 29: to highlight the texture, lightly rub over the textured areas with archival ink using an ink blending tool. note: do not use too much ink, we’re just trying to highlight the texture.
 step 30: ink the edges of the background with archival ink using an ink blending tool.
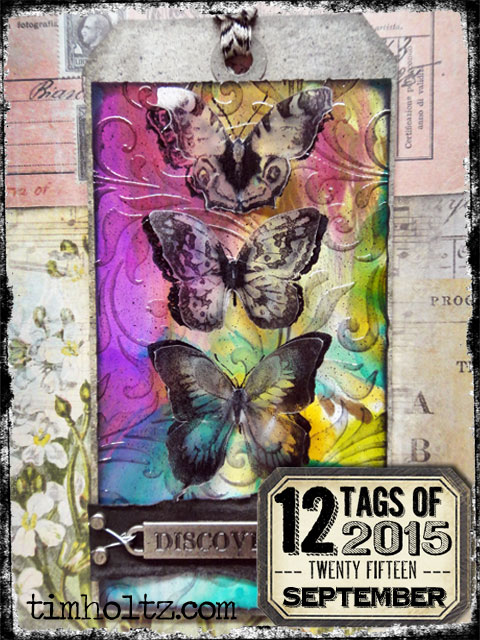
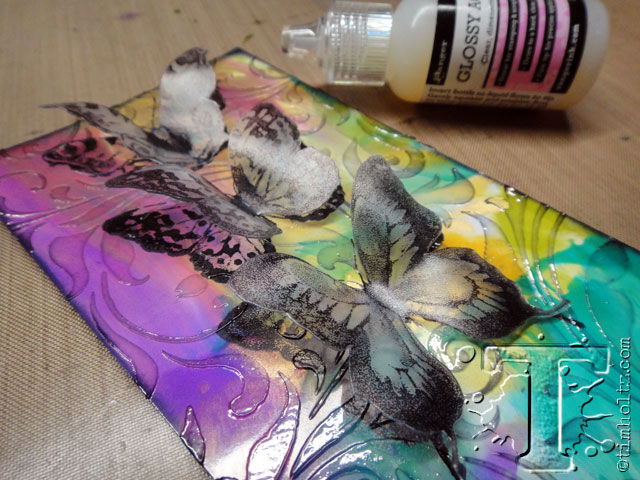 step 31: adhere the background to the tag and frosted butterflies to the background using glossy accents.
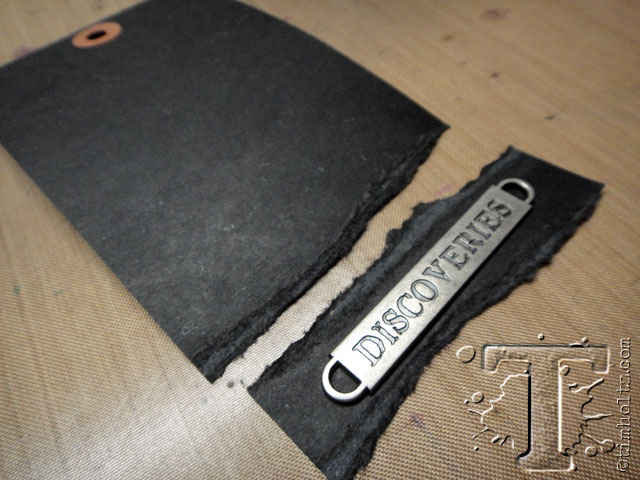 step 32: to create a backdrop for a word band, tear a strip from a #8 black tag.
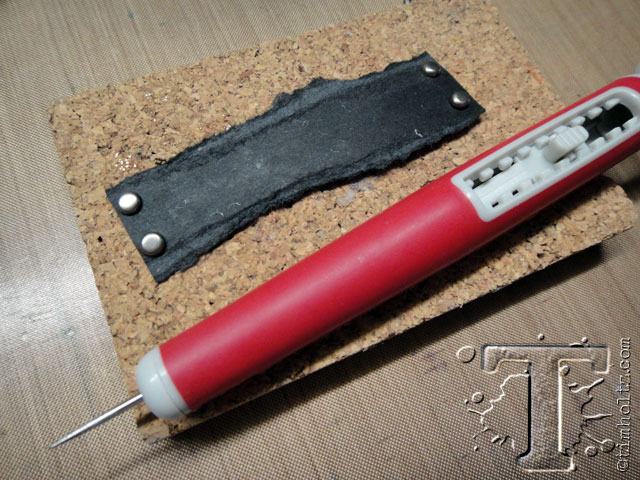 step 33: attach four long fasteners into each corner.
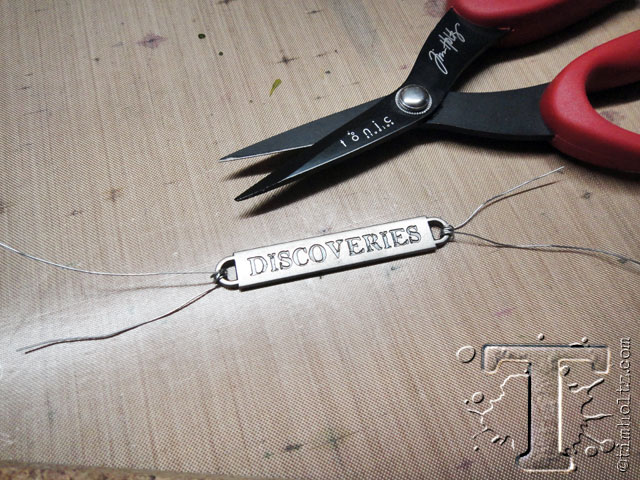 step 34: wrap thin wire around each end of the word band leaving excess wire.
 step 35: wrap the ends of the wire around each fastener to secure the band.
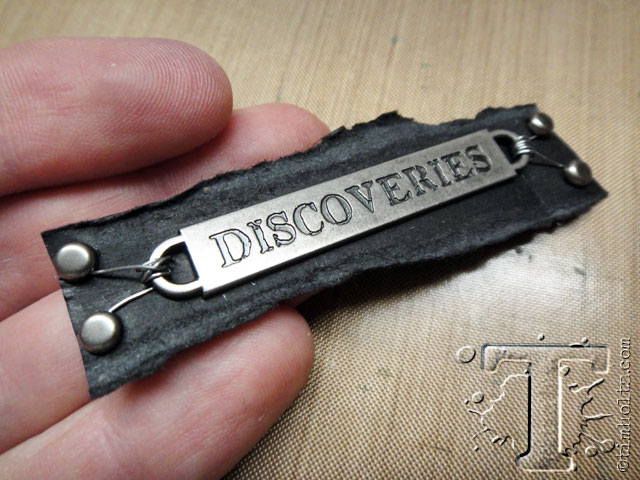
 step 36: adhere the embellished strip to the tag using glossy accents.
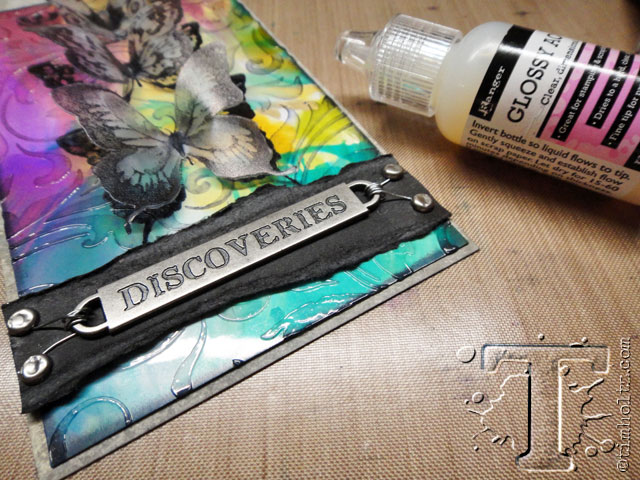
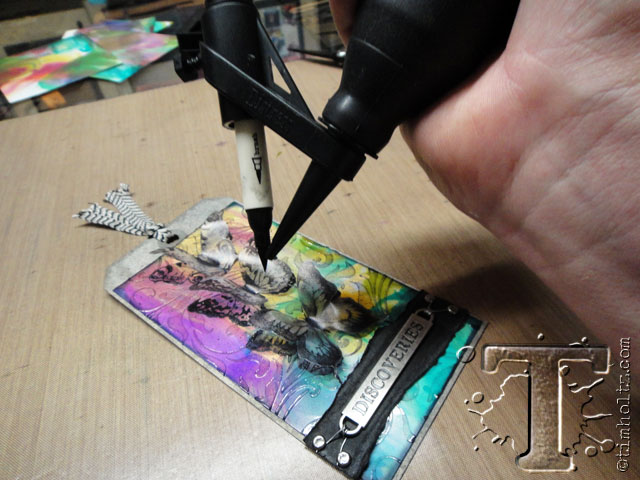 step 37: spritz the background using a black soot distress marker using the distress marker spritzer.
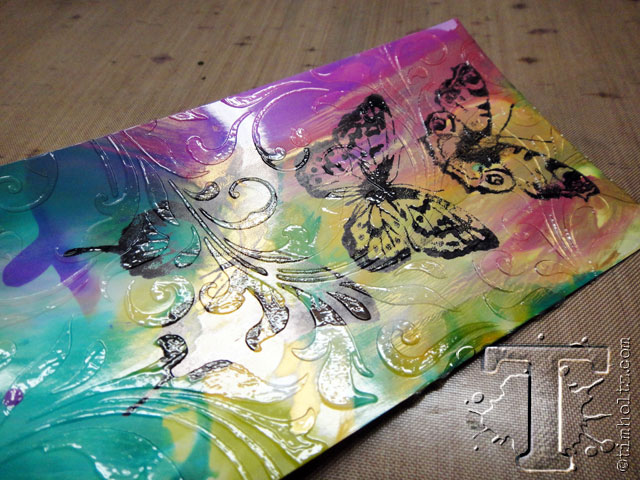
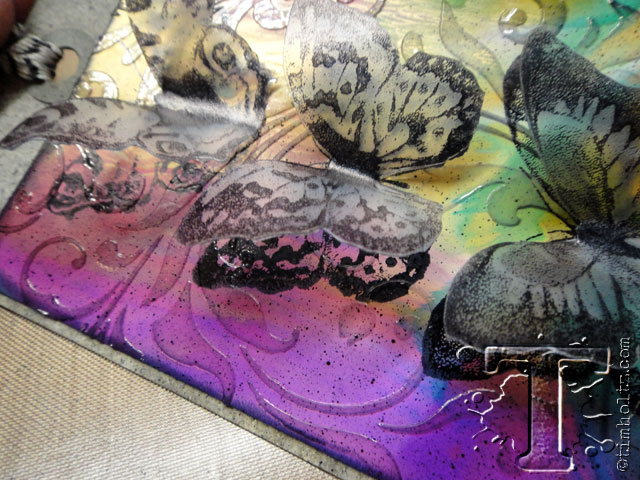 the details: i really love this colorful blended background using alcohol inks layered with the transparent texture paste. the dimensional frosted butterflies also provide a slight contrast when layered over the glossy surface.
Pin It To Remember It!
congrats to the winners from the august 12 tags of 2015. if you see your name (and it links to your tag), please email [email protected] to claim your prize…
- Autumn Clark
- Vintage Plaid
- anja
- Rosie Schirrmeister
- Pat Gent
- Carol
- Tanja
- Marty F
- Jen Shurkus
- Stephanie Rodgers
- Deborah
- Kharen\’s Khreations
*be sure to check your local stores for these supplies or you can click the links below to purchase online with a discount of 10% off your purchase – use the following code with your order: 10SEPTEMBERTH

.


