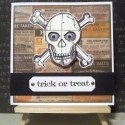
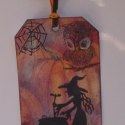
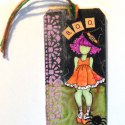
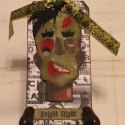
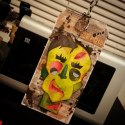
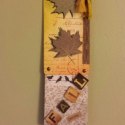
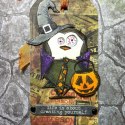
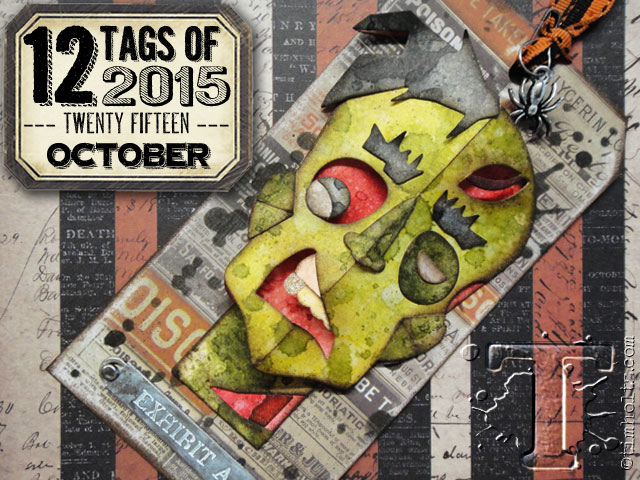
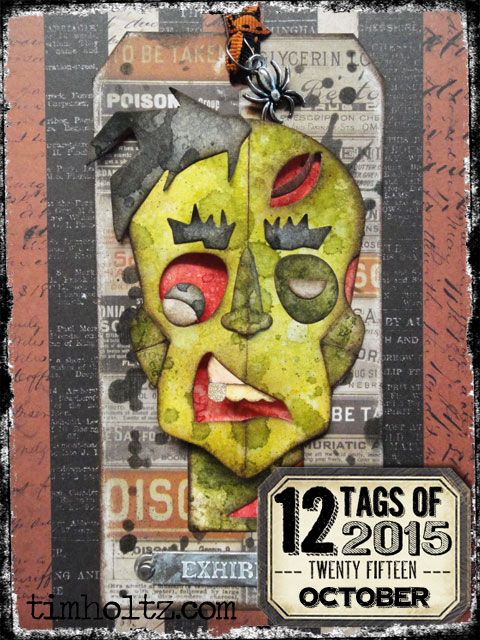
 i love halloween time for all sorts of reasons: the changing of the weather, the frightful decorations, the nostalgic memories of my childhood, and of course the candy. this month i wanted to share a tutorial showing you just how easy it is to create one of my favorite new dimensional halloween dies from sizzix – the zombie! these dies are so cool and have endless possibilities from cards to party decor, but before we get to the tutorial, check out this video i did with scrapbook.com showing you how it’s done (don’t miss the other videos including this studio tour). i hope this tag conjures up your creative spirits from regions beyond…t!m
supplies:
- surfaces: #8 manila tag, manila cardstock, paper stash/regions beyond
- die: zombie thinlit
- layering stencil: THS009 splatters
- embellishments: trimmings/halloween, adornments/oddities, word bands/observations, loop pins, long fasteners
- distress ink: fired brick, festive berries, crushed olive, peeled paint, forest moss, scattered straw, tattered rose, pumice stone, walnut stain, black soot
- distress paint: picket fence
- tools: distress sprayer, heat tool, mini ink blending tool, scissors, sanding grip
- adhesives: collage glue stick, glossy accents
 step 1: start by cutting pieces of manila cardstock to fit the various die sections.
 step 2: choose the distress ink colors you want to use for each section.
 step 3: create the “wrinkle-free distress” technique by pressing the distress ink pad directly to a craft sheet to transfer ink.
 step 4: spray ink with water from distress sprayer to create droplets of color.
 step 5: swipe cardstock through ink to cover with color.
 step 6: dry the first layer with a heat tool. continue tapping into remaining ink if desired to build additional layers of color.
 step 7: repeat the previous steps for each color section and place with the corresponding die.
 step 8: die cut all pieces as shown.
 step 9: ink the edges of all die cut pieces with distress ink using an ink blending tool.
 step 10: assemble the die (following the video instructions) building the face separate from the base.
 step 11: adhere the face on to the base lining up the outer side edges to create the dimensional effect – so cool.
 step 12: apply collage glue stick to a manila tag and adhere it to the back of your selected patterned paper.
 step 13: cut patterned paper around tag, punch a hole through the top of the tag, and sand the edges of the paper with a sanding grip to distress.
 step 14: place a layering stencil over the background and ink with distress ink using the ink tool.
 step 15: continue positioning the stencil around the edges of the tag – i like this stencil to create “controlled” splatters when i need to.
 step 16: cut a piece of halloween trimmings and ink with distress ink using ink tool to create a vintage look.
 step 17: paint word band and spider adornment with distress paint and allow to dry for a couple of minutes until paint is tacky.
 step 18: rub the paint with your finger to remove excess and allow remaining paint to dry.
 step 19: attach word band to the bottom of the tag with long fasteners.
 step 20. attach spider charm to ribbon using a loop pin.
 step 21: adhere the zombie to the tag using glossy accents and let dry.
Pin It To Remember It!
congrats to the winners from the september 12 tags of 2015. if you see your name (and it links to your tag), please email mario@timholtz.com to claim your prize…
1. Scrappalino
2. Lime Green Flamingo
3. The Crazy Crafter
4. La Cesta dei Pensieri
5. Britas Hobbyloft
6. Jennie Atkinson
7. Julia Aston
8. Craftyfield
9. that crazy chick
10. Tasha
11. Ann Chuang
12. Lisa F
*be sure to check your local stores for these supplies or you can click the links below to purchase online with a discount of 10% off your purchase – use the following code with your order: SSS code: 10OCTOBERTH
.
| | | | |
| | | | |
| | | | |
| | | | |
| | | | |
| | | | |
| | | | |
| | | | |
| | | | |
| | | | |
| | | | |
| | | | |
| | | | |
| | | | |
| | | | |
| | | | |
| | | | |
| | | | |
| | | | |
| | | | |
| | | | |
| | | | |
| | | | |
| | | | |
| | | | |
| | | | |
| | | | |
| | | | |
| | | | |
| | | | |
| | | | |
| | | | |
| | | | |
| | | | |
| | | | |
| | | |


