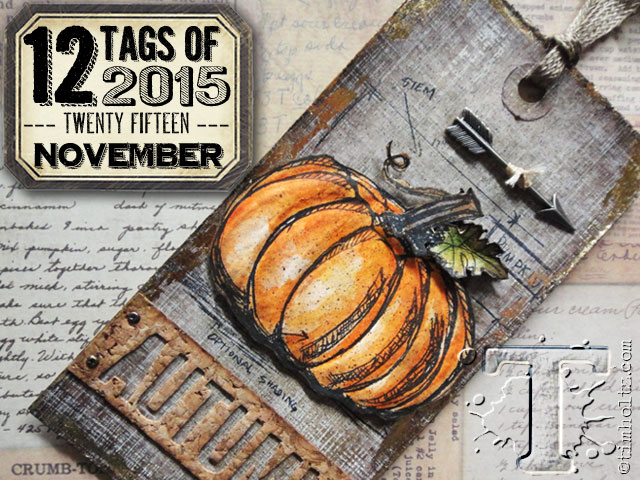
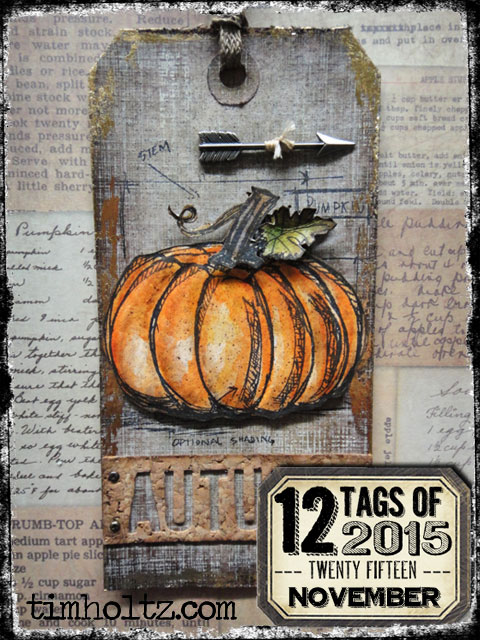
 the autumn season always fills my imagination with colorful splendor. it’s no secret i love any shade of brown, but the rich earthy palette of vibrant reds, warm yellows, and rusty oranges are also a favorite this time of year brings. i’m excited to share several different techniques on this tag including: dimensional watercolor, paint resist, and distressed foiling. i hope your mind will be filled with ideas and inspiration to capture the beauty of your own creative imagination…t!m
supplies:
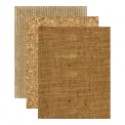
- surfaces: #8 manila tag, distress watercolor cardstock, textured surfaces/cork
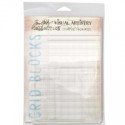
- stamps: CMS167, CMS221, grid-blocks
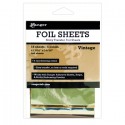
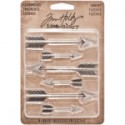
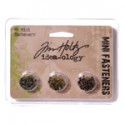
- embellishments: linen ribbon, adornment/arrow, mini fasteners, foil sheets
- archival ink: jet black
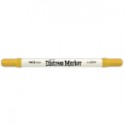
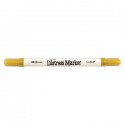
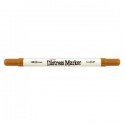
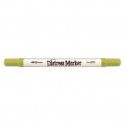
- distress markers: carved pumpkin, rusty hinge, wild honey, fossilized amber, crushed olive, peeled paint, forest moss, walnut stain, vintage photo, ground espresso, hickory smoke
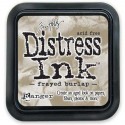
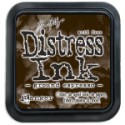
- distress ink: ground espresso, frayed burlap
- distress spray stain: pumice stone, frayed burlap
- distress paint: antique linen, flip top caps
- tools: distress waterbrush/detailer, distress marker spritzer, distress sprayer, mini brayer, mini ink blending tool, craft sheet, remnant rub tool, heat tool, design ruler, scissors
- adhesives: collage glue stick, black foam tape, multi-medium
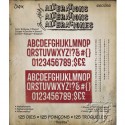
- sizzix: alphanumeric 3/4″, vagabond
- misc: fun foam, string, removable tape
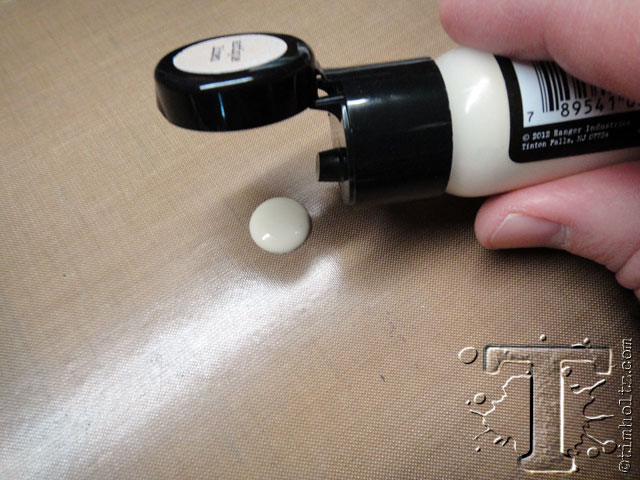 step 1: apply a dot of distress paint to craft sheet.
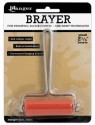
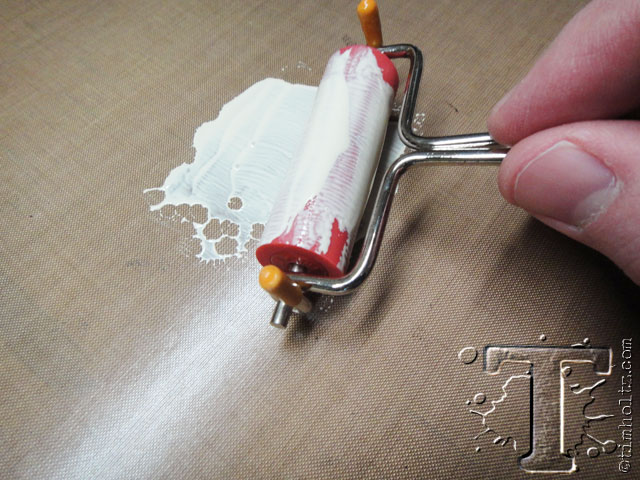 step 2: roll mini brayer through paint covering the entire roller.
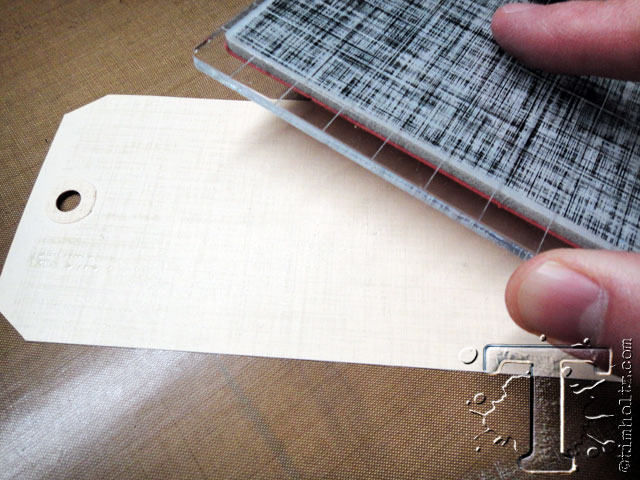
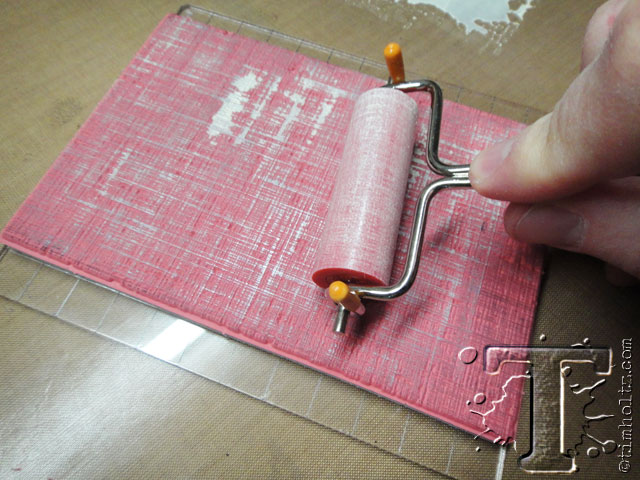 step 3: apply a light layer of distress paint to background stamp using brayer.
 step 4: stamp image on tag and immediately clean stamp and brayer with water to remove paint. *paint is waterproof once dry.
 step 5: dry stamped image with heat tool.
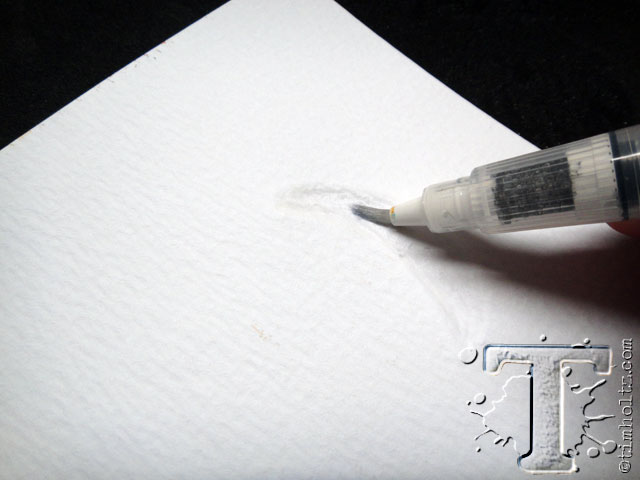
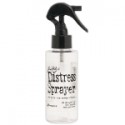
 step 6: mist tag with water using distress sprayer.
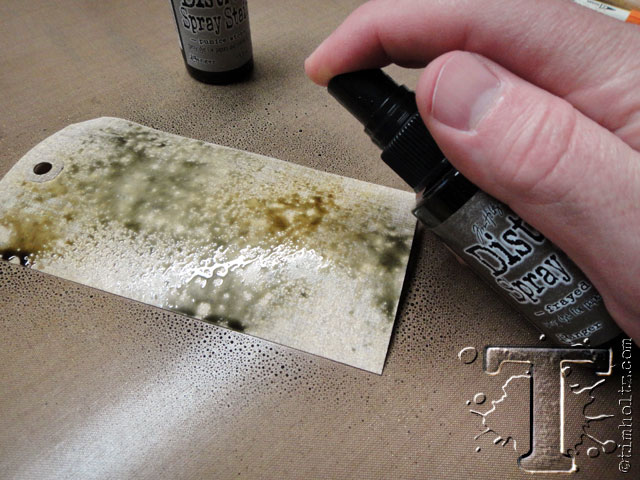 step 7: spray a couple of colors of distress spray stain on tag.
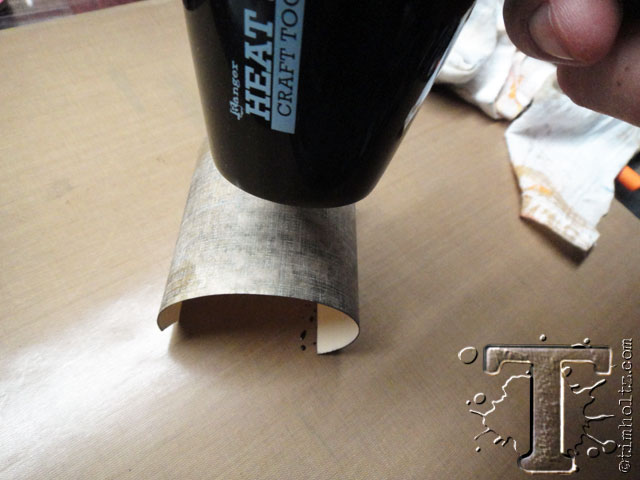 step 8: dry inked tag with heat tool.
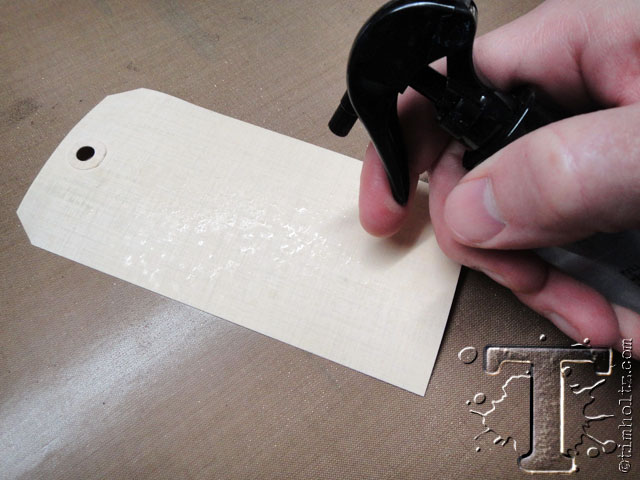
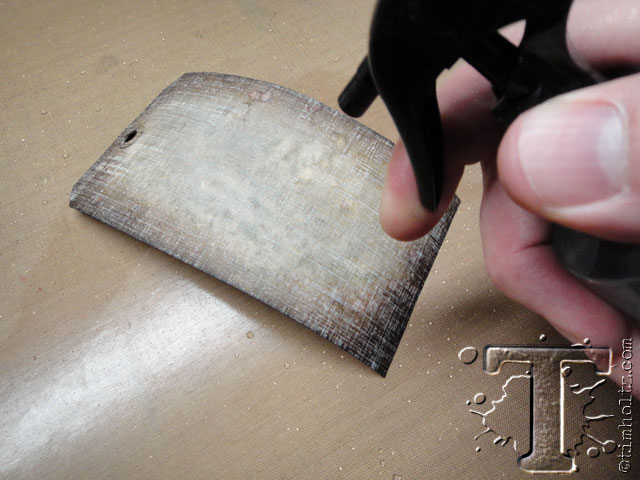
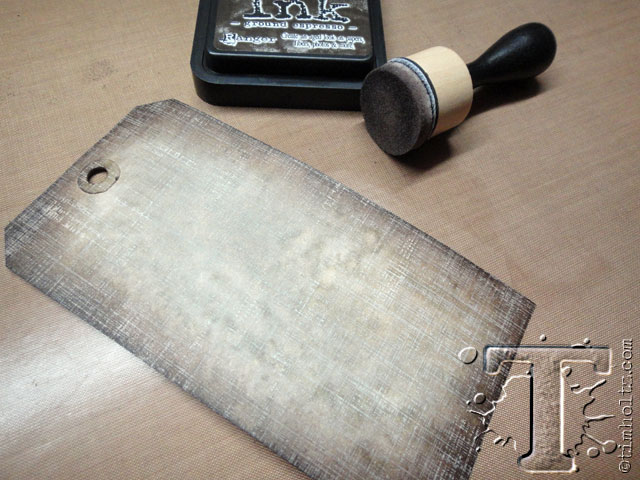 step 9: ink edges of tag with distress ink using ink blending tool.
 step 10: slowly squeeze the trigger of the distress sprayer to create water droplets over tag and dry with heat tool.
 *check out this cool mottled linen effect, the stamped distress paint resists distress ink.
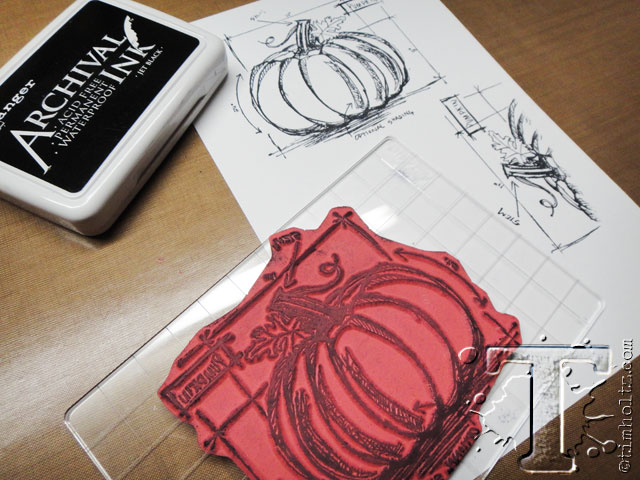
 step 11: ink the outer blueprint lines only with archival ink (not the pumpkin).
 step 12: stamp the image on the tag.
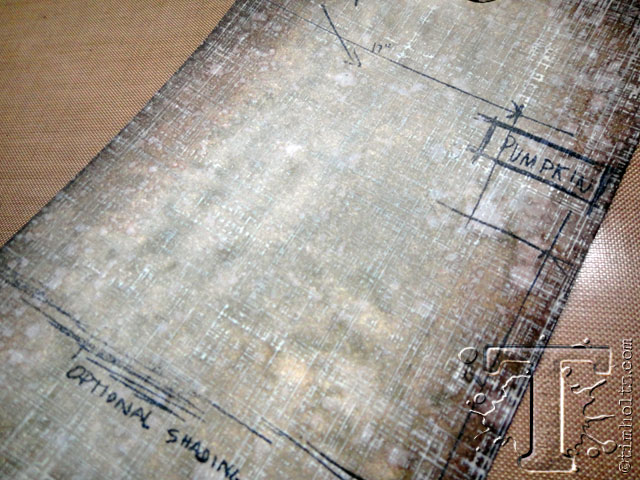 *this leaves the area for the pumpkin open so we can reposition the layered image.
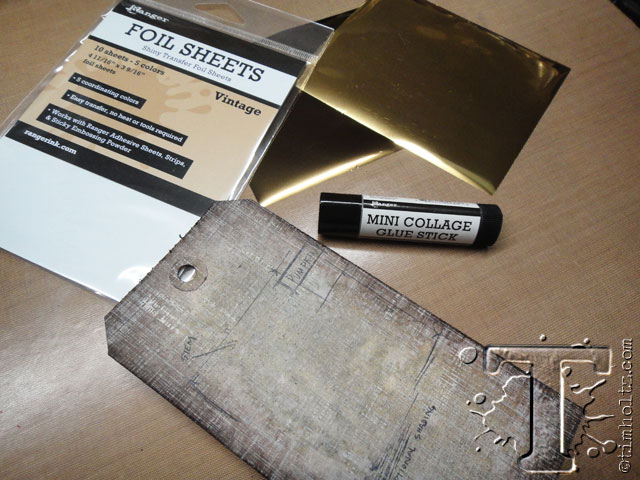 step 13: gather foil sheets and a mini collage glue stick.
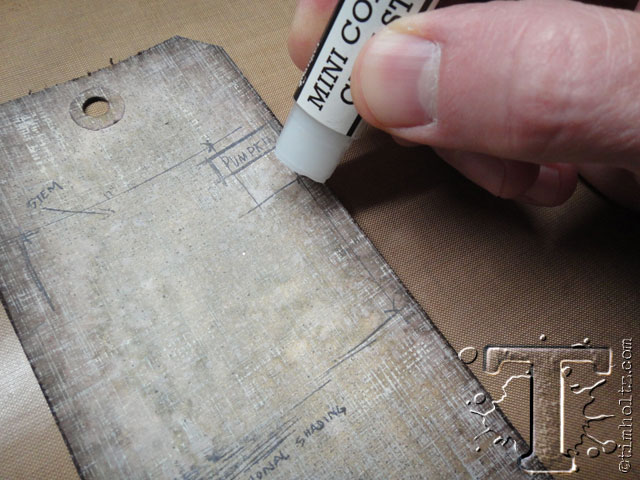 step 14: very lightly drag the collage glue stick along a section of the edge of the tag.
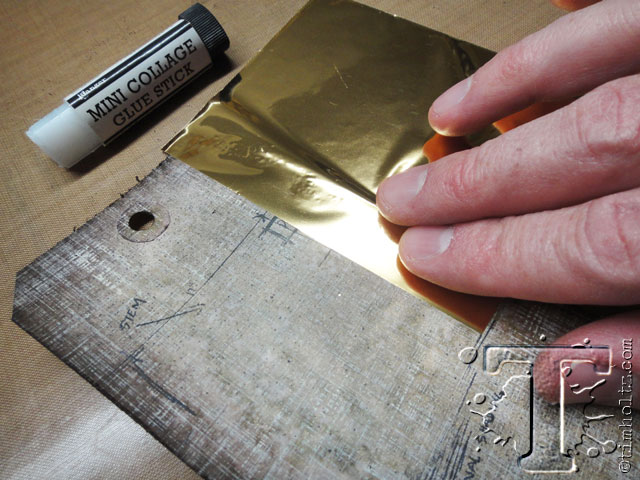 step 15: immediately press the foil sheet (shiny side up) over the adhesive and rub with your fingers.
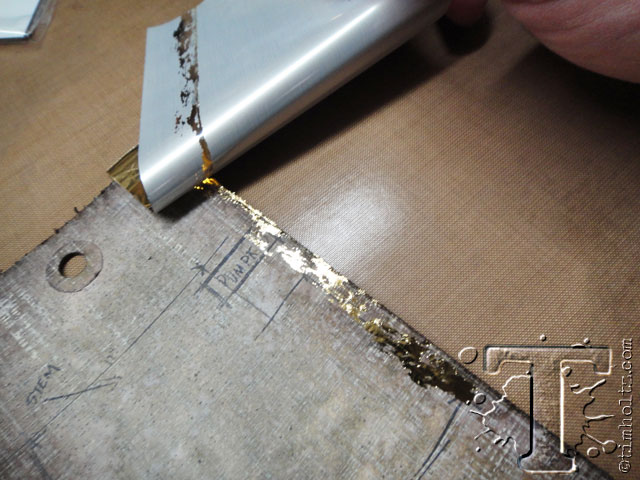 step 16: peel away the sheet to transfer the metallic foil on to the tag – cool.
 step 17: repeat the previous steps all around the tag, then gently rub the foiled edges with your fingers to remove any excess adhesive.
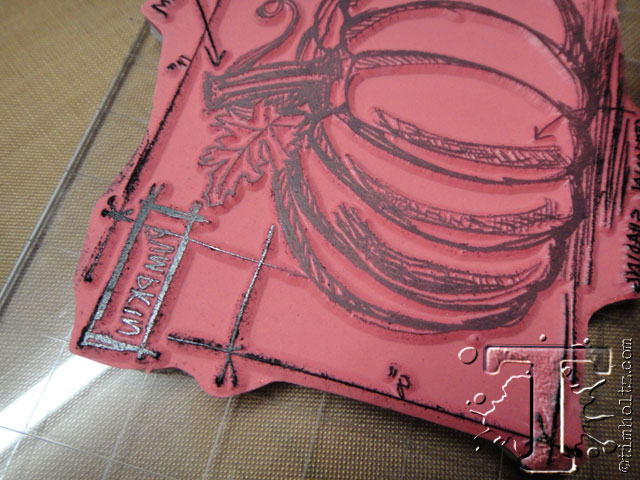
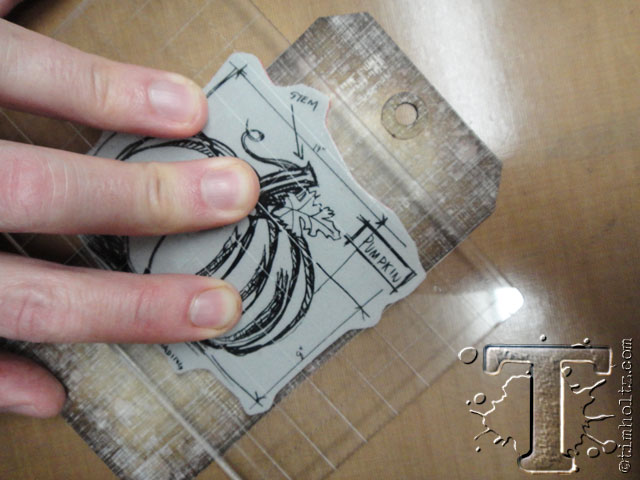
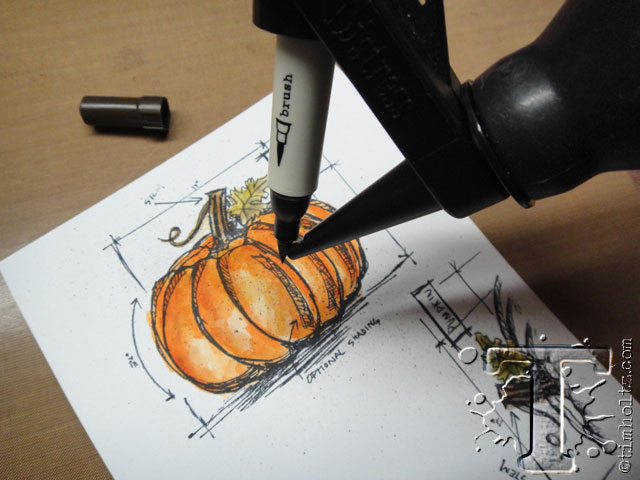
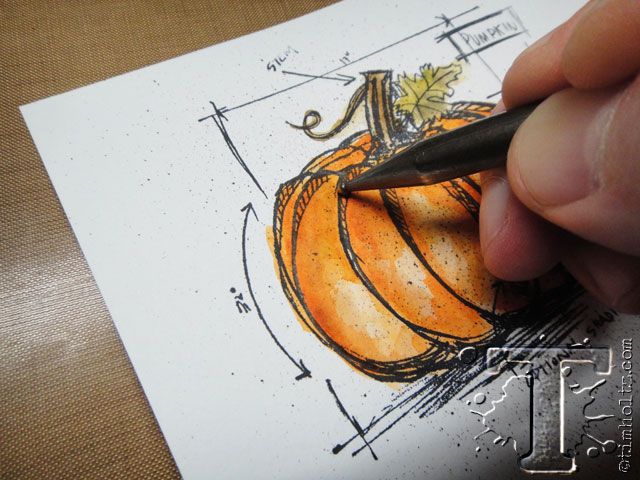
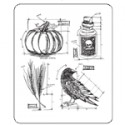
 step 18: stamp the pumpkin blueprint and leaf/stem on to the smooth side of distress watercolor cardstock.
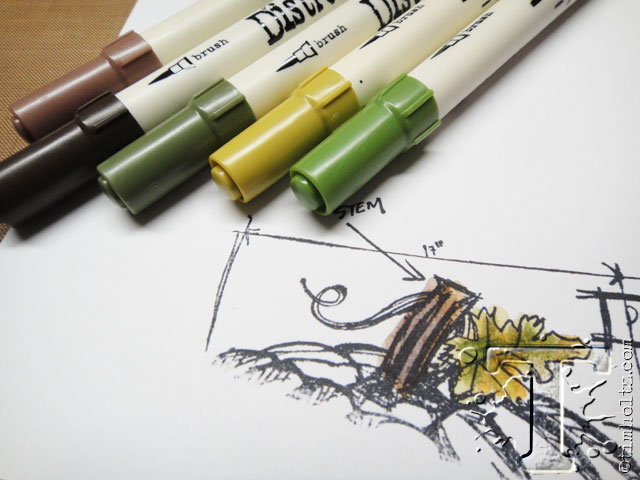
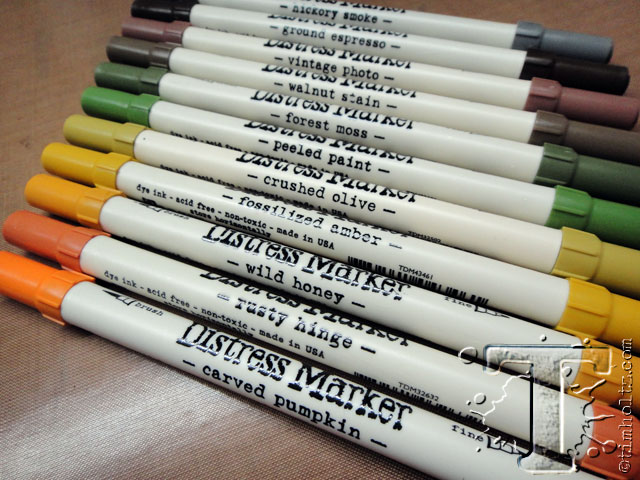 step 19: gather several colors and tones of distress markers and a detailer waterbrush.
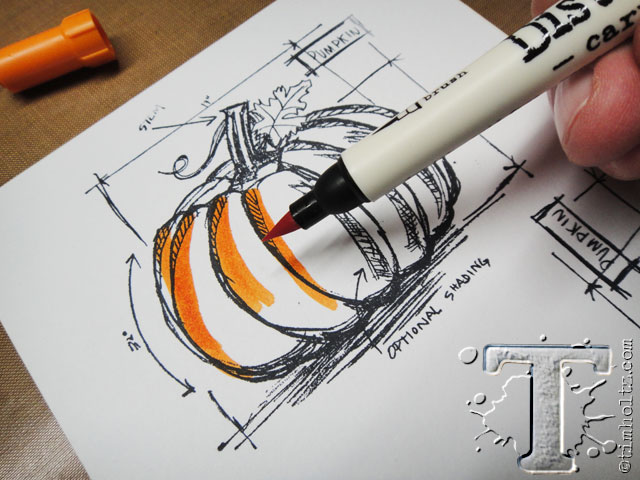 step 20: start by coloring along the stamped lines with the brush tip of the distress marker.
 step 21: using a waterbrush, pull the color into the open areas.
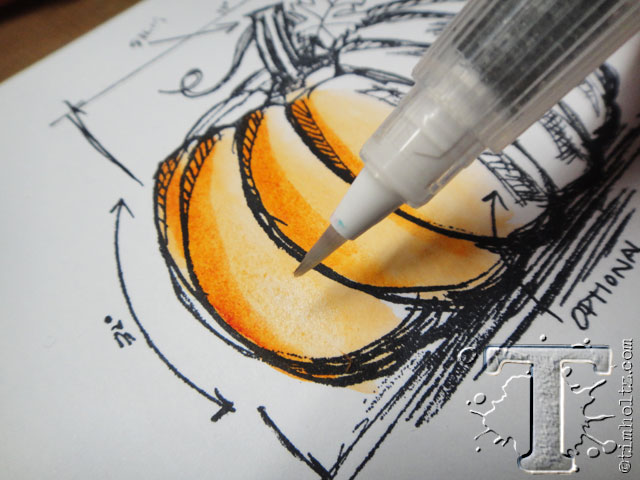
 step 22: to add layers, scribble additional colors of distress markers on craft sheet and apply them using the waterbrush.
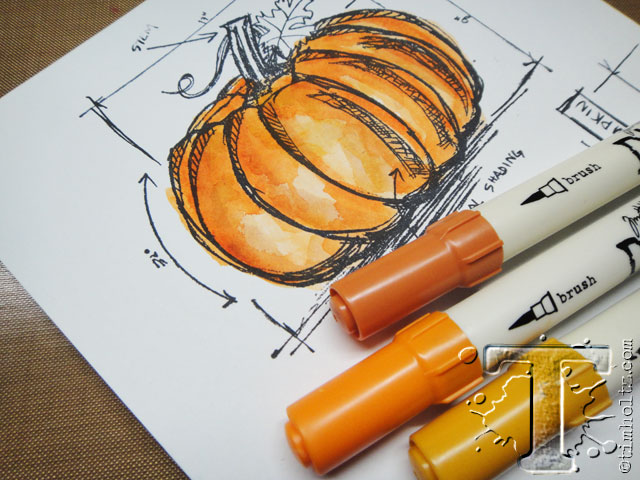
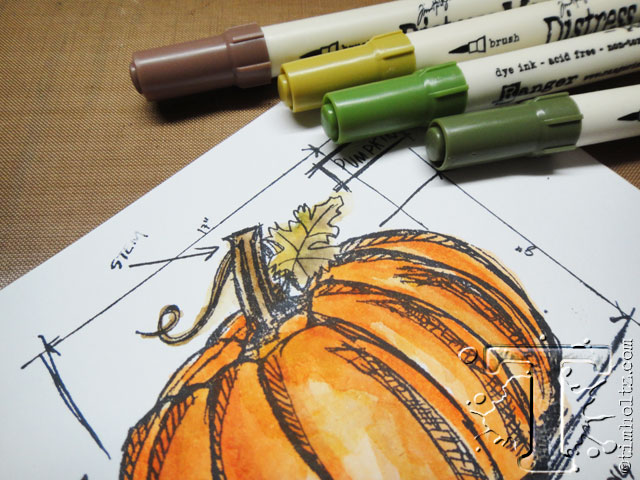 step 23: color stem and leaf following the previous steps.
 step 24: watercolor the additional stamped stem and leaf and dry all images completely with a heat tool.
 step 25: insert dark color of distress marker into distress marker spritzer to add speckles.
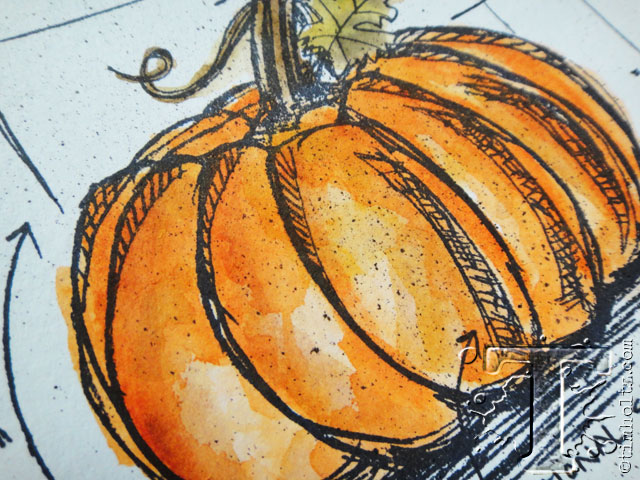 *this is the cool effect the distress marker spritzer creates.
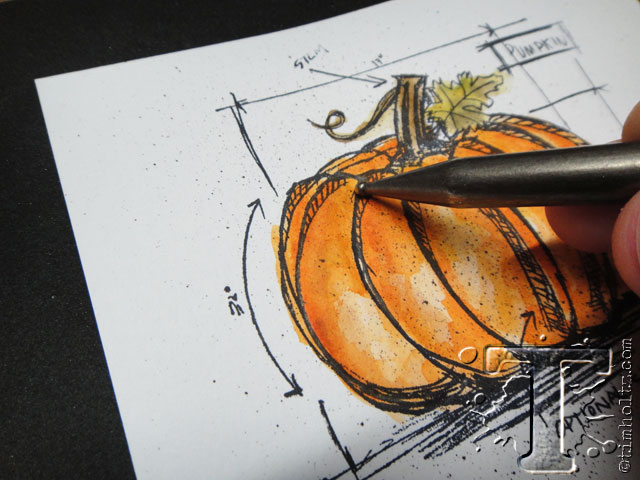 step 26: place watercolor cardstock on a piece of fun foam and outline one section of the pumpkin following the stamped lines using the round tip of the remnant rub tool (or stylus).
 step 27: flip paper over and wet outlined area with water from the waterbrush.
 step 28: using remnant rub tool, deboss the paper into the foam.
 step 29: flip the paper back over onto a hard surface, and outline the same stamped lines as before to define.
 step 30: dry with a heat tool and continue on to the next section following previous steps.
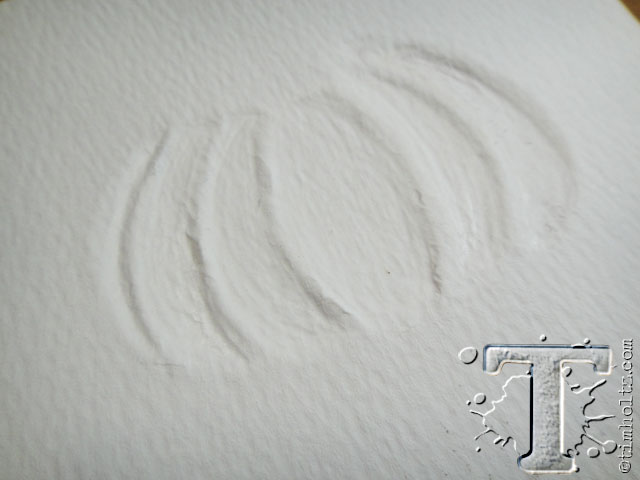 step 31: once all sections have been completed the back will be debased,and the front image raised/embossed.
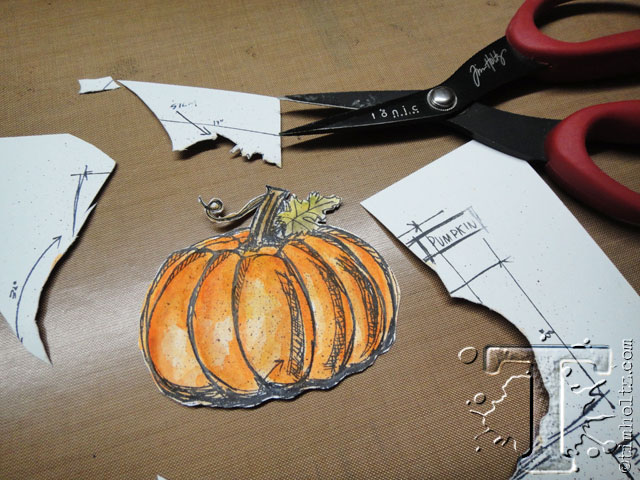 step 32: cut out both colored sections with scissors.
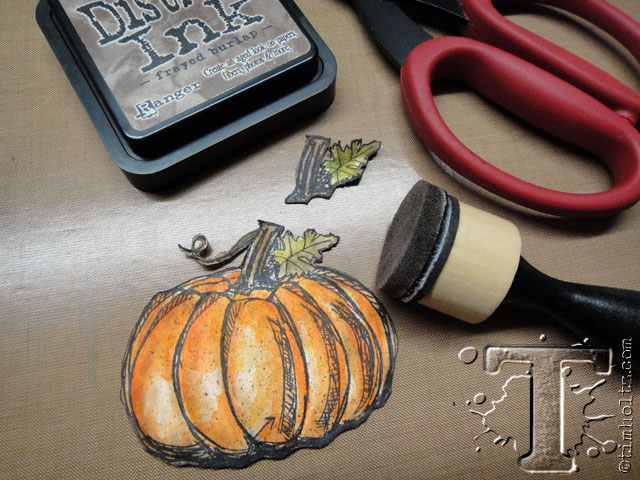 step 33: ink the cut pieces with distress ink using ink blending tool.
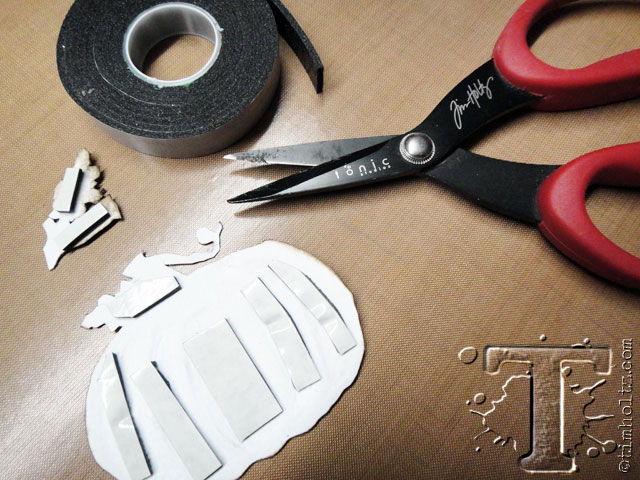 step 34: cut various pieces of foam tape and insert into debossed areas.
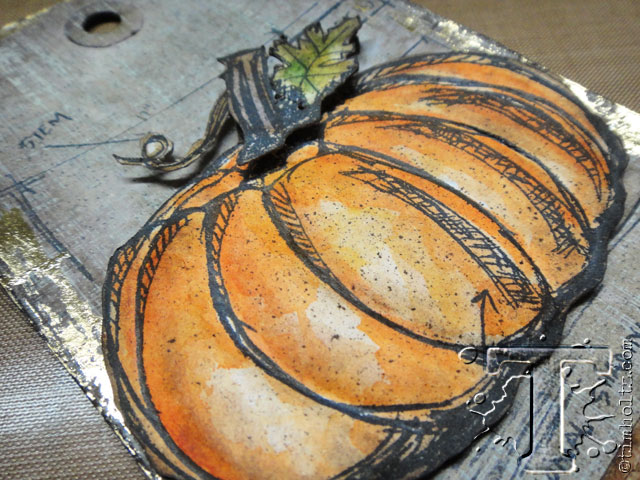 step 35: adhere layered pumpkin on to tag.
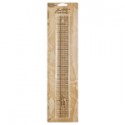
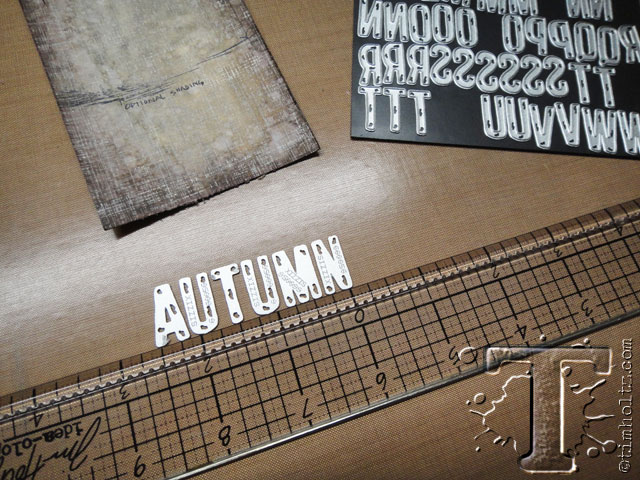 step 36: select letters from alphanumeric thinlit dies to fit tag and line up along design ruler for spacing.
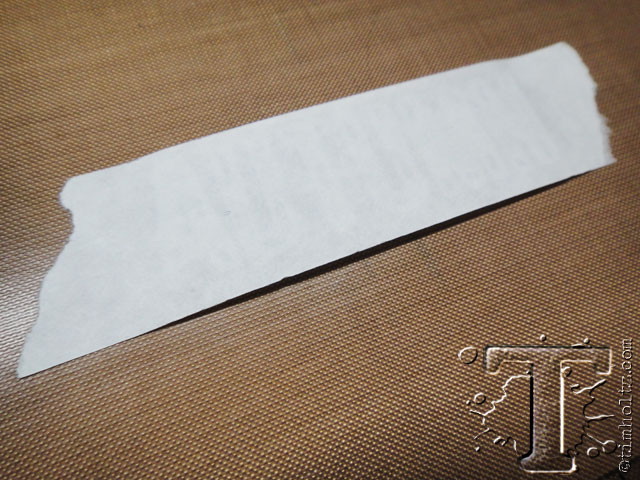 step 37: remove ruler and place a piece of repositionable tape or wash tape over letters.
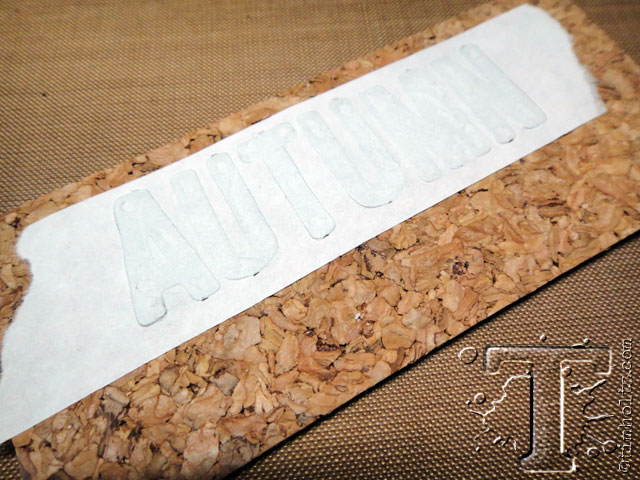 step 38: place taped letters over cork sheet from textured surfaces and run through die cut machine.
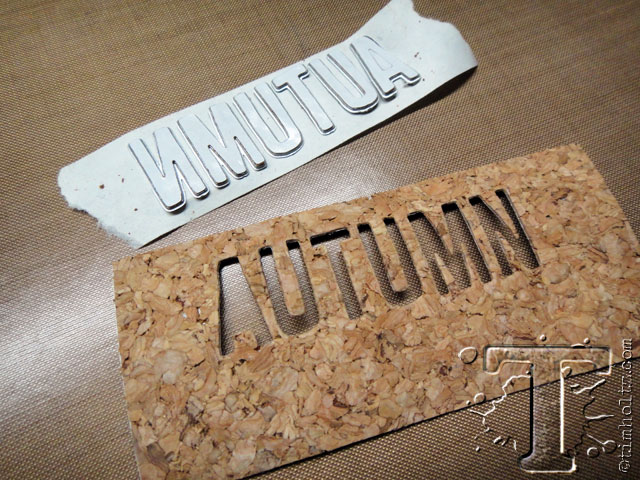 step 39: carefully remove dies from cork sheet revealing the negative area (you can save the actual cut cork letters for another project).
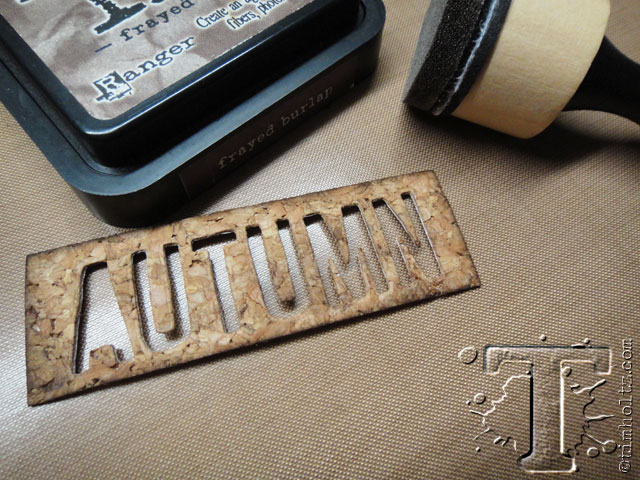 step 40: cut cork to size for the tag and ink edges with distress ink using ink tool.
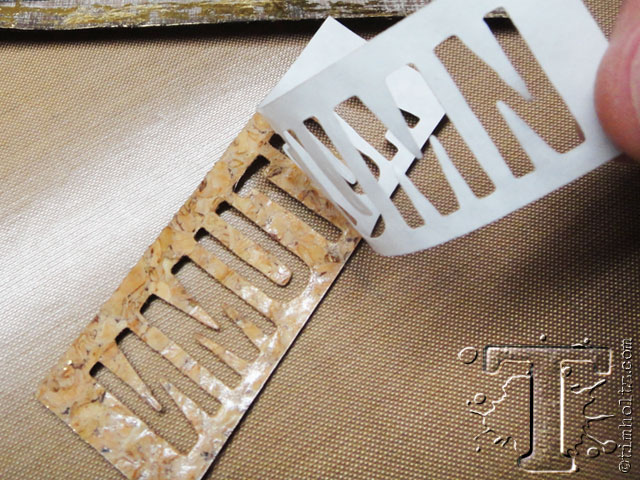 step 41: remove paper backing from cut cork.
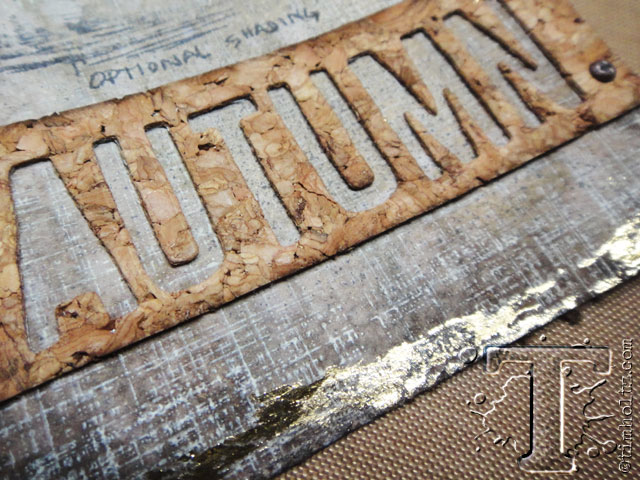 step 42: adhere cork to the bottom of the tag and secure with mini fasteners.
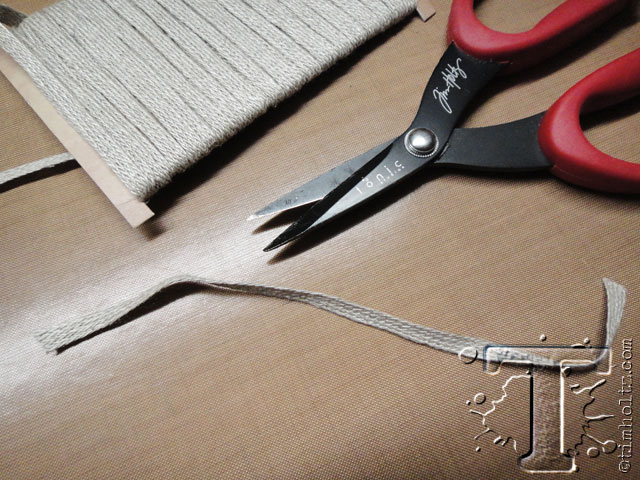 step 43: cut a piece of linen ribbon for top of tag.
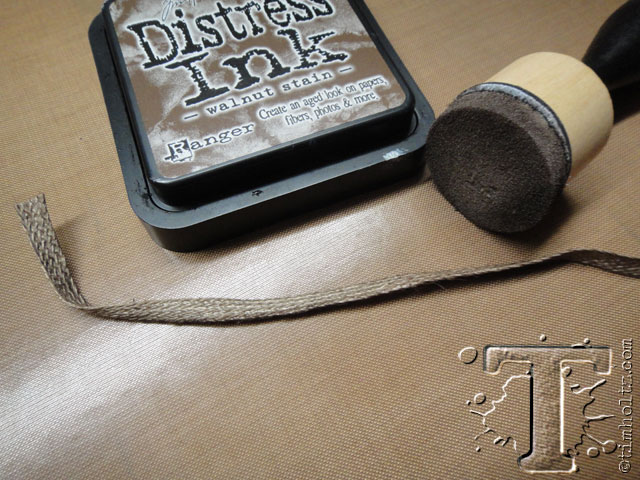 step 44: ink the linen ribbon with distress ink using ink blending tool.
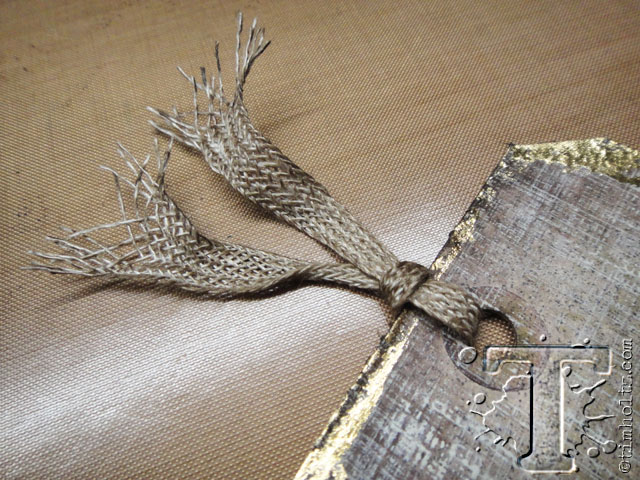 step 45: tie ribbon through top of tag and pull ribbon edges apart to fray.
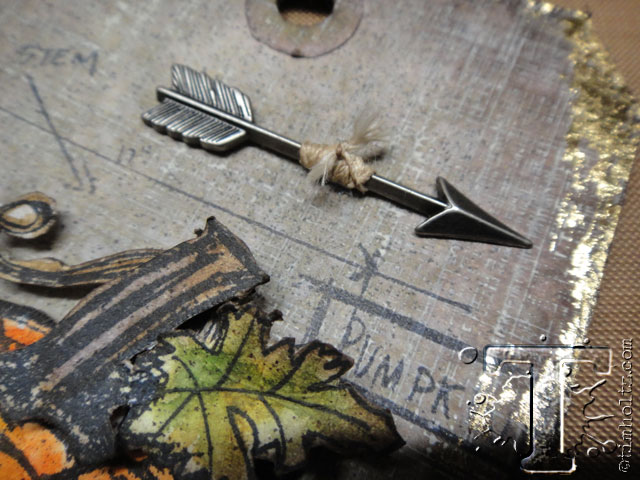 step 46: wrap a piece of string around arrow adornment and adhere to tag with multi-medium.
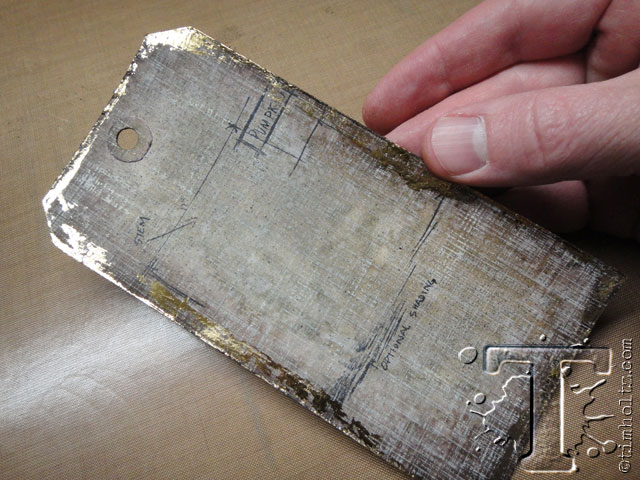
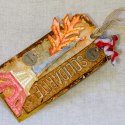
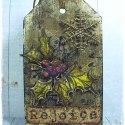
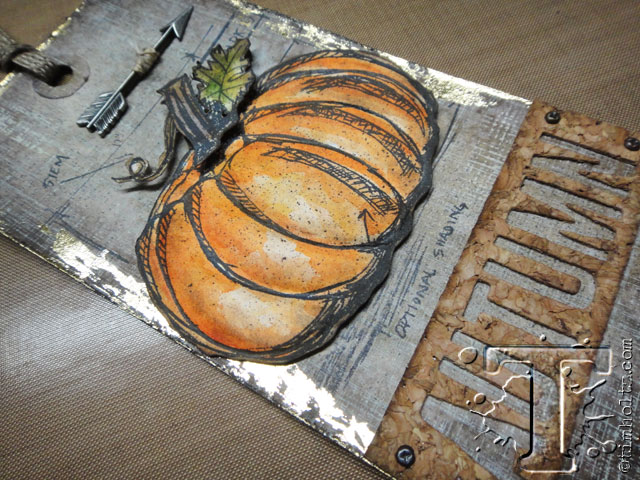 the details: i love the layered, textured, and dimensional look of this tag – the distressed accents of the foil frames the tag perfectly…
Pin It to Remember It!
congrats to the winners from the october 12 tags of 2015. if you see your name (and it links to your tag), please email mario@timholtz.com to claim your prize…
1. Creepy Glowbugg
2. Burden Weideveld
3. Sara
4. the crazy chick: No. 31
5. Vampire Diary
6. April
7. Lynn Price
8. Danee
9. Christi C
10. MartyF
11. saracloset
12. Steve\’s Stuff
*be sure to check your local stores for these supplies or you can click the links below to purchase online with a discount of 10% off your purchase – use the following code with your order: 10NOVEMBERTH

.
 |  |  |  |
 |  |  |  |
 |  |  |  |
 |  |  |  |
 |  |  |  |
 |  |  |  |
 |  |  |  |
 |  |  |  |
 |  |  |  |
 |  |  |  |
 |  |  |  |
 |  |  |  |
 |  |  |  |
 |  |  |  |
 |  |  |  |
 |  |  |  |
 |  |  |  |
 |  |  |  |
 |  |  |  |
 |  |  |  |
 |  |  |  |
 |  |  |  |
 |  |  |  |
 |  |  |  |
 |  |  |  |
 |  |  |  |
 |  |  |  |
 |  |  |  |
 |  |  |  |
 |  |  |  |
 |  |  |  |
 |  |  |  |
 |  |  |  |
 |


