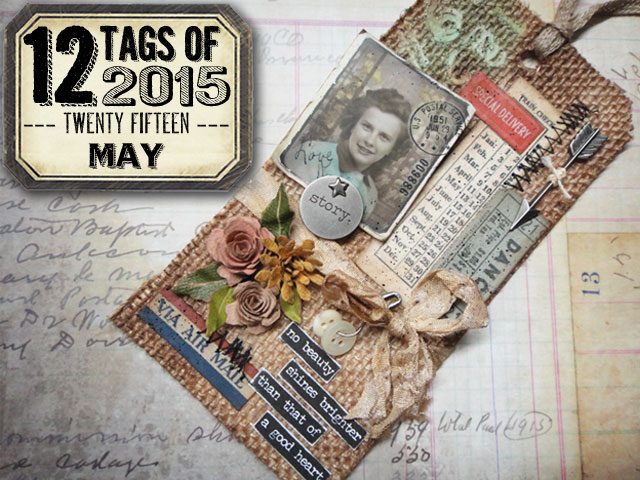
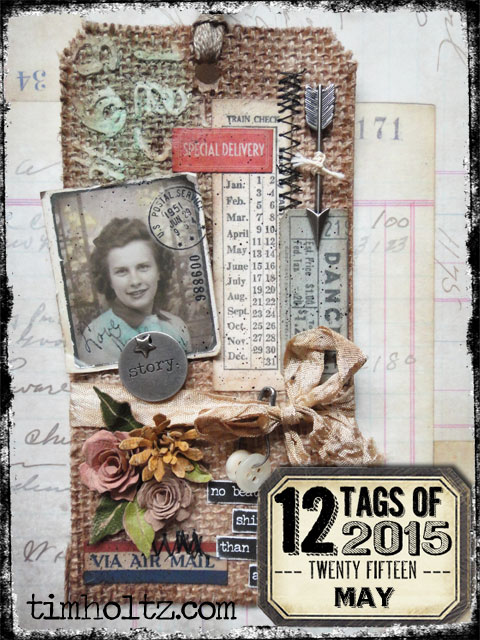
 there are certain things that capture a sense of nostalgia, and for me this month’s tag is certainly one of them. several elements make this one of my personal favorites so far this year. the combination of textures, tinted photo, tiny paper flowers, layered ephemera and embellishments really tell a creative story. it’s one of those projects that at first glance one might see as complicated or too detailed when in fact it’s quite easy to do. after all, seeing the process step by step is what these monthly tag tutorials are all about – simplifying the complicated. i hope you enjoy creating your tag as much as i did…t!m
supplies:
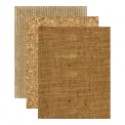
- surfaces: textured surfaces/burlap, #8 manila tag, kraft core cardstock
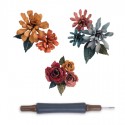
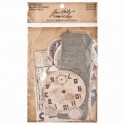
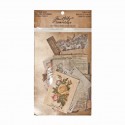
- dies: tiny tattered floral, tag & bookplates
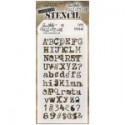
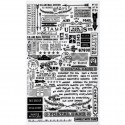
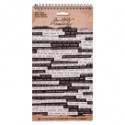
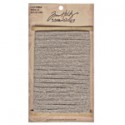
- layering stencil: typo
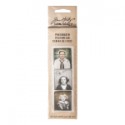
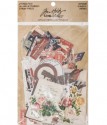
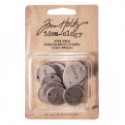
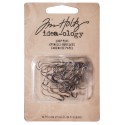
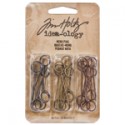
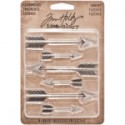
- embellishments: photobooth, ephemera, small talk, typed token, star fasteners, loop pin, memo pin, arrow adornment, crinkle ribbon, linen ribbon, remnant rubs
- distress markers: broken china, squeezed lemonade
- distress ink: frayed burlap, walnut stain, cracked pistachio
- distress stain: antique linen
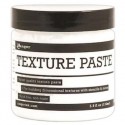
- mediums: texture paste
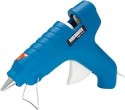
- adhesives: glue n’ seal/matte, hot glue gun
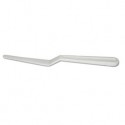
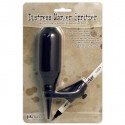
- tools: distress marker spritzer, mini ink blending tool, remnant rub tool, sanding grip, craft pick, heat tool, scissors, palette knife, craft knife, vagabond
- misc: cotton swab, buttons, sewing machine (optional)
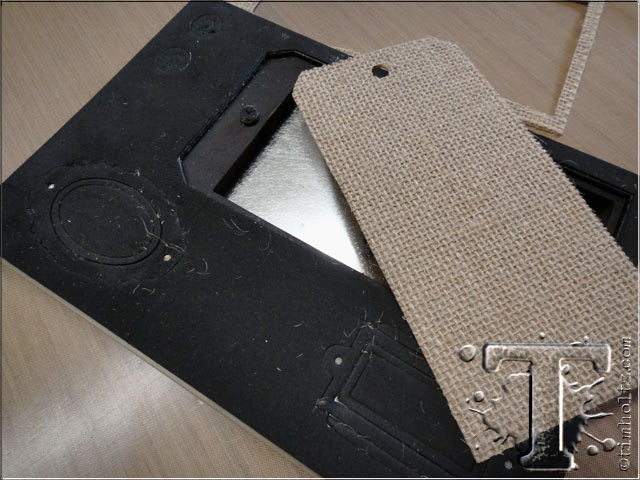 step 1: die cut #8 tag shape using burlap from textured surfaces.
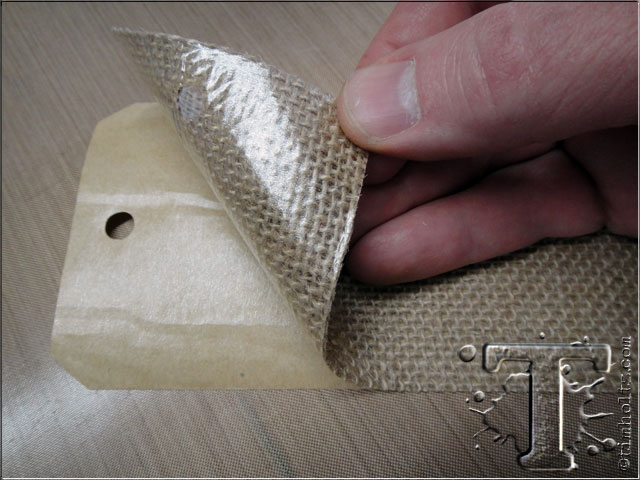 step 2: remove paper backing from burlap (all textured surfaces are adhesive backed – love this).
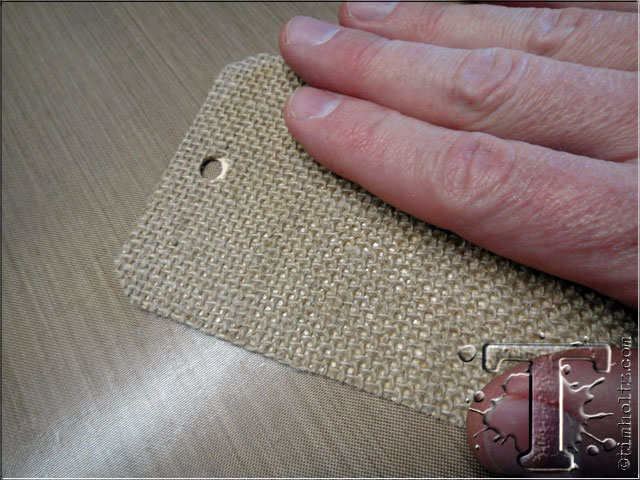 step 3: adhere the burlap to a #8 manila tag for the base surface.
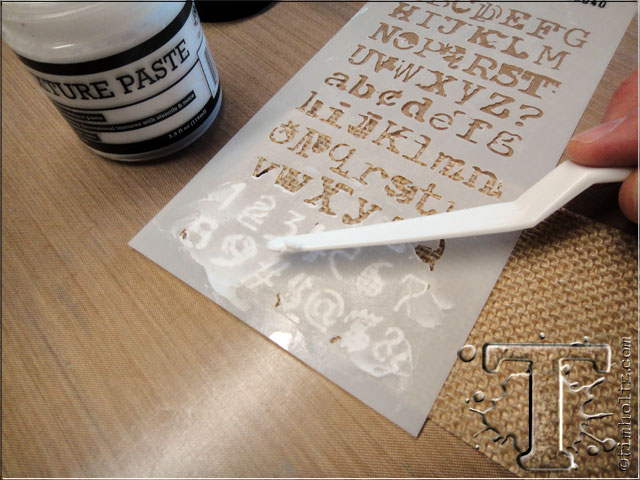 step 4: place layering stencil over burlap and apply texture paste through part of the stencil us-ing a palette knife.
 step 5: carefully lift stencil and allow design to dry. immediately clean texture paste from stencil and palette knife with water.
 step 6: select various ephemera pieces for your background – select small scale elements.
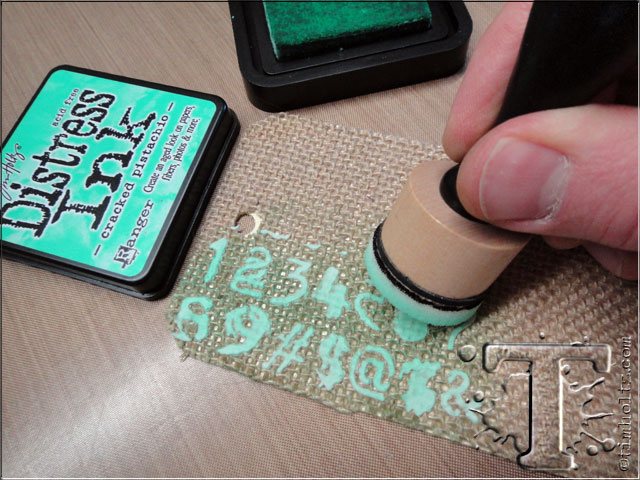 step 7: once texture paste is dry, ink over area with distress ink using ink blending tool to tint.
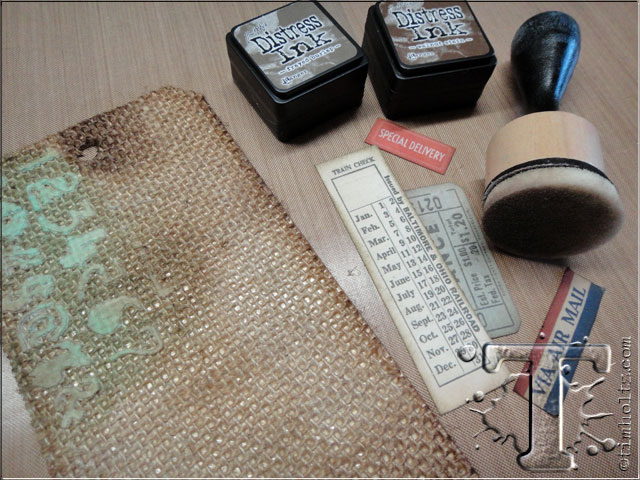 step 8: ink edges of tag and ephemera with brown hues of distress using blending tool.
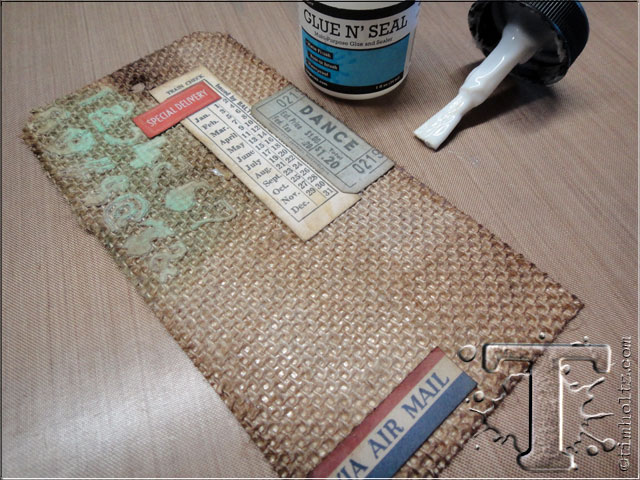 step 9: adhere ephemera to burlap background using glue n’ seal.
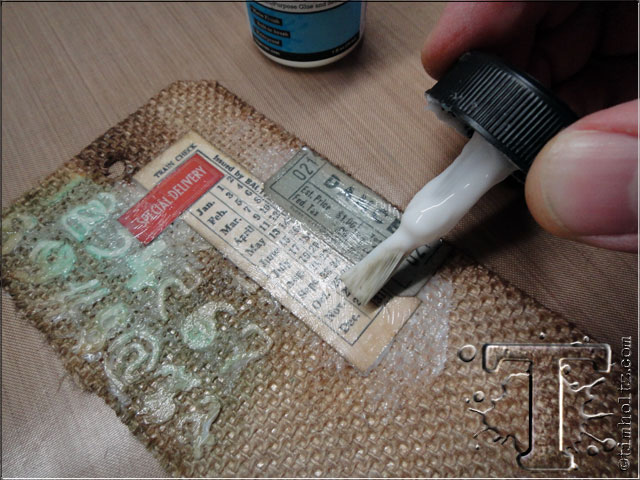 step 10: apply a thin layer of glue n’ seal over adhered ephemera and stencilled design – let dry completely (it will dry clear).
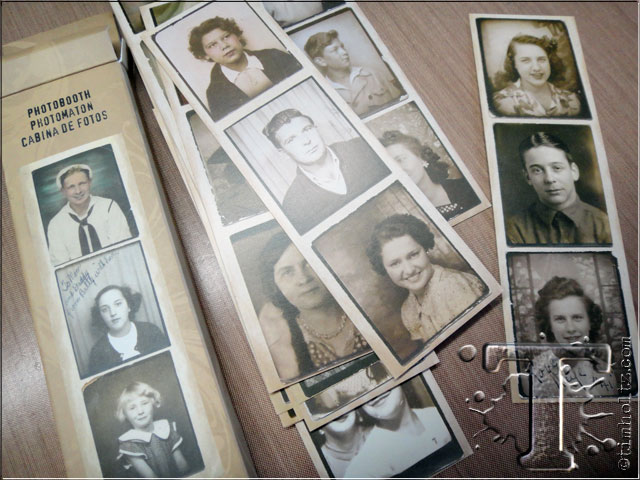 step 11: select a photo from the photobooth pack.
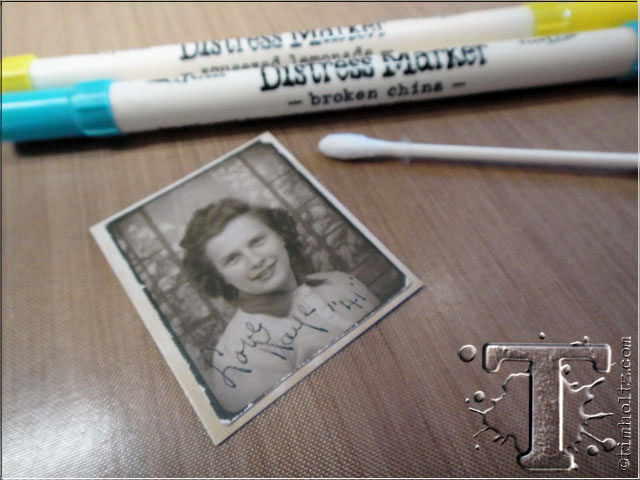 step 12: select brighter colors of distress markers and get a dry cotton swab.
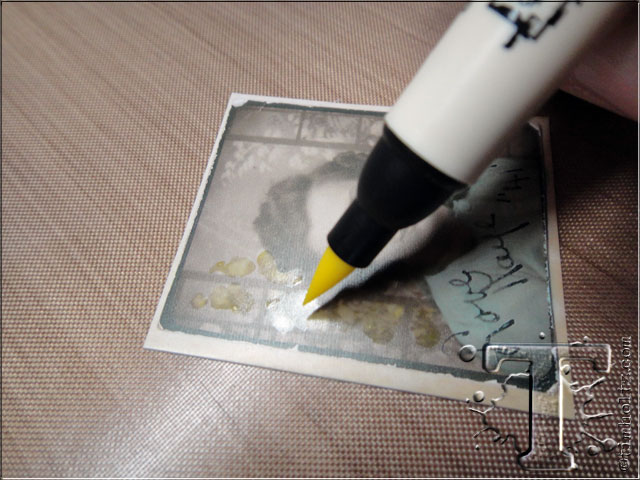
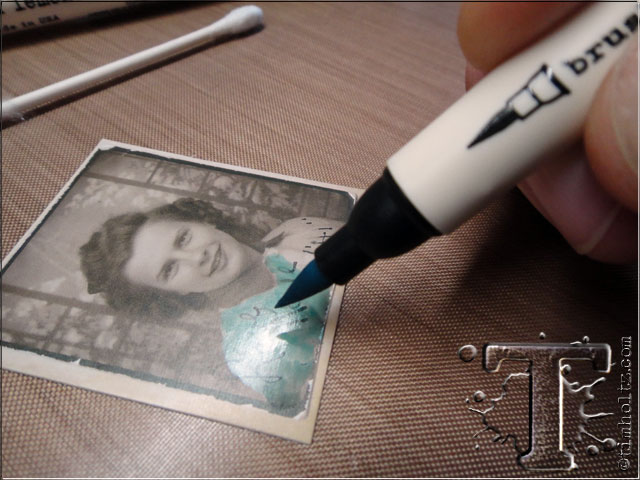 step 13: color directly on areas of photo using the brush nib of the marker.
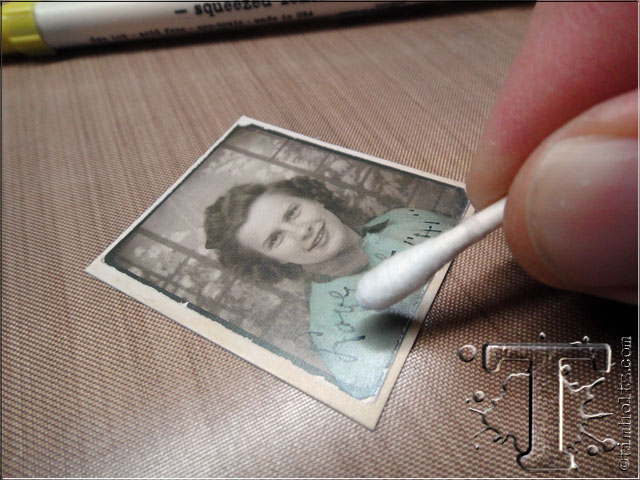 step 14: blend color into the paper using a dry cotton swab (reapply color if needed).
 step 15: repeat previous steps for as many colors as you want to tint with.
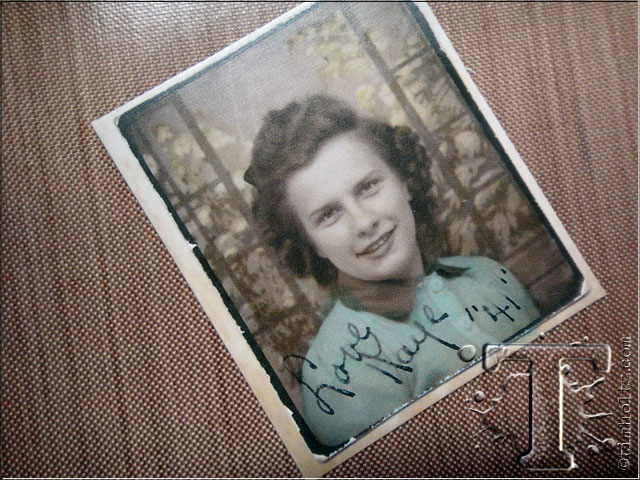 step 16: allow ink to dry completely or use heat tool to dry ink.
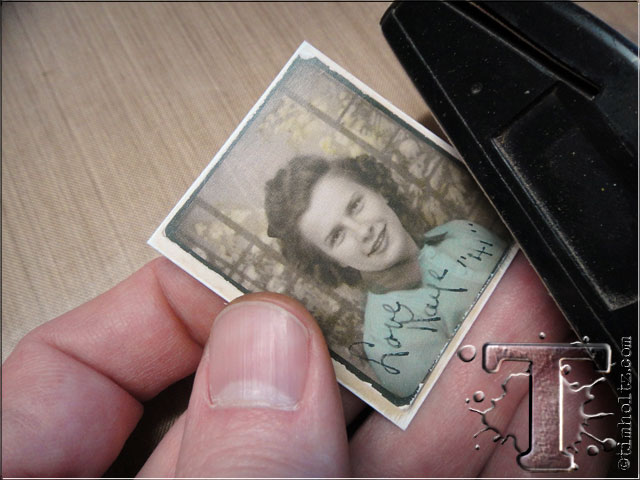 step 17: scuff the edges of the photo with a sanding grip to expose the paper.
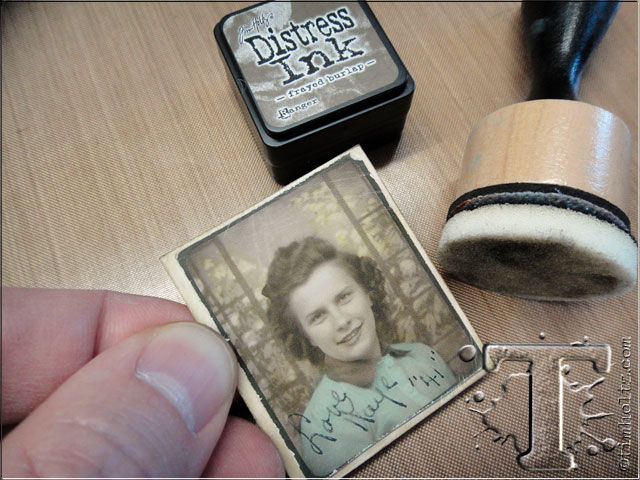 step 18: ink the edges with distress ink using an ink blending tool and let dry.
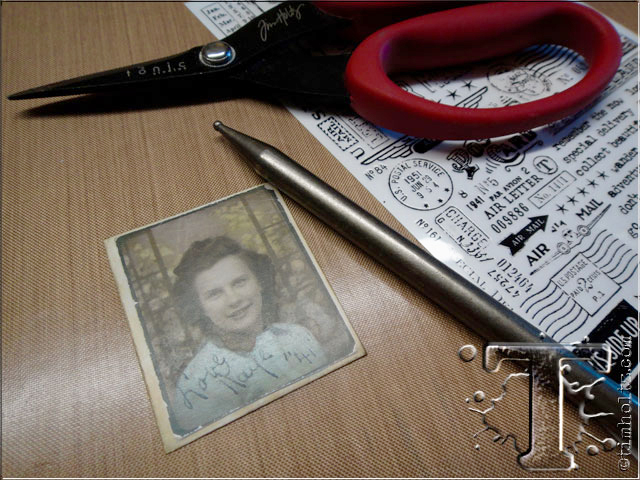 step 19: select remnant rub designs and cut out various images to use.
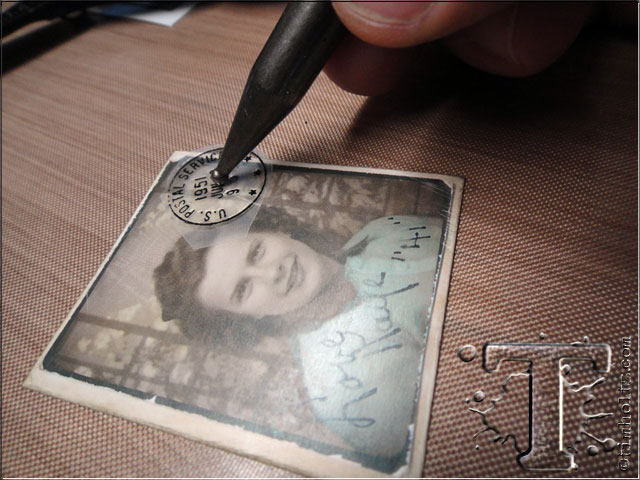 step 20: remove white backing from rub and apply to surface using remnant rub tool.
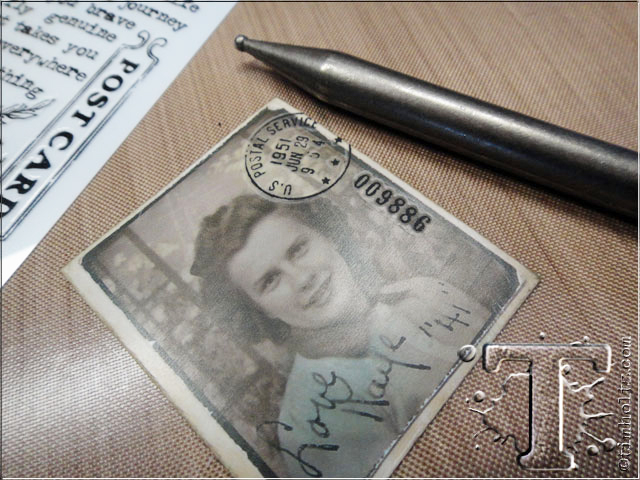 step 21: remove clear layer of rub to transfer the design. the remnant rub tool is metal and has a round tip making applying and transferring smaller images much easier than using a stick.
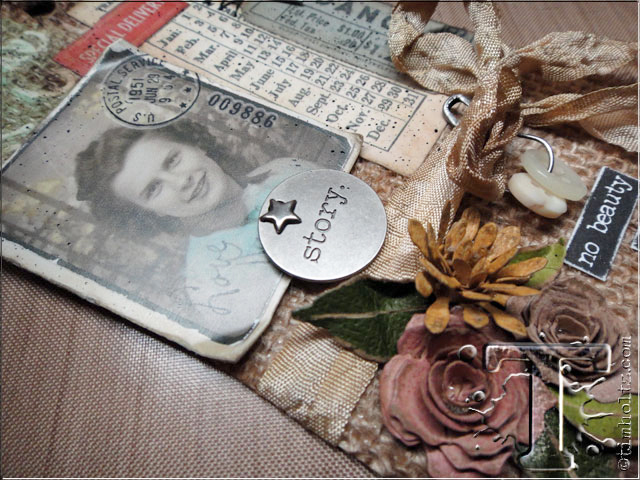
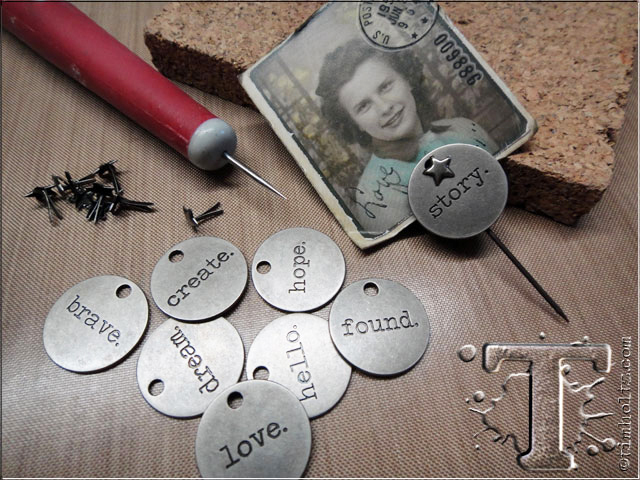 step 22: insert photobooth photo on to memo pin and select a typed token word. attach the token through the loop of the memo pin using a mini star fastener.
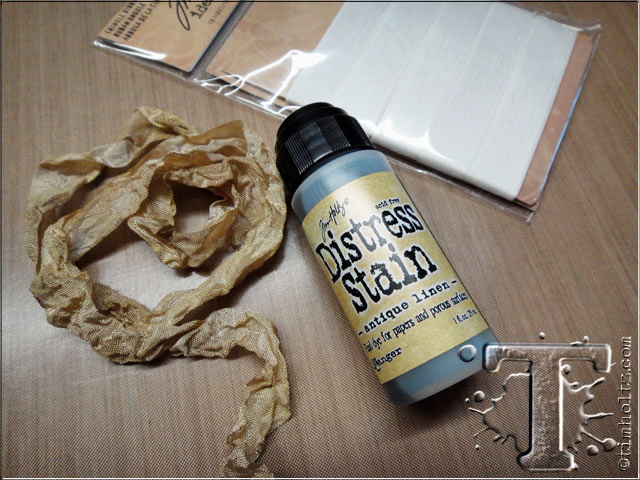 step 23: cut a piece of crinkle ribbon long enough to wrap around tag and tie in a bow. color us-ing distress stain to coordinate with tag.
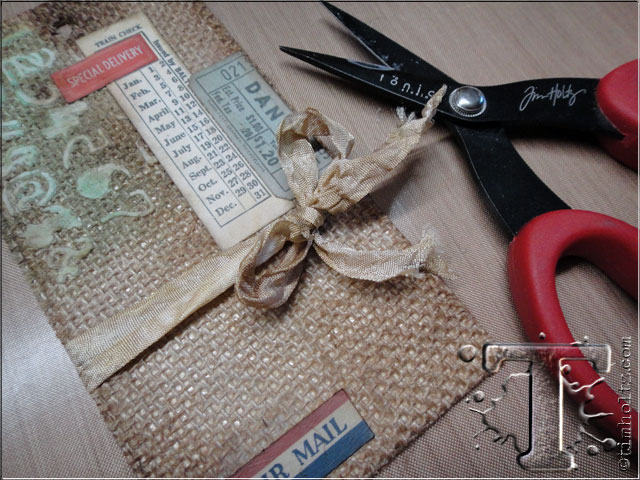 step 24: wrap ribbon around tag and tie in a bow – trim ends of ribbon if needed.
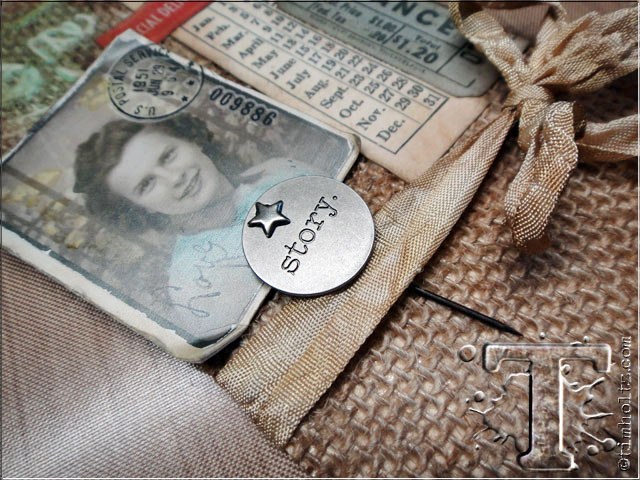 step 25: pin memo pin through burlap layer of the tag behind the ribbon as shown.
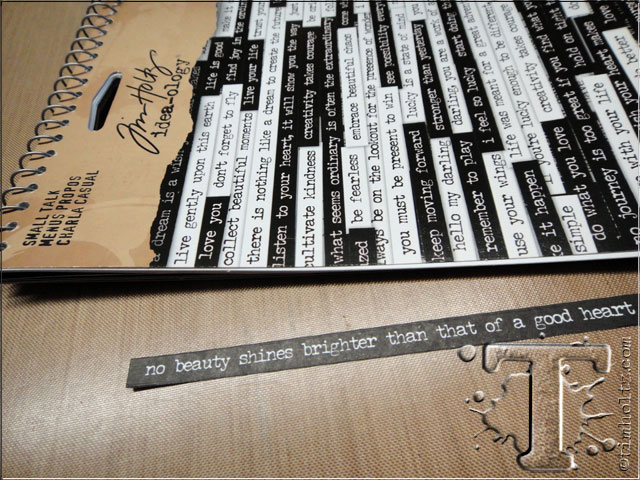 step 26: select quote from small talk sticker book. i love that each quote comes in black or white.
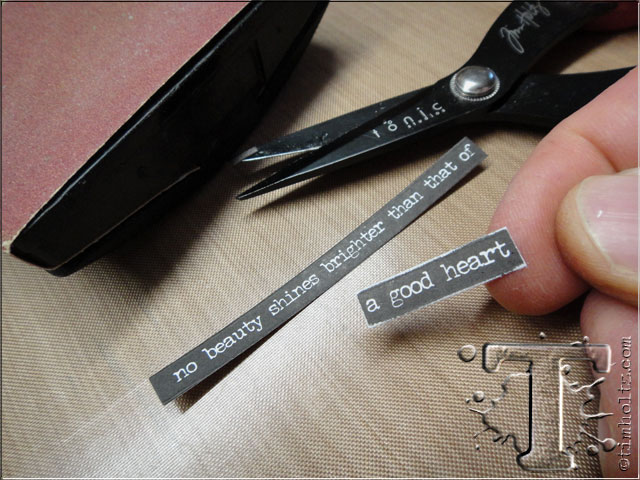 step 27: cut various sections of words apart and sand edges using a sanding grip.
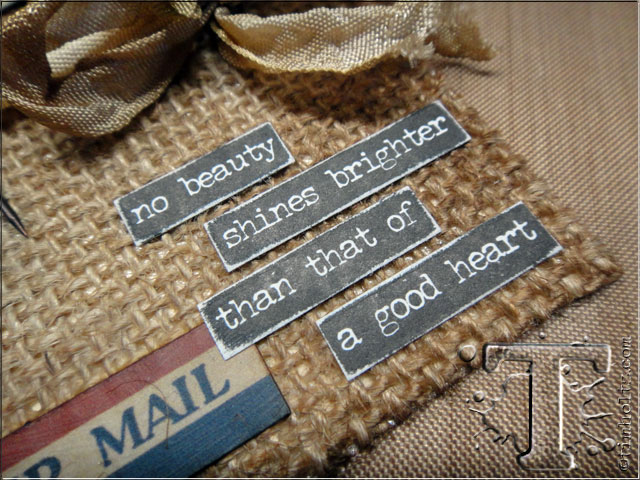 step 28: adhere quote directly to burlap tag.
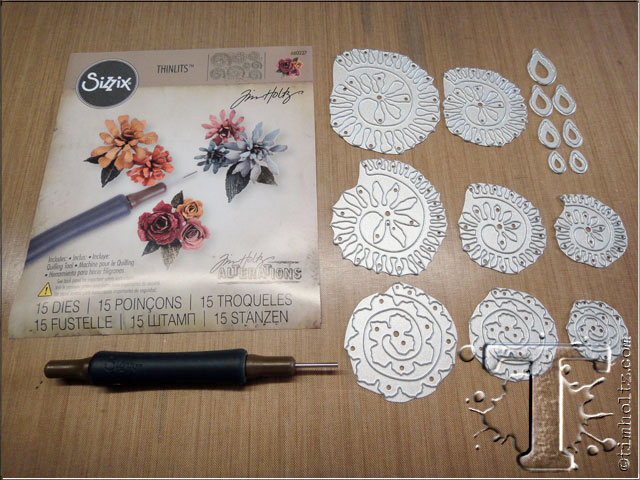 this is the new tiny tattered floral die set that includes 15 dies and this cool quilling tool. check out the new video below to see how these work to create mini flowers using your favorite pa-pers.
pretty simple to do right? well let’s make some…
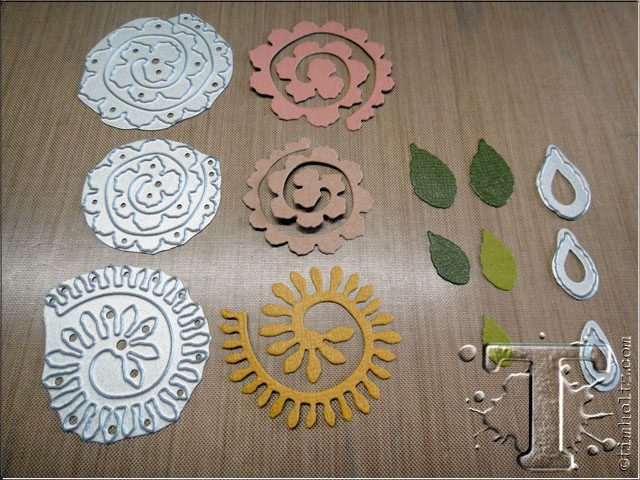 step 29: die cut tiny tattered florals and leaves of your choice from kraft core cardstock.
 step 30: create them using the included quilling tool and fold and sand the leaves to create the vein.
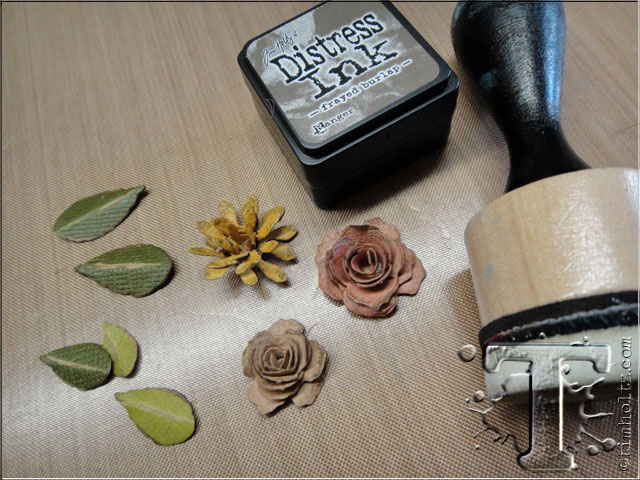 step 31: ink the die cut pieces with distress ink using an ink blending tool.
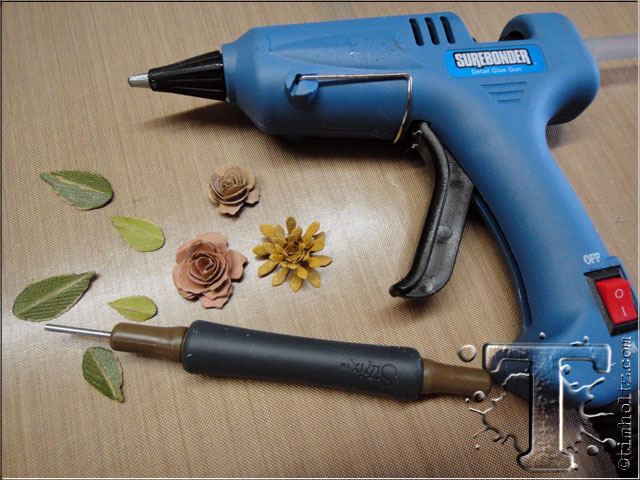
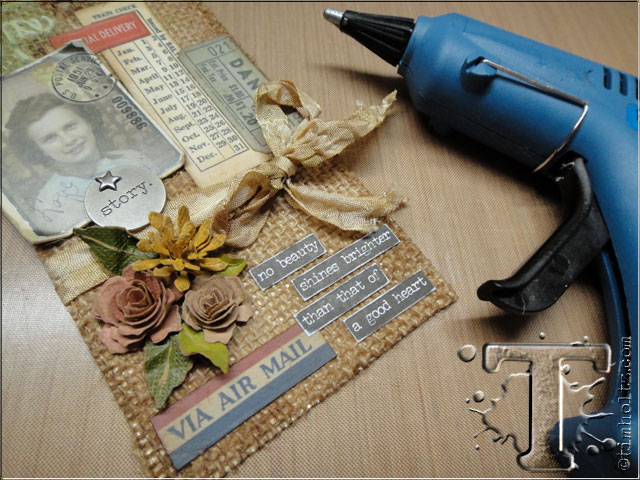 step 32: adhere flowers and leaves to the tag using a hot glue gun.
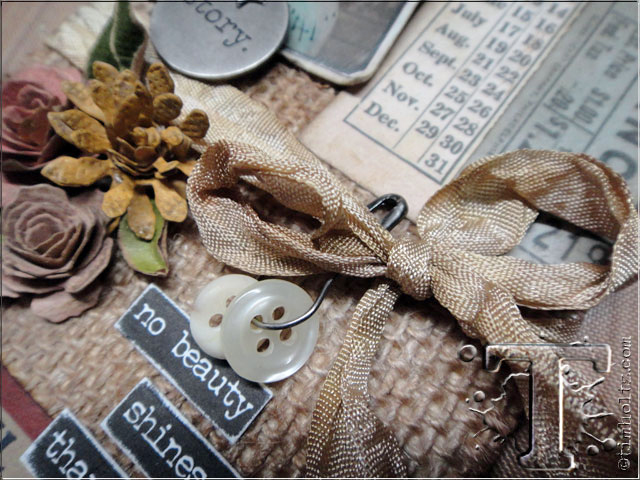 step 33: attach a couple of buttons to a loop pin and pin through the ribbon. add stitched ele-ments using a sewing machine if you choose.
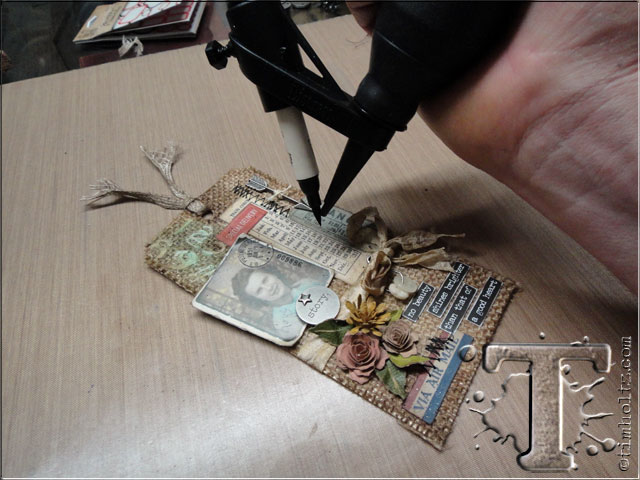 step 34: lightly spritz over select areas of the tag with a black soot distress marker using the dis-tress marker spritzer.
 the details: i love the layer look of this tag, the textured background, tinted photo, tiny paper flowers, and that final spritz of black ink gives it the perfect vintage touch.
Pin It To Remember It!
congrats to the winners from the april 12 tags of 2015. if you see your name (and it links to your tag), please email [email protected] to claim your prize…
1. Sioux
2. Deb Riddle
3. Barbara Washington
4. Doreen’s Dream
5. Inky and Quirky
6. Judy Cantrell
7. Kerstin F.
8. Fisher’s Card and Crafts
9. Bobbie Smith
10. Phyl’s Crafting Corner
11. Sarah T.
12. Theresa Petermann
*be sure to check your local stores for these supplies or you can click the links below to purchase online with a discount of 10% off your purchase – use the following code with your order: SSS code: 10MAYTH


.


