
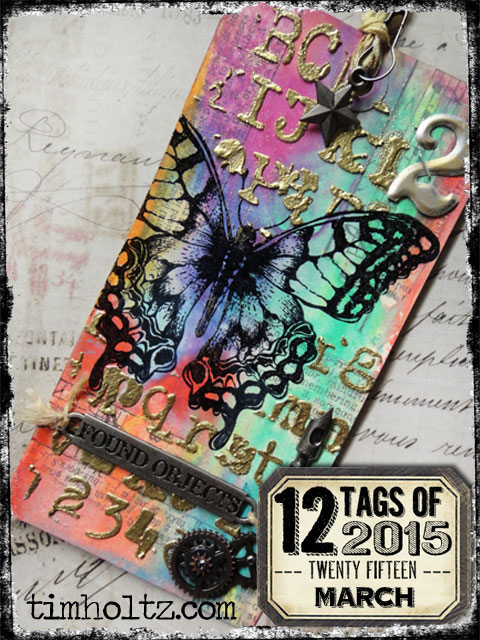
one of my favorite things about creating is the ability to escape the here and now. it takes your imagination to a place where you are free to explore, imagine, and discover. this month i wanted to create a tag to encourage your creative mind to wander and play. whether it’s trying new combinations of color (i used the new abandoned coral and cracked pistachio distress colors along with some other faves); using new imagery (i used one of my favorite new stamp sets “perspective”); or combing random elements (i used an assortment of my fave idea-ology); i hope you allow yourself to embrace imperfection and enjoy the artful mind…t!m
supplies used:
- surfaces:#8 manila tag, tissue tape
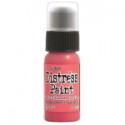
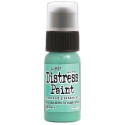
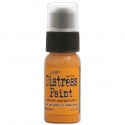
- distress paint: abandoned coral, spiced marmalade, squeezed lemonade, cracked pistachio, broken china, picked raspberry
- archival ink: jet black
- embossing powders: fine detail clear, fine detail gold
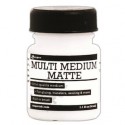
- adhesives: multi-medium
- texture paste: regular opaque
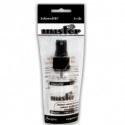
- tools: craft sheet, heat tool, scissors, mask sheets, palette knife, mister
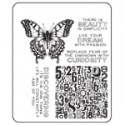
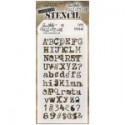
- stamps/stencil: CMS213 perspective, THS040 typo, grid-blocks
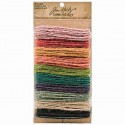
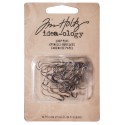
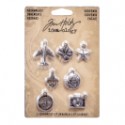
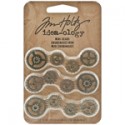
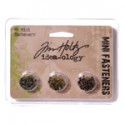
- embellishments: loop pins, adornment, mini numeral, word band, pen nib, mini gears, mini fasteners, jute string, crinkle ribbon
- misc: staz-on black
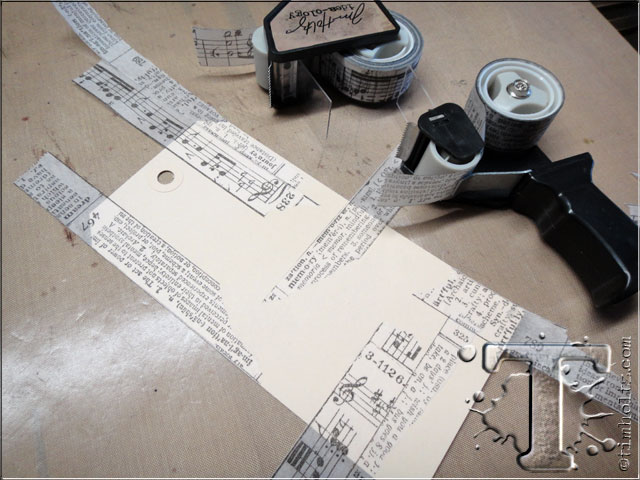 step 1: start by creating a quick tissue tape collage by tearing strips of tape and adhering them to a manila tag. be sure to leave plenty of tag area exposed.
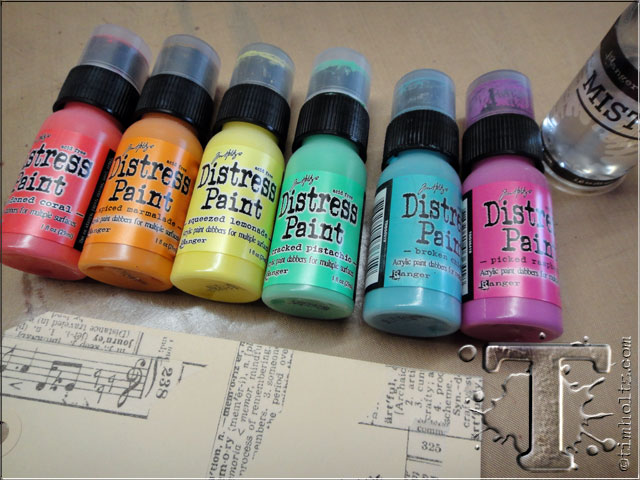 step 2: select several of your favorite colors of distress paint. i wanted this tag to have vibrant opacity over the tape which is why i’m using paint vs. ink for the background.
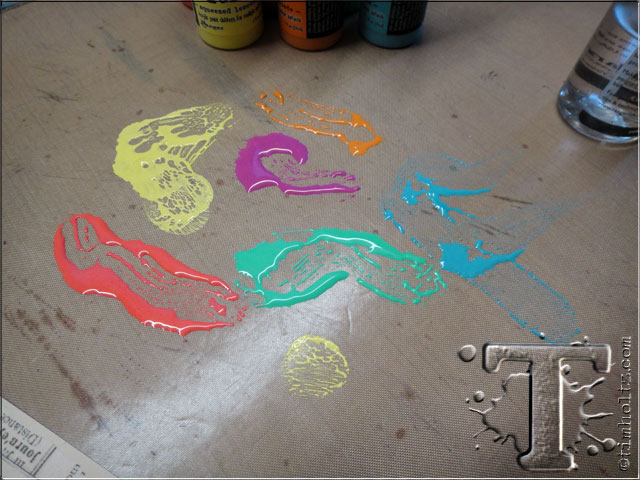 step 3: apply various colors of distress paint to your craft sheet.
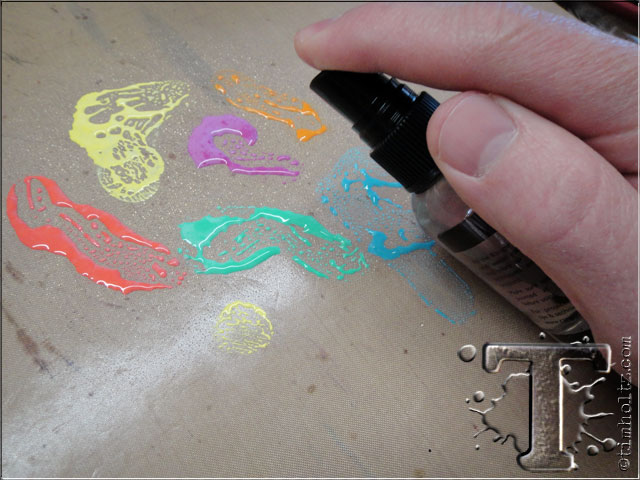 step 4: mist the paints with water using a mister to activate the water-reactive properties of the paint.
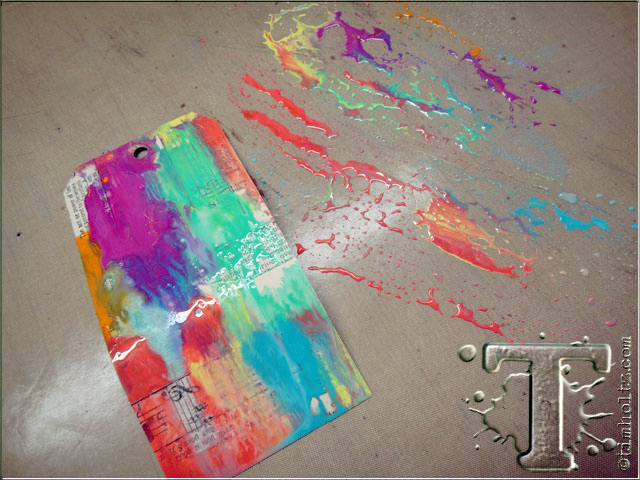 step 5: swipe the tag through the paint a couple of times until most of the surface is covered with color.
 step 6: quickly mist the painted tag with more water to blend the colors and fill in the blank areas of the tag.
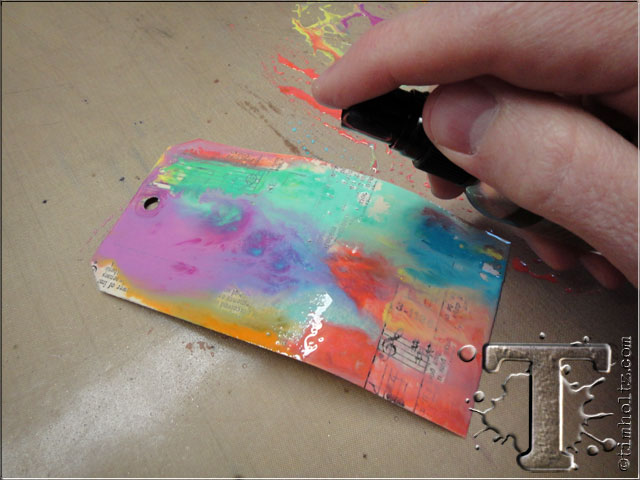
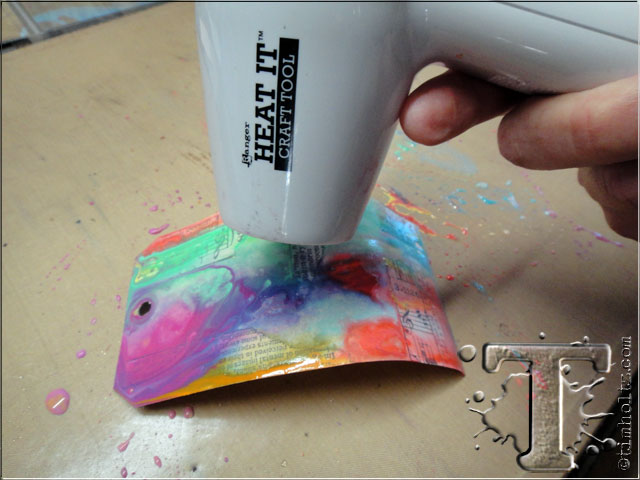 step 7: dry the paint with a heat tool and blot off any excess paint or water with a towel.
 note: check out how cool distress paints blend and marble to create one of a kind backgrounds. the semi-opacity of the paint allows the imagery of the tissue tape to still show through the color – love this!
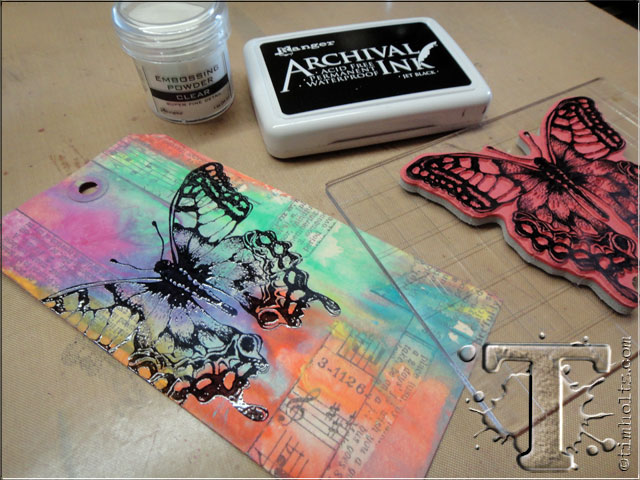 step 8: stamp the image on the DRY background using jet black archival ink. immediately cover the stamped image with fine detail clear embossing powder and heat emboss using a heat tool.
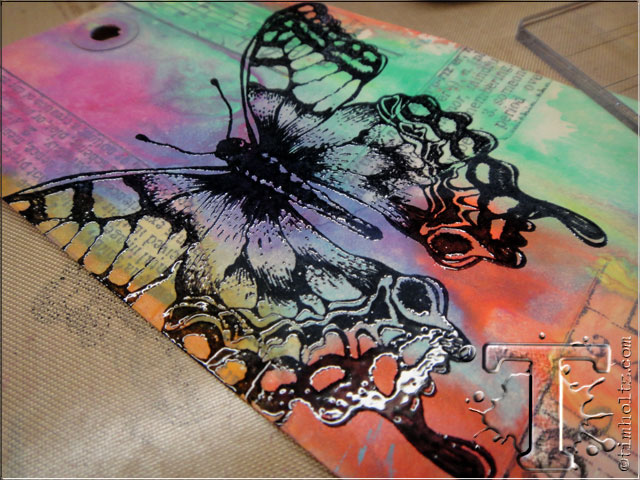 note: the reason i chose this method vs. using clear embossing ink and black powder is to avoid the chance of having any black “specks” on my background once it was embossed – it still shines beautifully.
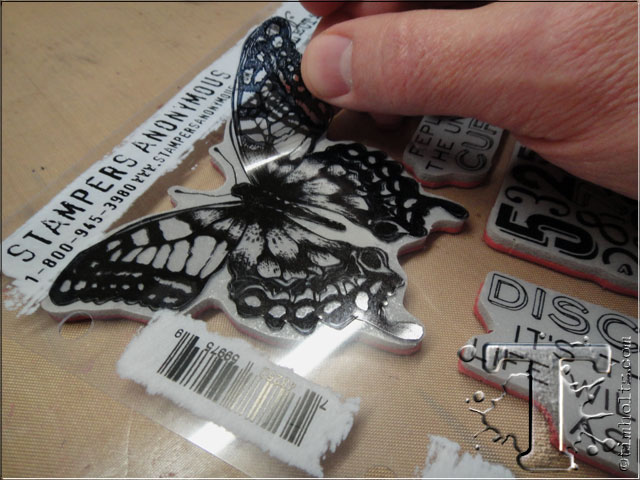
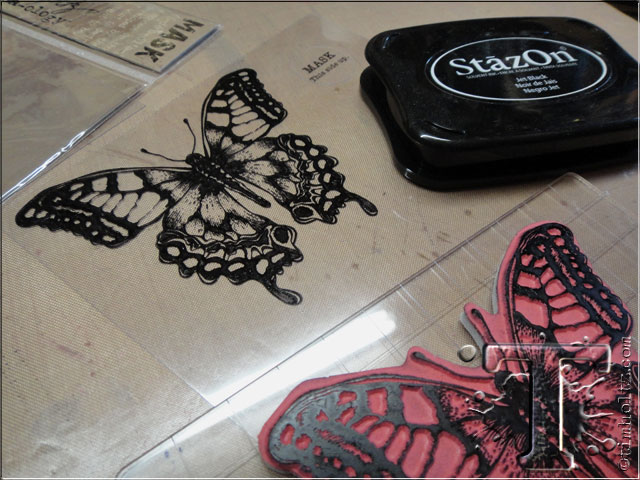 step 9: stamp the same image on to the “mask” side of the mask sheets using staz-on ink (this is the only ink i have found that will dry on the mask sheet without heating it since mask sheets are not heat stable).
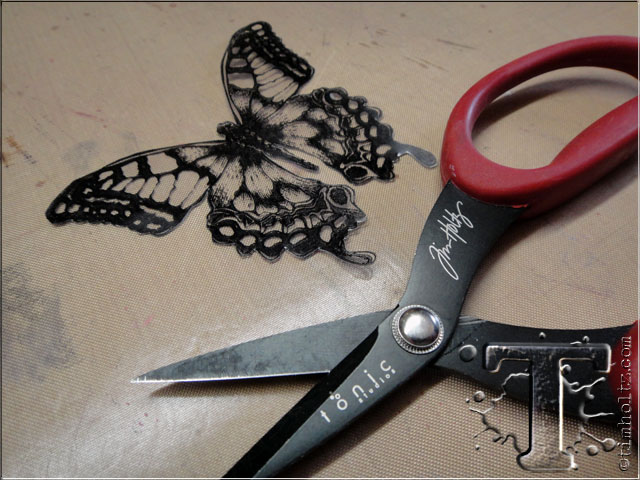 step 10: once the ink is dry, cut the stamped design out on the edge of the image with non-stick scissors. when using my tonic scissors since they are micro-serrated, simply flip the scissor to the side that cuts a smooth edge to cut.
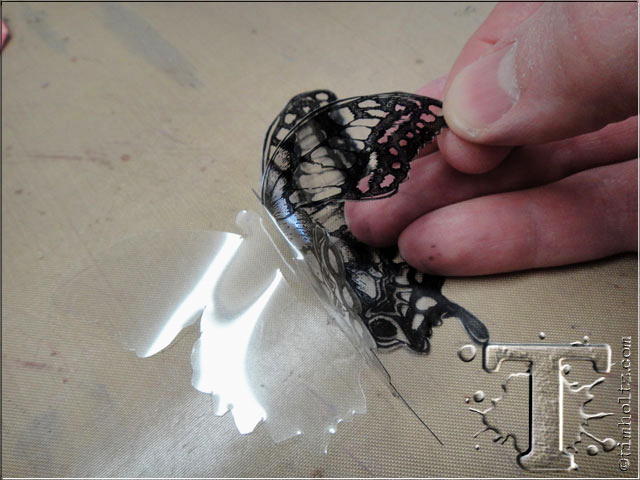 step 11: carefully peel the mask sheet away from the backing and throw away the backing piece.
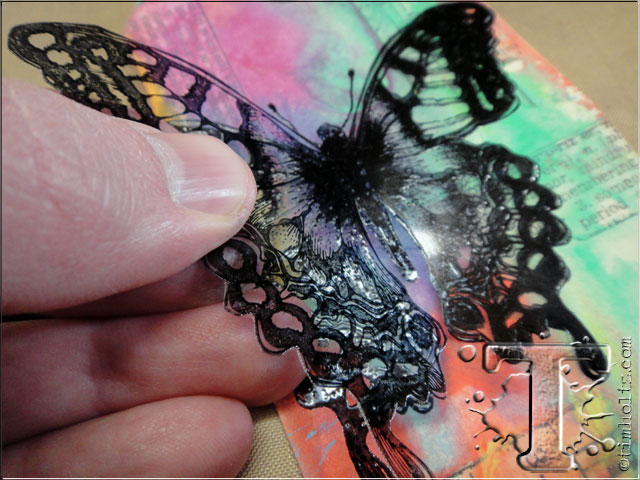 step 12: place the mask sheet over the stamped image lining it up perfectly and press to adhere (the mask sheets are repositionable adhesive sheets so don’t worry).
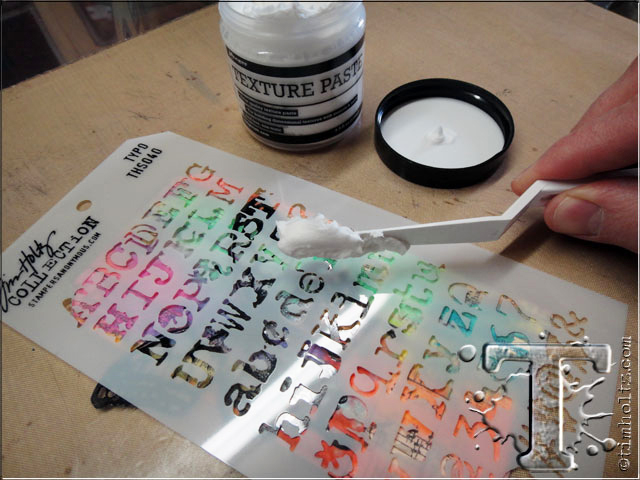 step 13: place a layering stencil over the tag and scoop up some texture paste on to a palette knife.
 step 14: holding the stencil in place, randomly apply texture paste to various areas over the stencil. be sure to go over some areas of the masked image.
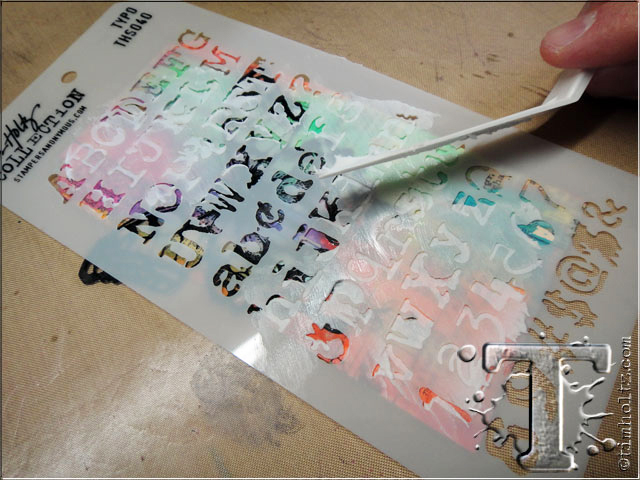
step 15: lift the stencil to remove from the tag and place the stencil in water to clean off the texture paste before it dries.
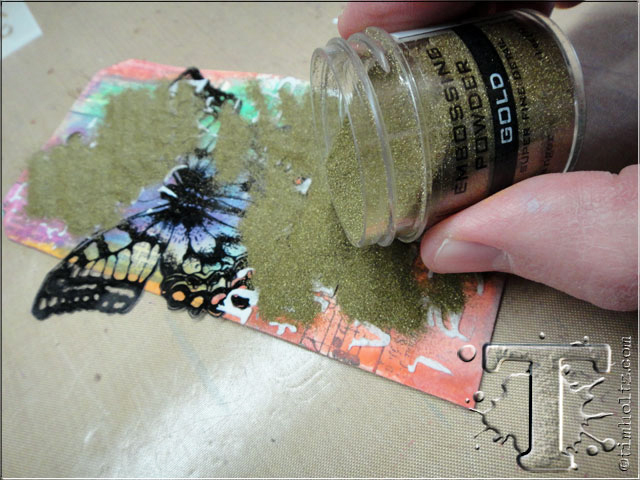 step 16: with the mask still in place and the texture paste wet on the tag, immediately cover the paste with fine detail gold embossing powder (or use any color embossing powder you choose). remove the excess embossing powder and place it back into the jar.
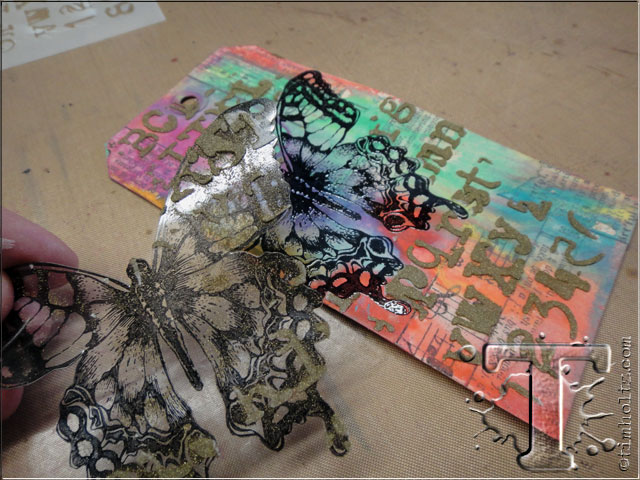 step 17: carefully lift the mask off of the image and place it into the water container with the stencil to clean (the adhesive will not wash off of the mask so once it’s clean simply let it air dry).
 note: even though the mask sheets come with a storage sheet, i prefer to store my masks on the stamp sheet so i can easily find it to use it again.
 step 18: allow the texture paste to dry with the embossing powder on it. the wet paste will act as the adhesive and hold the powder once dry. *DO NOT HEAT the paste while it’s wet or it may bubble up and show white through the powder.
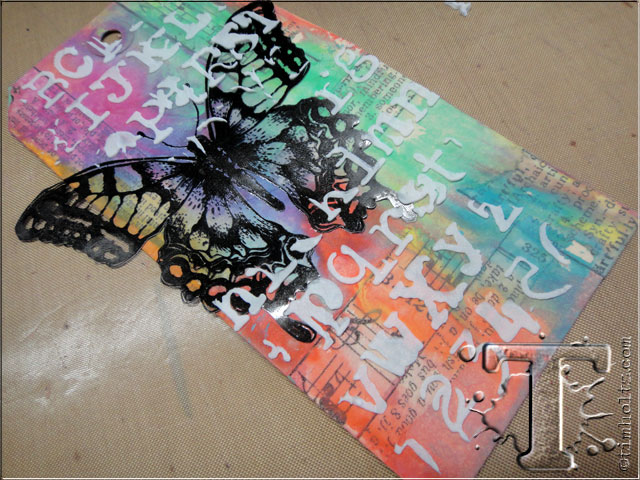
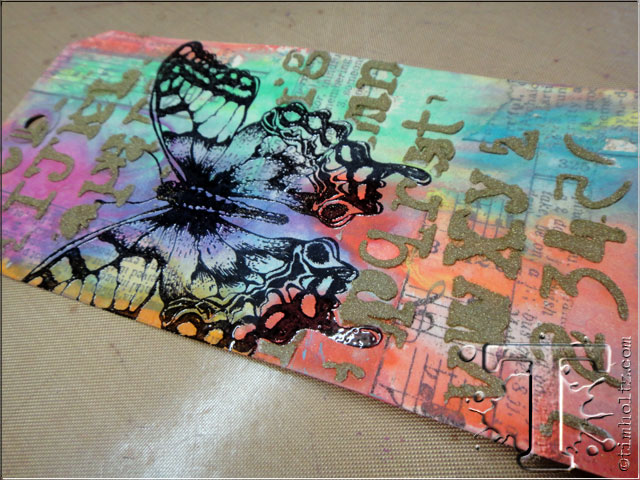
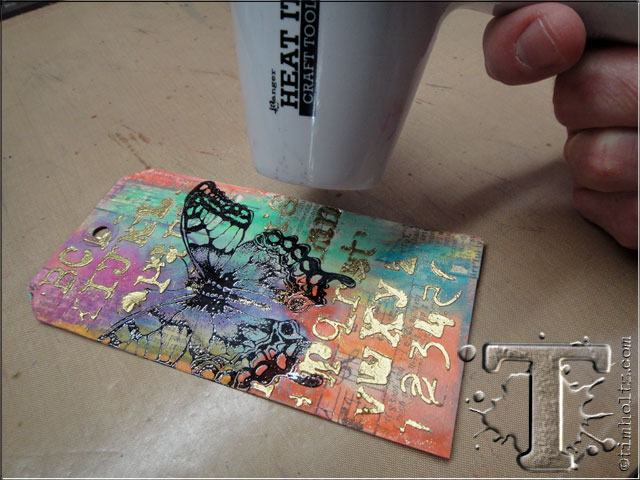 step 19: once the paste is dry, heat emboss the powder to achieve an amazing enameled texture.
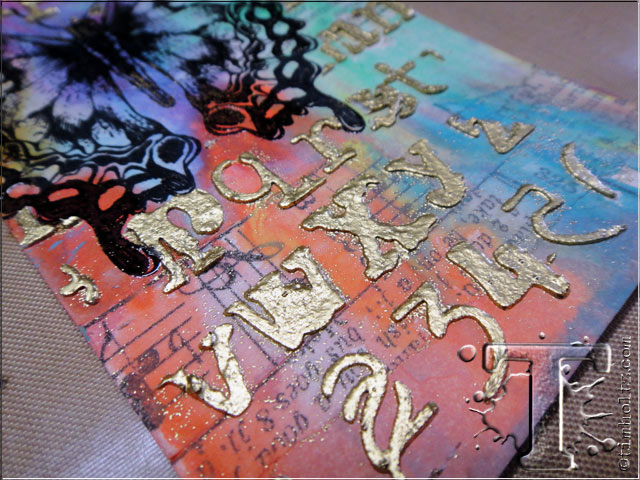 note: this technique can be used with any embossing powder to create any metallic or colored enameled texture.
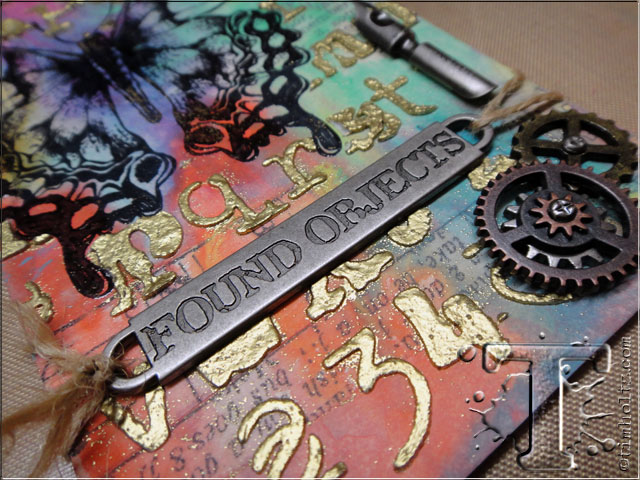 step 20: embellish the tag with your favorite trinkets and findings.
 step 21: one favorite are these new loop pins used to attach charms without the need for a jump ring.
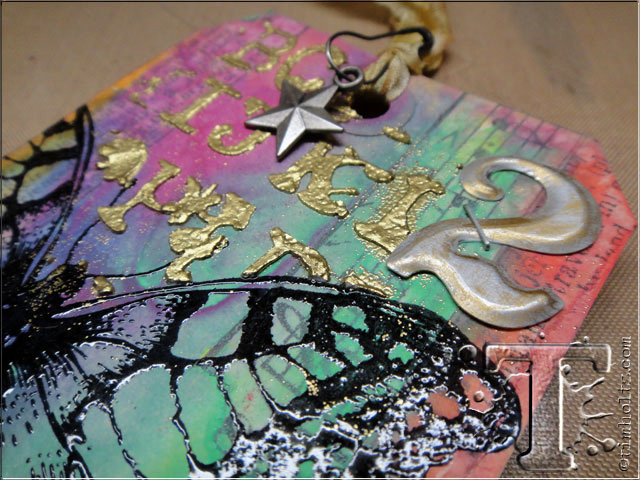 the details: i love the combination of color, texture, imagery, and elements of this tag. the embossed butterfly really pops and the mask effect with the layering stencil creates a great contrast with the embossed gold – have fun with this one!
Pin it to remember it!
we have also created a blog badge for you to use on your blogs – simply “right click and save” to save the image to your computer.


congrats to the winners from the february 12 tags of 2015. if you see your name (and it links to your tag), please email [email protected] to claim your prize…
1. Angela Radford
2. Colleen
3. Jenn DuBell
4. Vada
5. Lydia
6. Ruby Craft
7. Pamellia
8. Caroline T.
9. Becky
10. Rosso Papavero
11. Tracey
*be sure to check your local stores for these supplies or you can click the links below to purchase online with a discount of 10% off your purchase – use the following code with your order: SSS code: MAR10TH


.


