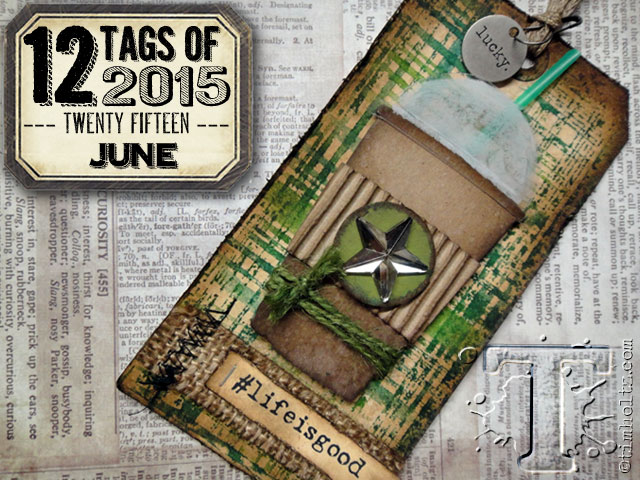
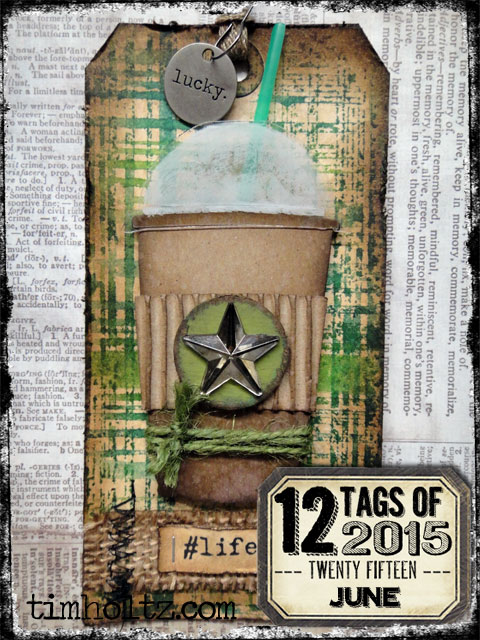
 a great thing about creativity is that is can be as simple or as complex as you want it to be. you can take an idea and adapt it however you choose. for this month’s tag i wanted to create a plaid background, basic right? there was many ideas spinning in my head to achieve this including stamps, stencils, embossing folders, inks, paints, papers, etc. the list could go on an on. that’s when you just have to pick one and go for it which is exactly what i did and see what happens. i had such fun with this distressed plaid technique and i think you will too, and the best part is it provides a backdrop for any type of project, and can be created in any color palette you choose – let’s get to it…t!m
supplies:
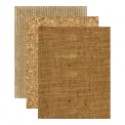
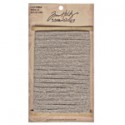
- surfaces: #8 manila tag, textured surfaces/burlap/corrugate, plastic packaging, chipboard
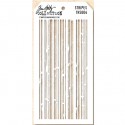
- layering stencil: THS004 stripes
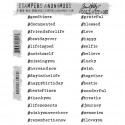
- stamp: CMS183 hashtags
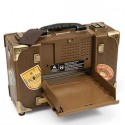
- dies: fresh brewed
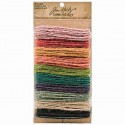
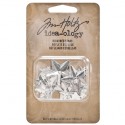
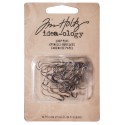
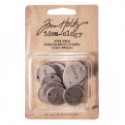
- embellishments: mirrored star, linen ribbon, jute string, loop pins, typed tokens
- distress ink pad: DIY distress it yourself, walnut stain
- distress reinkers: mowed lawn, pine needles, peeled paint
- distress spray stain: frayed burlap
- distress paint: picket fence, peeled paint
- alcohol ink: mushroom
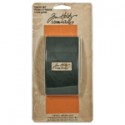
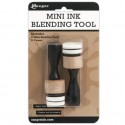
- tools: distress sprayer, mini ink blending tool, paper distressed, scissors, mini brayer, craft scraper, craft sheet, heat tool, tiny attacher, sanding grip, vagabond
- adhesive: 1/8” wonder tape, matte multi-medium, black foam tape
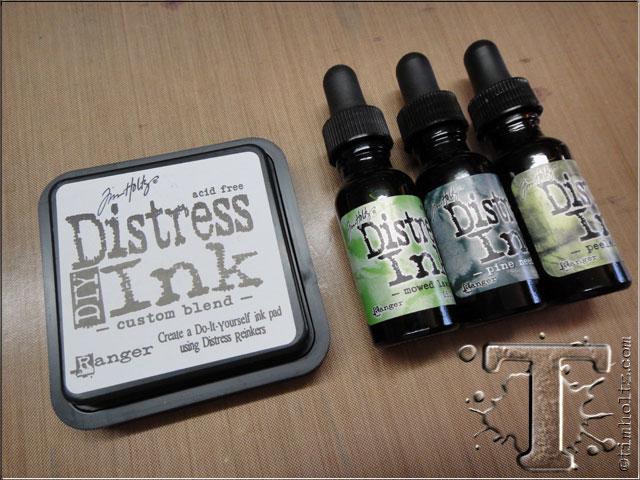 step 1: create a custom blend DIY distress it yourself ink pad by selecting various colors of distress reinkers. *note: for a video showing how to create one click here.
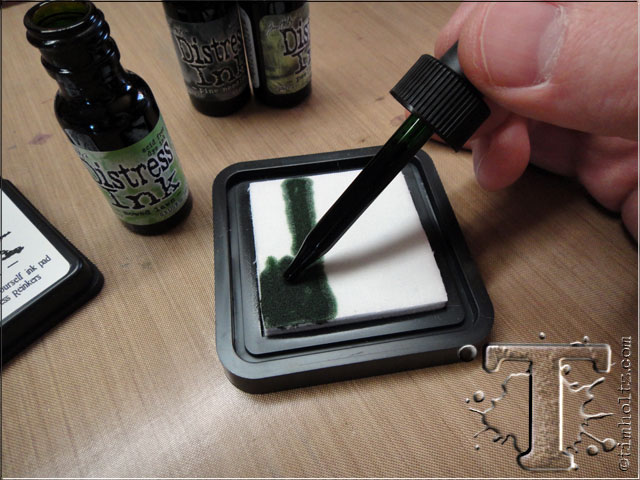 step 2: apply your first color of distress reinker directly to the felt pad by drawing a line with the reinker and filling in the area using the dropper.
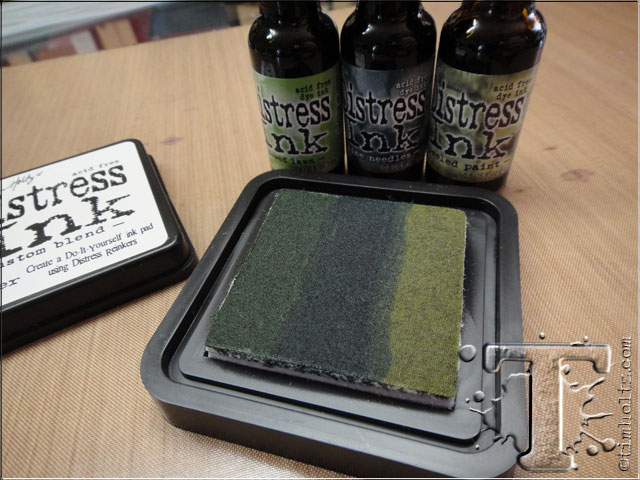 step 3: repeat the previous step using various colors. the neat thing about this type of felt is that once the inks are applied, the colors will not cross contaminate into each other.
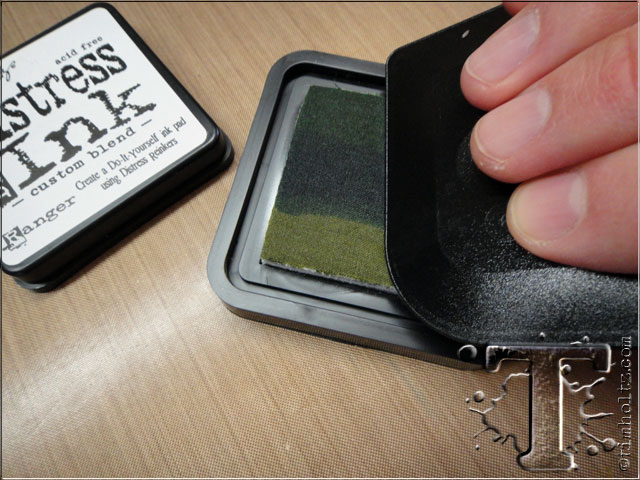 step 4: using a craft scraper, drag over the inked surface in the direction of your lines to “put” the ink into the pad.
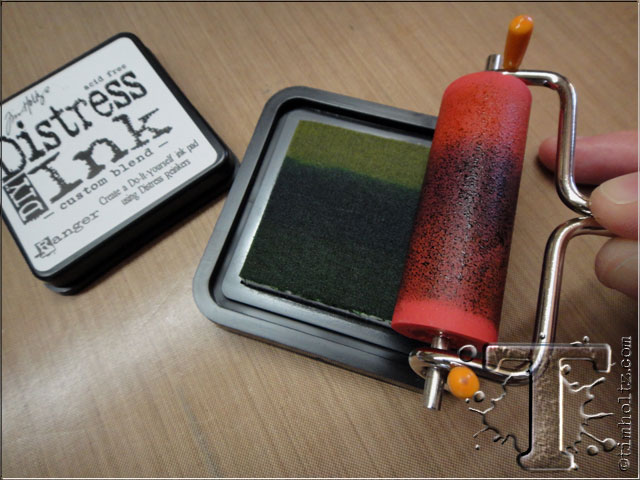 step 5: roll a brayer over the inked pad by rolling and lifting to cover the entire roller.
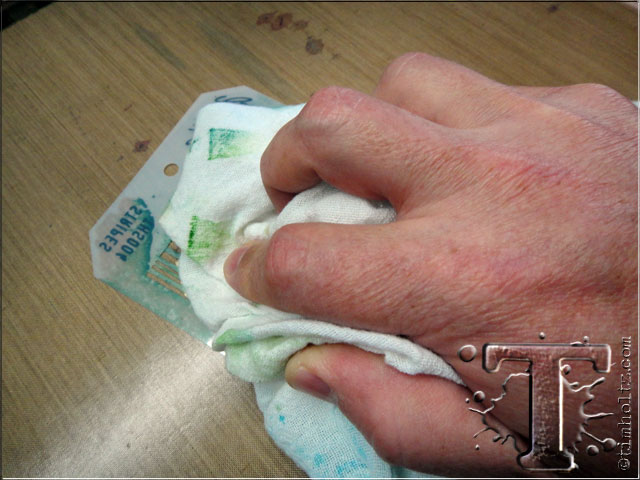
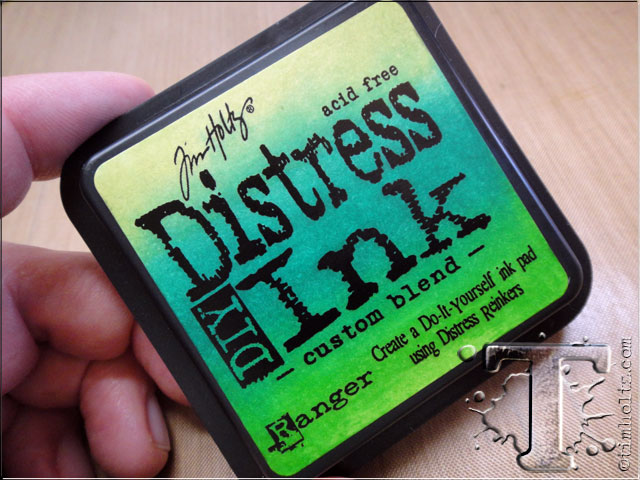 step 6: place lid back on the ink pad and brayer over the label to index your “custom blend”. lightly wipe away excess ink using a dry paper towel or cloth.
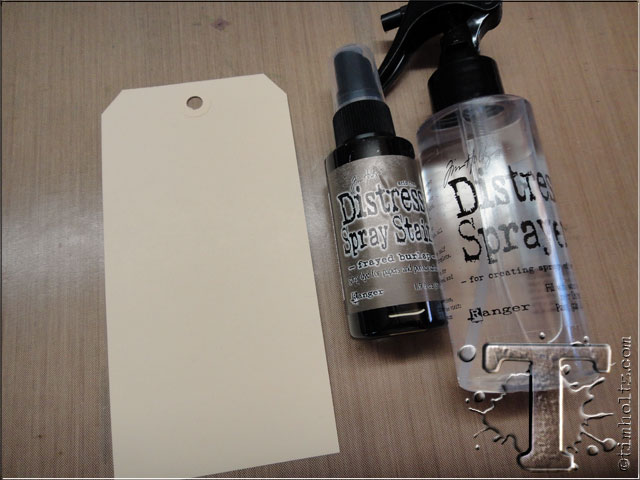 step 7: gather a manila tag, distress spray stain, and sprayer with water. note: for a video showing the features of the distress sprayer click here.
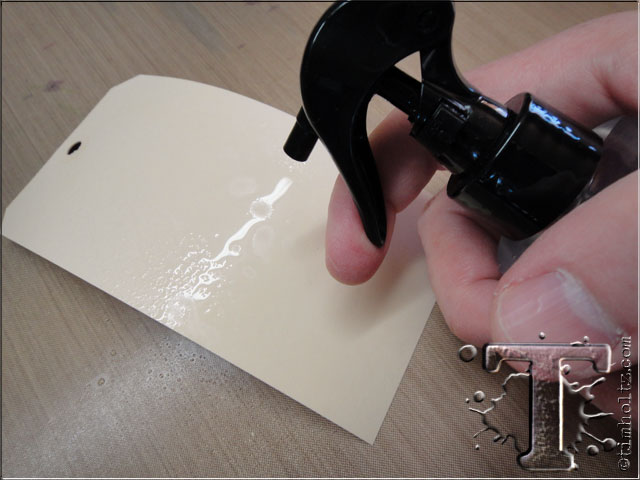 step 8: mist entire tag with water from distress sprayer.
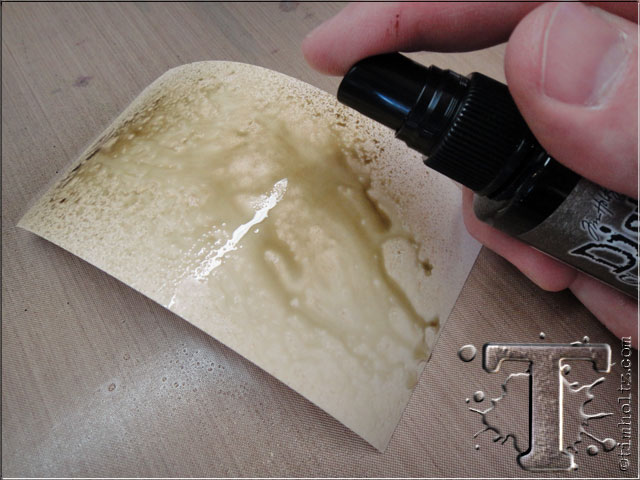 step 9: spray distress spray stain 2-3 times over wet tag allowing stain to drip and blend.
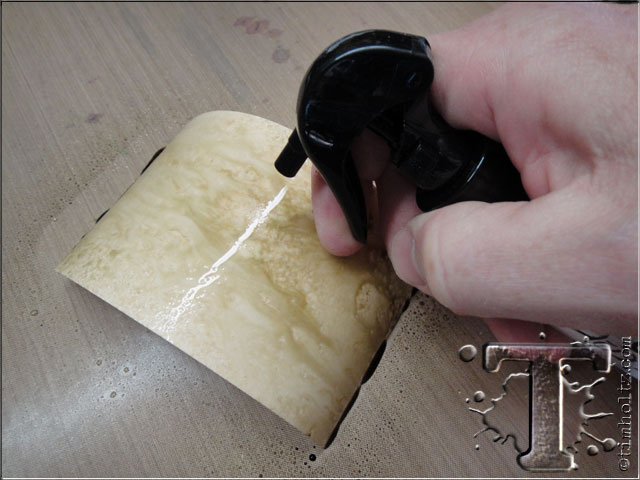 step 10: slowly squeeze the trigger of the distress sprayer to apply “drips” of water over tag.
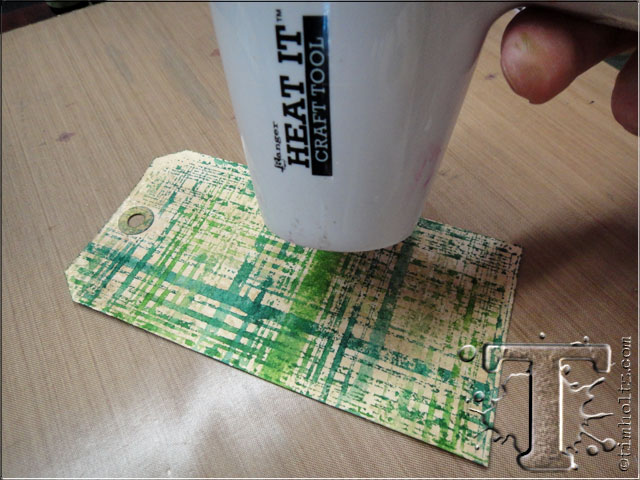
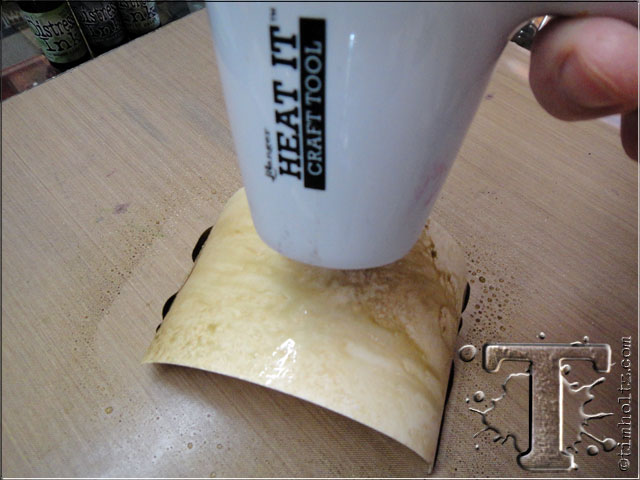 step 11: dry inked tag with a heat tool.
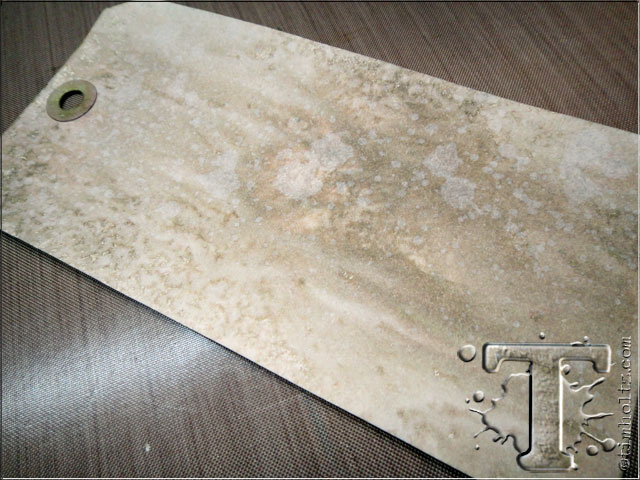 step 12: this technique creates the perfect blended mottled background.
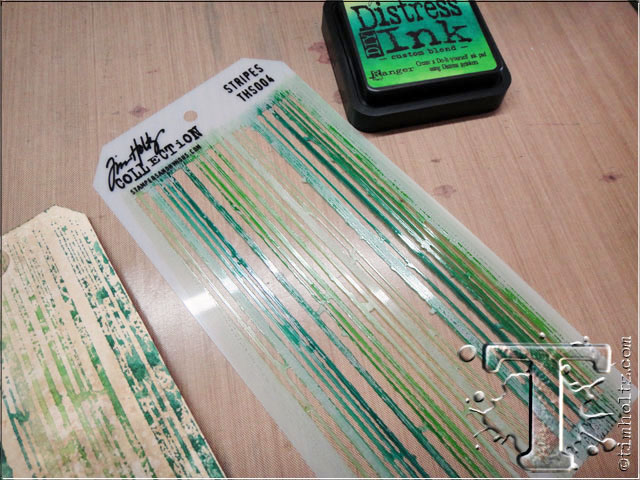
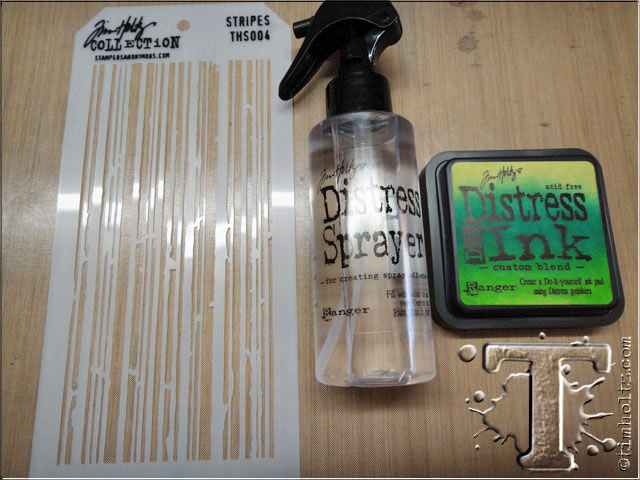 step 13: gather a stripe layering stencil, distress sprayer, and DIY ink pad.
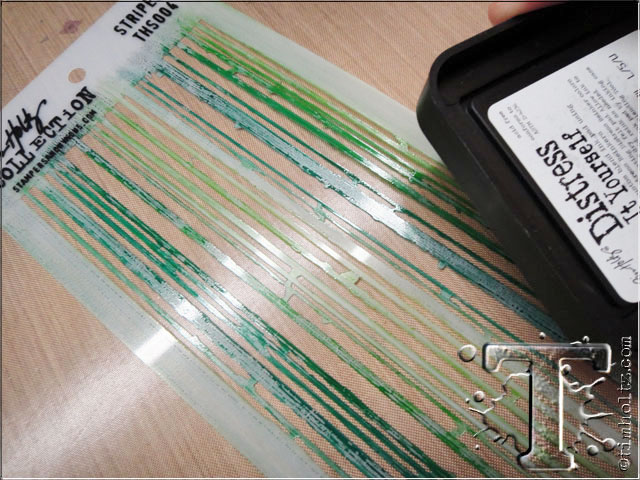
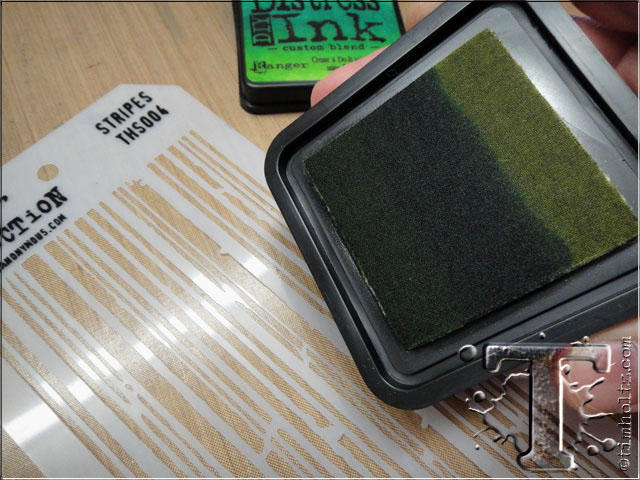 step 14: place the stencil on your craft sheet and hold ink pad where lines of ink and stencil are the same direction.
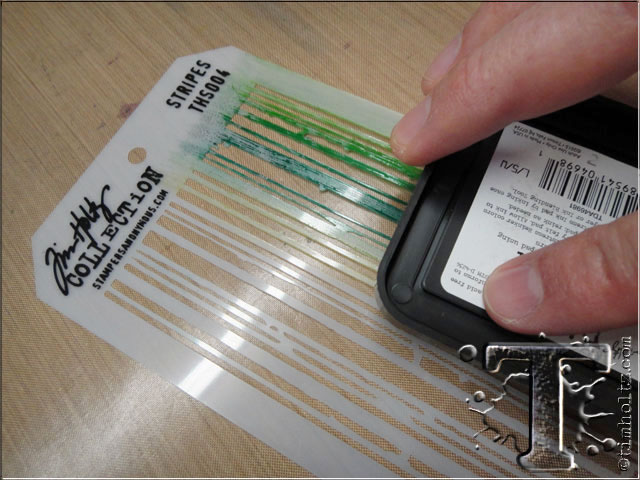 step 15: swipe the ink pad along the layering stencil covering the area from top to bottom.
 step 16: lift pad and repeat covering the entire stencil surface.
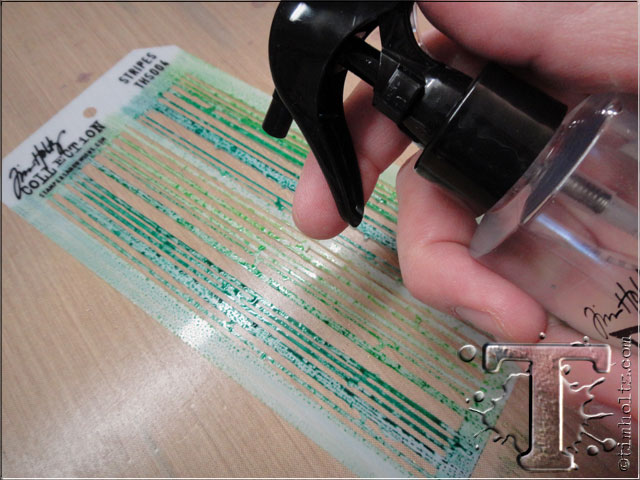 step 17: mist inked stencil with water to create droplets of ink on the surface.
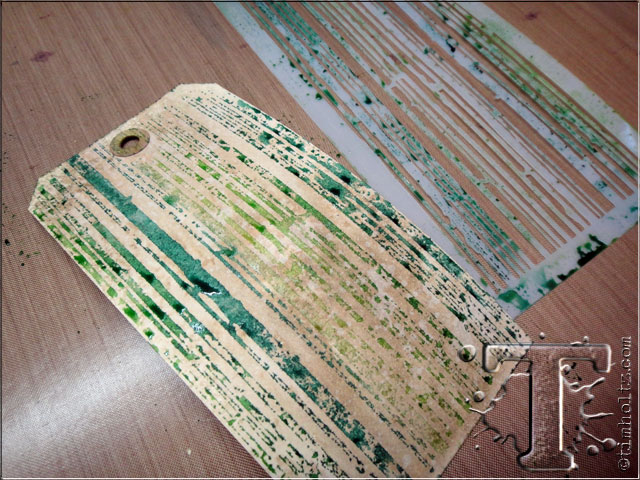
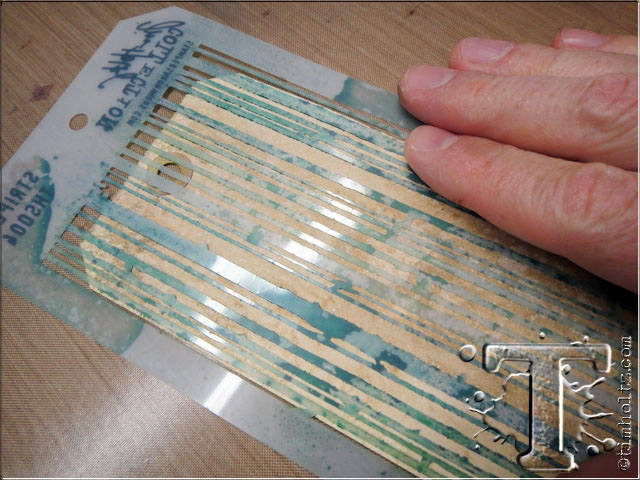 step 18: lift stencil, flip over, and place down over tag as shown.
 step 19: blot over the stencil with a cloth or paper towel to print the image and remove excess ink.
 step 20: carefully lift stencil and clean off remaining ink.
 step 21: re-apply the ink pad on the stencil and mist with water.
 step 22: turn the stencil horizontal and print along the top of the tag as shown.
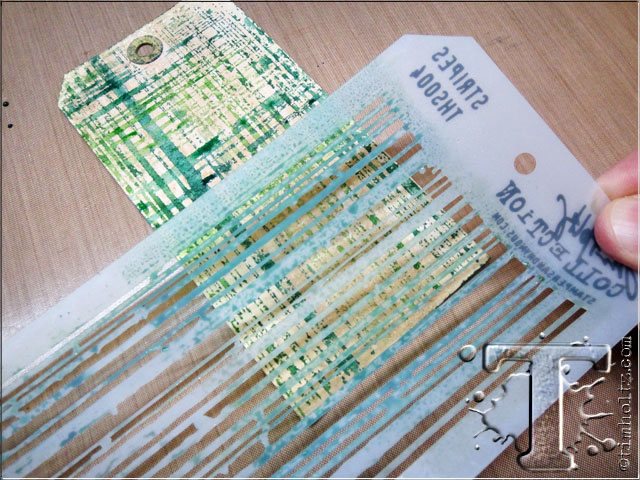 step 23: turn stencil around and print along the bottom tag as shown lining up the edge of the stencil in the center of the tag.
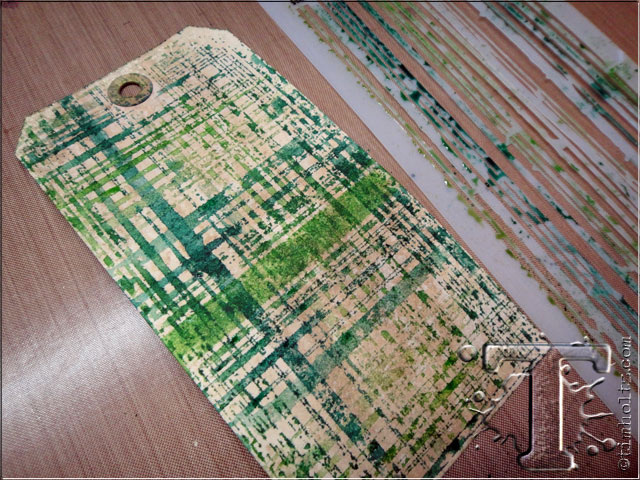 step 24: carefully lift stencil and clean off remaining ink.
 step 25: dry finished plaid with a heat tool.
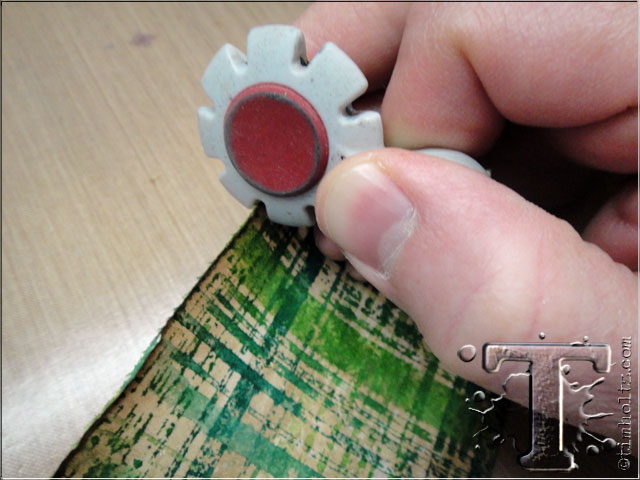 step 26: drag a paper distresser along the edges of the tag to tatter.
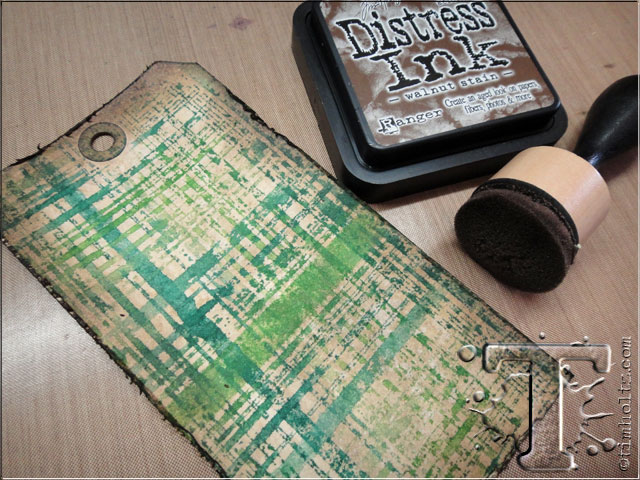 step 27: ink the edges of the tag with distress ink using an ink blending tool.
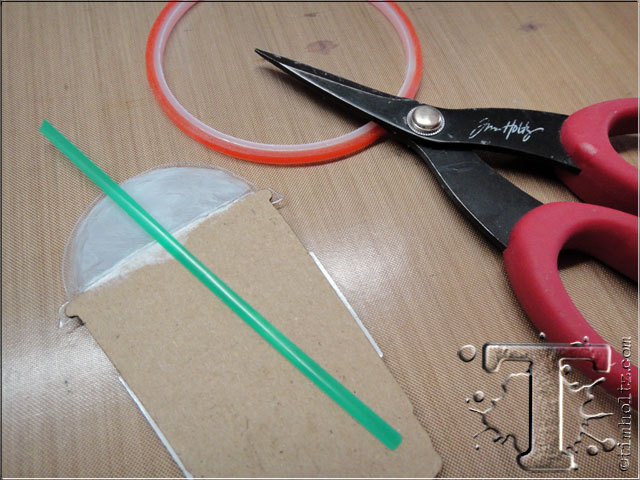
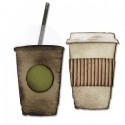
 step 28: gather various surfaces to die cut: chipboard, plastic, corrugate, and a straw (what better way to match the perfect color right?).
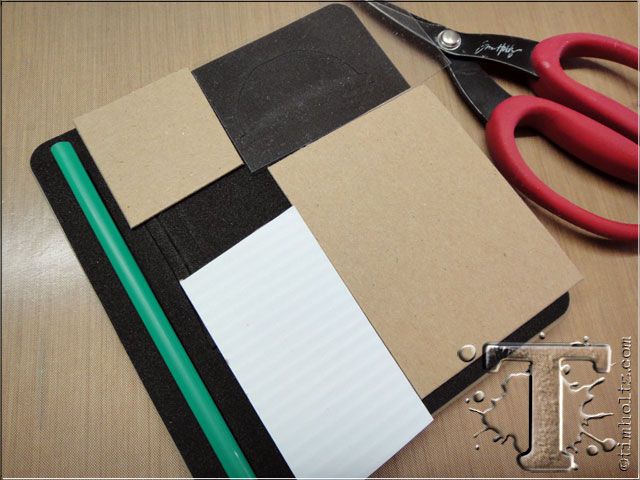 step 29: place the various surfaces over the areas of the die as shown.
 step 30: run the die through the vagabond to cut out the various surfaces.
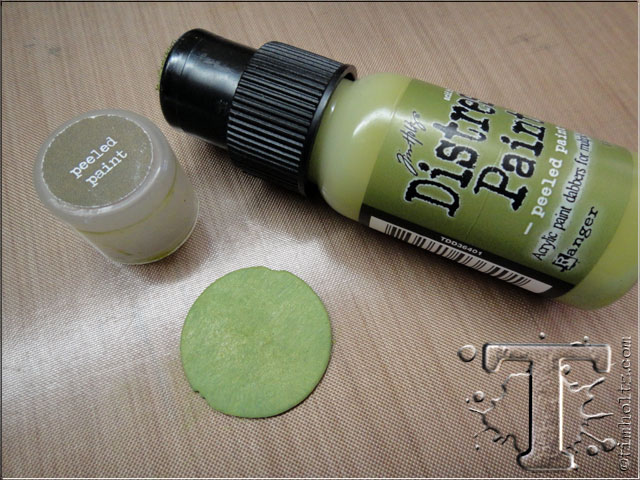 step 31: paint the chipboard circle with distress paint and let dry.
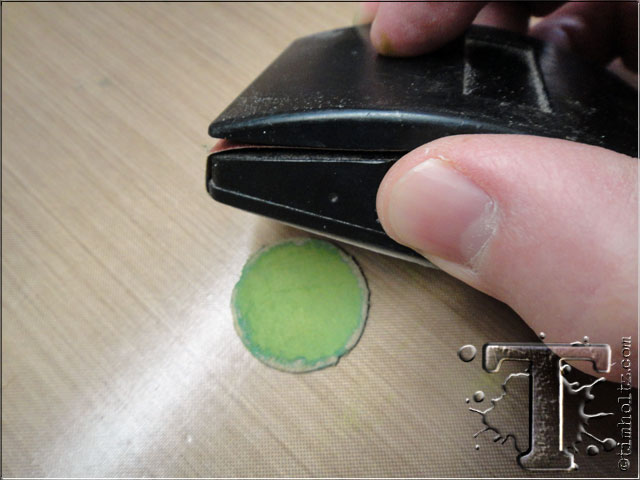 step 32: sand edges to expose chipboard.
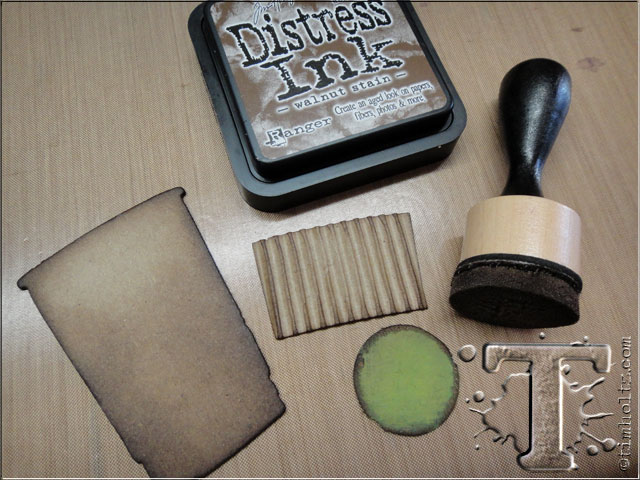 step 33: ink the porous surfaces with distress ink using blending tool.
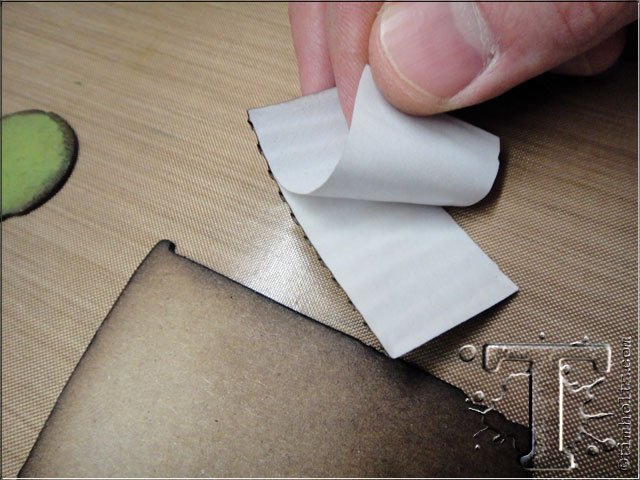 step 34: remove backing from corrugate and adhere to chipboard cup.
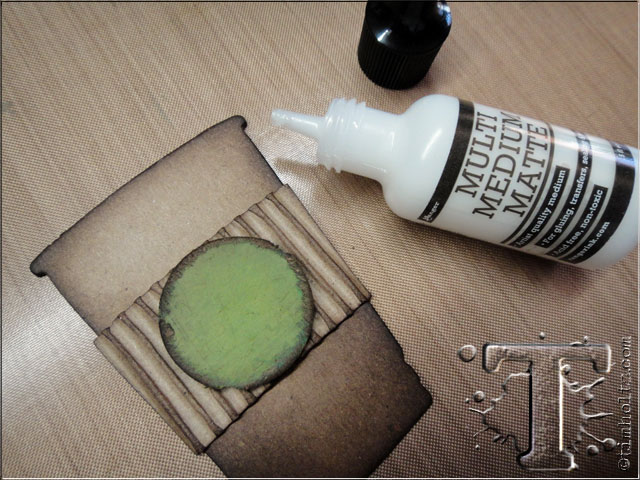 step 35: adhere chipboard circle to corrugate with multi-medium.
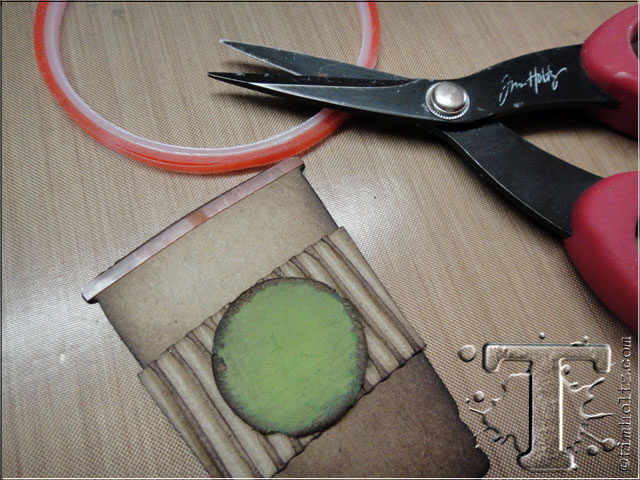 step 36: apply a strip of 1/8” wonder tape along the top edge of the cup as shown.
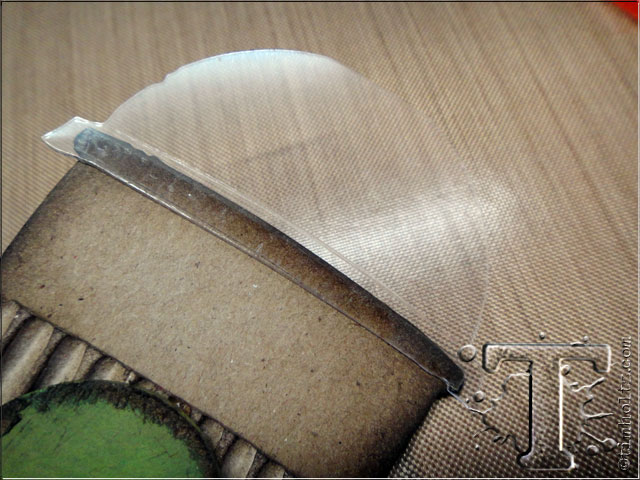 step 37: remove red liner and adhere plastic lid.
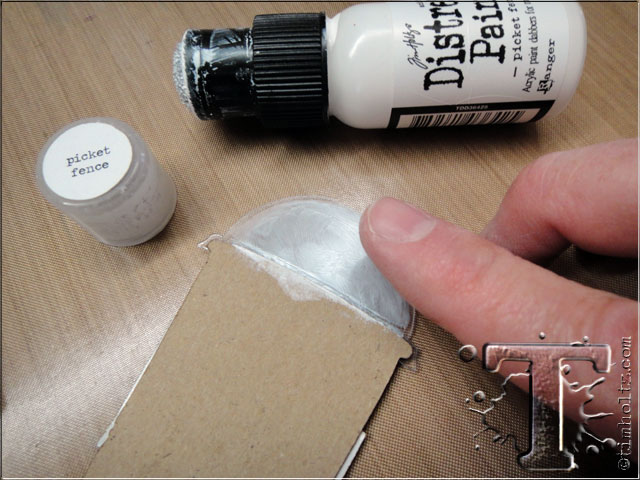 step 38: add some “whipped cream” to the back of the lid using distress paint and your finger.
 step 39: adhere the straw to the back of the cup using wonder tape.
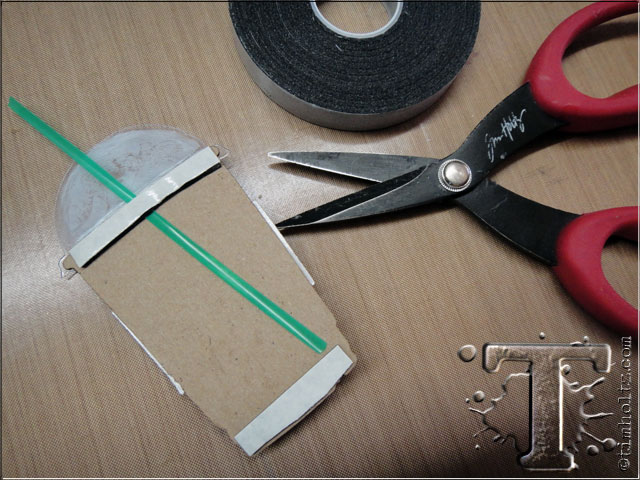 step 40: apply strips of black foam tape along the back top and bottom of the cup as shown.
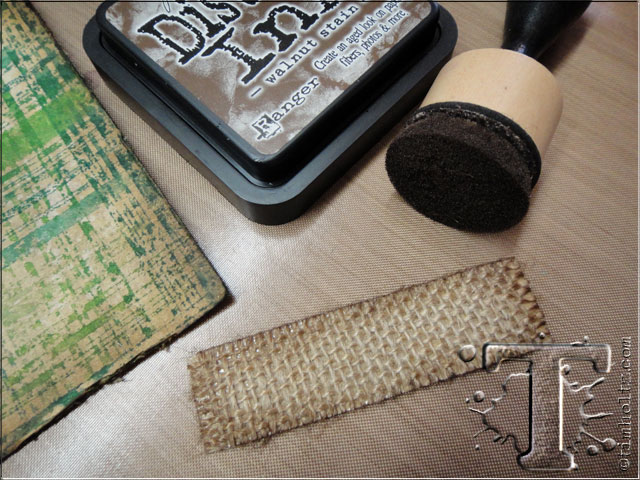 step 41: cut a strip of burlap and ink the edges with distress and blending tool.
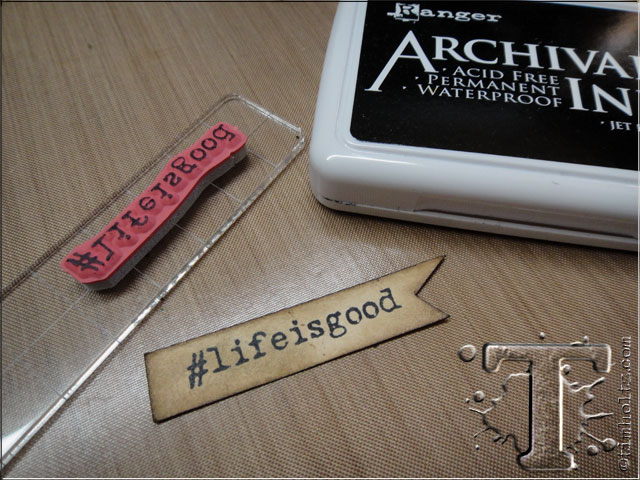 step 42: cut a strip of cardstock to create flag and stamp hashtag with archival ink.
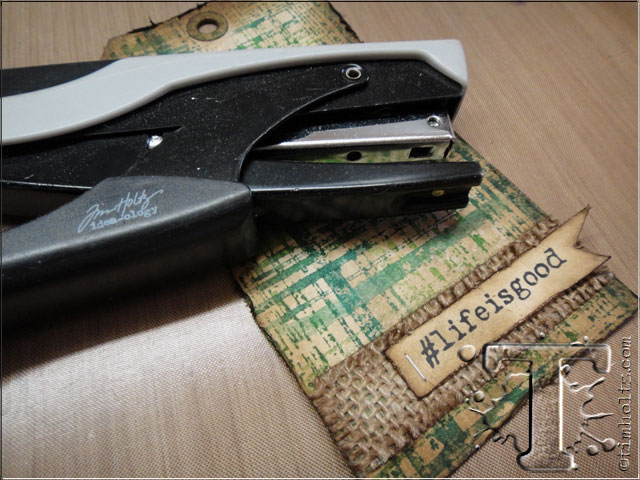 step 43: remove backing to adhere burlap to bottom of tag and secure flag with tiny attacher.
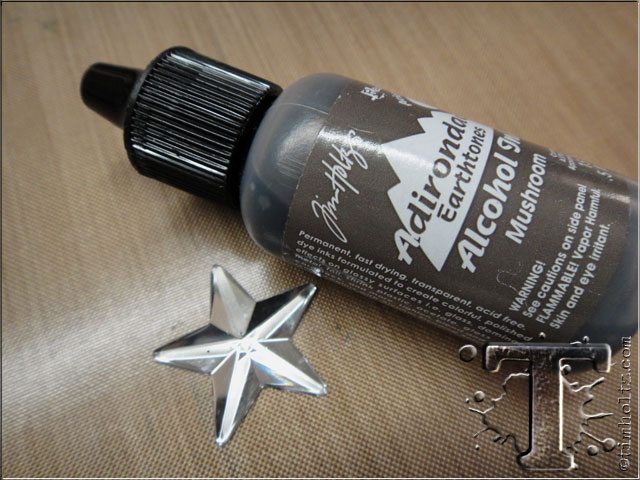 step 44: tint mirrored star by dripping mushroom alcohol ink over the top and let dry.
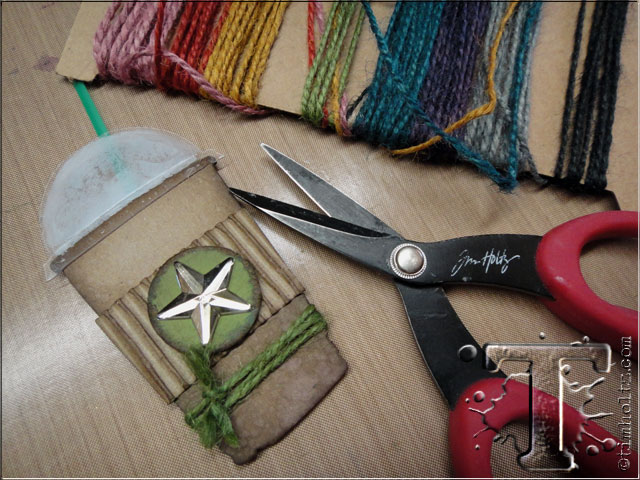 step 45: adhere star to circle using multi-medium and tie jute string around the base of the cup.
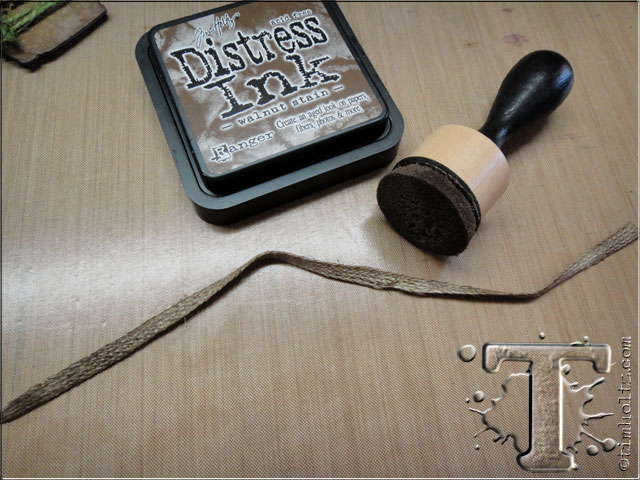 step 46: ink linen ribbon with distress using ink blending tool.
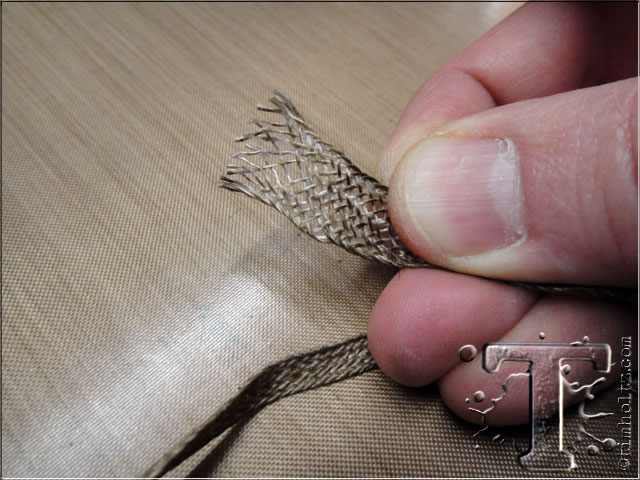 step 47: pull edges apart to wiped ribbon and tie through top of the tag.
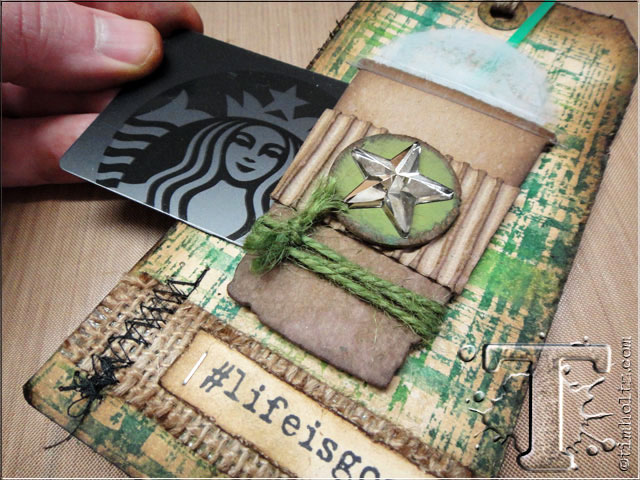 step 48: remove backing of foam tape and adhere cup to the tag – perfect for sliding in your FAVORITE gift card!
Pin It To Remember It!
congrats to the winners from the may 12 tags of 2015. if you see your name (and it links to your tag), please email [email protected] to claim your prize…
1. Rachel Kleinman
2. Two Mad Dahlias
3. kay wallace
4. Carol’s Craft Room
5. Lee-Anne
6. Claudia
7. butterfly
8. Lynn Kopas
9. Ink-A-Pink
10. Canadian Nickel Scrapper
11. Joanne Parkin
12. Paper Talk With Samra
*be sure to check your local stores for these supplies or you can click the links below to purchase online with a discount of 10% off your purchase – use the following code with your order: SSS code: 10JUNETH

.


