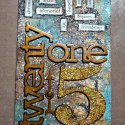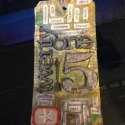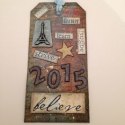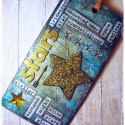
happy new year!!! so are you ready to start the year off with new adventures, new inspirations, and new creative resolutions? well the annual 12 tags series is the perfect way to make that happen. if you’ve been part of the fun for the past several years, thanks for sharing the journey, and if you’re new to the blog, welcome. each and every month throughout the year i share a new tag tutorial to get your creativity going. i showcase various techniques with some of my favorite products, ideas for using stamps, dies, and other tools, and take you step by step through the process to put it all together. even if you don’t have the same products i use, hopefully you will be inspired by the ideas i’ve shared and create your own version. it’s a great way to put the products you have to good use, and challenge your creative process…
you have the entire month to finish your tag and upload it right here on the blog to share with others, and if you also post on social media, be sure to use the hashtag #12tagsof2015
oh and did i mention giveaways? each month we select 12 winners at random who have uploaded their tag the previous month, post their names on the blog, and send them a great prize package from one of our sponsors: ranger, idea-ology, sizzix, stampers anonymous, inspiration emporium, and simon says stamp – pretty cool…
why a tag? well because i find it’s a simple surface that’s easy to create on, play on, and try things without worrying about making a masterpiece. remember it’s all about the process and embracing imperfection. you can use tags for a card front, in an art journal, or just display it as is, but you don’t have to create a tag, just make something using the techniques and ideas shared each month. it’s all about taking time for yourself to do something creative…
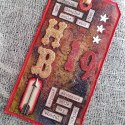
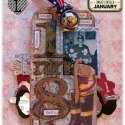
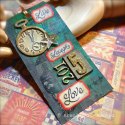
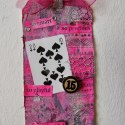
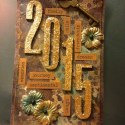
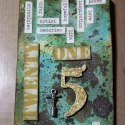
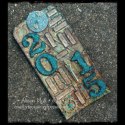
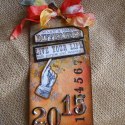
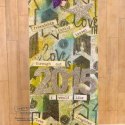
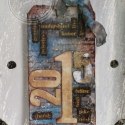
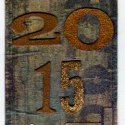
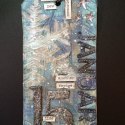
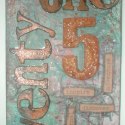
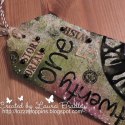
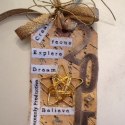
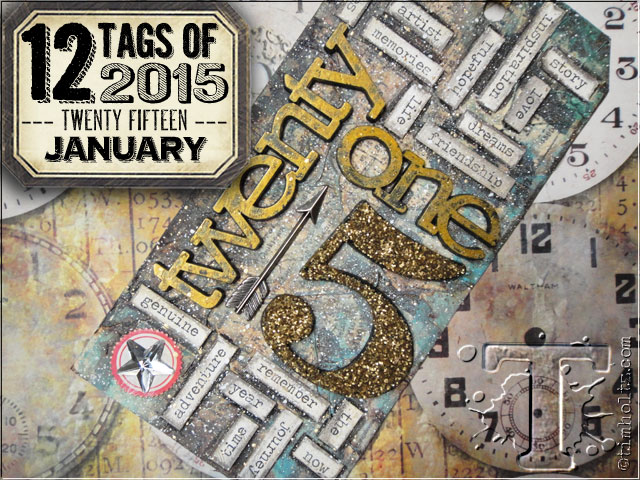
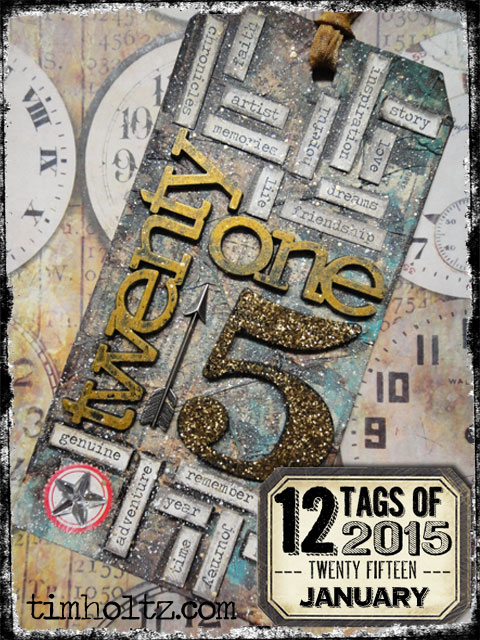
this month’s tag was all about the new year! a time to reflect on the past, while aspiring for new and exciting opportunities ahead. my love for numbers took center stage surrounded by words that inspire me as i hope they inspire you too – let the 12 tags of 2015 begin…t!m
supplies used:
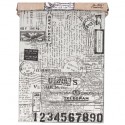
- surfaces: tissue wrap/postale, #8 manila tag
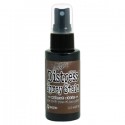
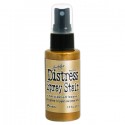
- distress spray stain: walnut stain, tarnished brass
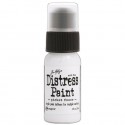
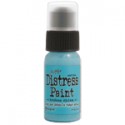
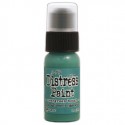
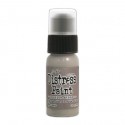
- distress paint: tarnished brass, evergreen bough, broken china, pumice stone, picket fence
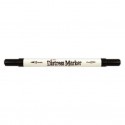
- distress marker: block soot
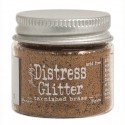
- distress glitter: tarnished brass
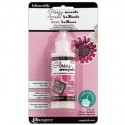
- adhesives: glossy accents, glue n’ seal
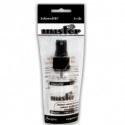
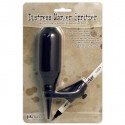
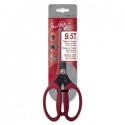
- tools: craft sheet, scissors, shears, sanding grip, heat tool, distress marker spritzer, mister
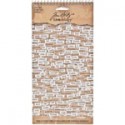
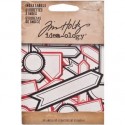
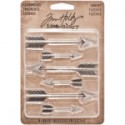
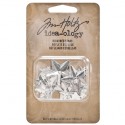
- embellishments: alpha parts/numeric, chitchat stickers, index labels, arrow adornment, mirrored star, crinkle ribbon
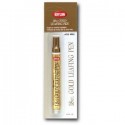
- misc: krylon gold leaf pen, splatter brush
 step 1: begin with tissue wrap, manila tag, and glue n’ seal
 step 2: apply a wet layer of glue n’ seal to one side of the tag covering completely.
 step 3: working quickly, lay a piece of tissue wrap over the adhesive and slightly bunch areas of the tissue wrap with your hands to create wrinkles and texture. press flat and let dry or dry with a heat tool.
 step 4: trim excess tissue wrap from around tag using tonic shears or other non-stick scissors.
 step 5: to distress, sand and scuff around the edges of the tag to remove some of the tissue wrap.
 step 6: apply various colors of distress paint to the craft sheet and paint the background of the tag using your fingers.
 step 7: while paint is still wet, mist with water to react paints and blend colors.
 step 8: partially dry the painted background with a heat tool.
 step 9: spray background with a couple of mists of distress spray stain.
 step 10: while stain is still wet, mist with water to react spray stain and blend color.
 step 11: blot off excess color with a cloth or paper towel to achieve the desired tone.
 step 12: dry finished background tag with a heat tool.
 step 13: cut the “twenty” “one” “5” from alpha parts from sheet, and trim excess plastic barbs.
 step 14: apply glossy accents to the top surface of the “5”.
 step 15: spread a thin layer of glossy accents with your finger.
 step 16: immediately cover the wet adhesive with distress glitter over a piece of scrap paper and remove excess glitter by tapping the edge – do not press down glitter with your hand.
 step 17: set alpha part aside to allow glittered surface to dry completely.
 step 18: apply distress paint to surface of “twenty one” alpha parts.
 step 19: begin drying paint using a heat tool, but use caution and plastic alpha parts can melt. just apply some heat, allow to cool for a minute, and continue drying until most of the paint is dry but not all of it (very important)…
 step 20: wipe off the wet paint areas using a dry cloth to create a worn painted finish. *note: the dry painted areas will not wipe off as distress paint it permanent when dry.
 step 21: just place the alpha parts on the tag for positioning and begin adhering various chitchat stickers on the tag using glossy accents.
 step 22: continue adhering chitchat stickers until desired look is achieved, then remove the alpha parts.
 step 23: paint a thin layer of glue n’ seal over the entire tag covering the chitchat stickers and let dry (this is why we adhered the stickers to keep them from sliding around during this step).
 step 24: swipe a thin line of black soot distress marker along the edges of the chitchat stickers and immediately smudge the ink with your finger to create a shadowed effect. *note: if you get too much ink on the sticker, simply wipe it off with a damp cloth (this is why we covered the entire surface with glue n’ seal to provide a non-porous finish ove the stickers).
 step 25: apply picket fence distress paint to craft sheet and splatter over tag using a splatter brush – let dry.
 step 26: adhere alpha parts on tag using glossy accents.
 step 27: i decided to add a few embellishments to the tag with an index label, mirrored star, and arrow adornment.
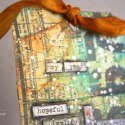
 step 28: color a piece of crinkle ribbon with tarnished brass distress spray stain for the perfect metallic ribbon and tie through tag.
 step 29: for the finishing touch, insert a gold leaf krylon paint pen into a distress marker spritzer and spritz over the entire tag.
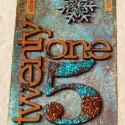
 the details: i love the sparkly texture of this tag using the distress glitter, metallic distress paint, and gold leaf pen to achieve awesome layers.
Pin it to Remember it
congrats to the winners from the december 12 tags of 2014. if you see your name (and it links to your tag), please email mario@timholtz.com to claim your prize…
1. Scrappallino
2. VivelaVi
3. Create with Joyce
4. that crazy chick
5. Helen Allen
6. Bodils Hobbyblogg
7. Elena B
8. Mae Nazareth
9. JuJu Crafts
10. Monette R
11. Kimberly C
12. Kath S
*be sure to check your local stores for these supplies or you can click the links below to purchase online with a discount of 10% off your purchase – use the following code with your order: SSS code: 10JANUARYTH
.
