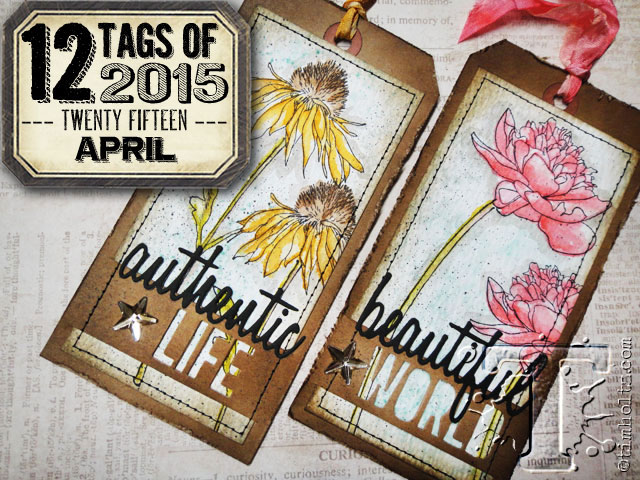
 getting the most out of products has always been one of my main goals as a designer. i try to inspire different ways to think about the products and their many uses. first we’ll explore distress markers and a few creative ways to use them including layered watercoloring, background spritzing, and even tinting ribbon. next we’ll learn about the new flower garden stamp set which are sketch illustrated flowers allowing you to “design your own garden” simply by playing with the juxtaposition of the images. the thin outlined flower heads and stems are separate and also provide a simple way to color especially if you’re like me and don’t mind coloring outside the lines. lastly i’ll show you a few tricks to use some new sizzix word dies to layer a sentiment on the tag using both the positive and negative space cut from the dies. the more you play with products in various ways, the more likely you are to use them for more than you imagined…t!m
supplies used:
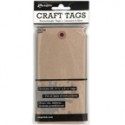
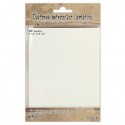
- surfaces: #8 kraft tag, distress watercolor cardstock, black cardstock
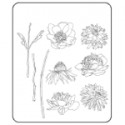
- stamp: CMS215 flower garden, grid-blocks
- dies: adventure words: block, adventure words: script
- embellishments: crinkle ribbon, mirrored stars
- distress markers: worn lipstick, abandoned coral, brushed olive, pumice stone, wild honey, vintage photo, gathered twigs, black soot
- distress ink pads: frayed burlap, walnut stain
- archival ink pad: jet black
- alcohol ink: mushroom
- adhesives: collage glue stick, xyron
- tools: waterbrush/detailers, distress marker spritzer, heat tool, mister, craft sheet, design ruler, paper distresser, craft knife, cutting mat, vagabond
- optional: sewing machine
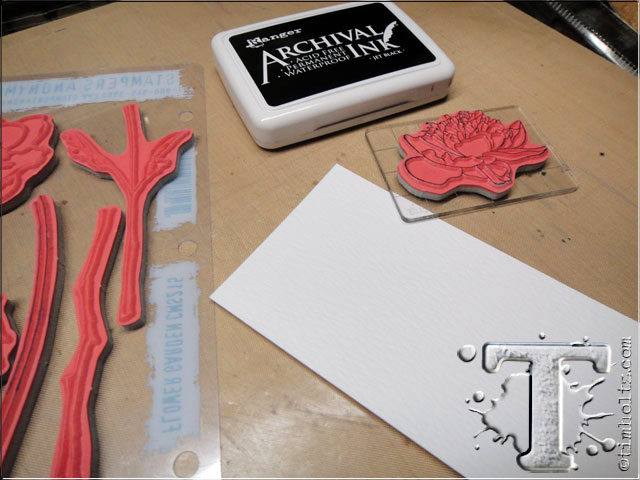 step 1: cut a piece of distress watercolor cardstock 2 3/4” x 5 1/2”.
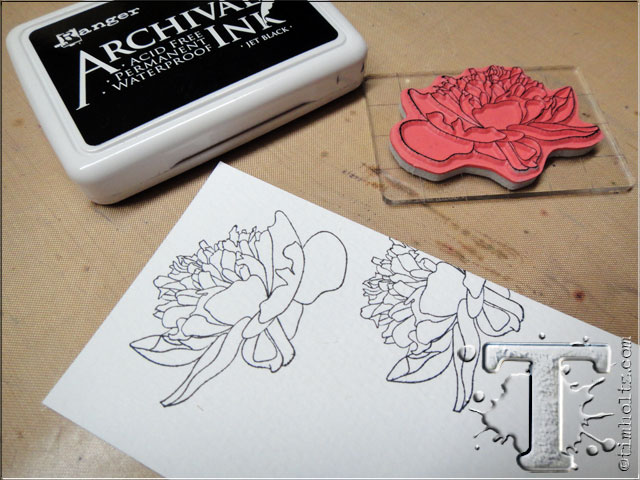 step 2: stamp the flower heads with archival ink on the textured side of the cardstock. distress cardstock is unique since once side is smooth and one side is textured. the textured side provides more “peaks and valleys” to hold color and it’s actually quite easy to stamp on, even with detailed images like these.
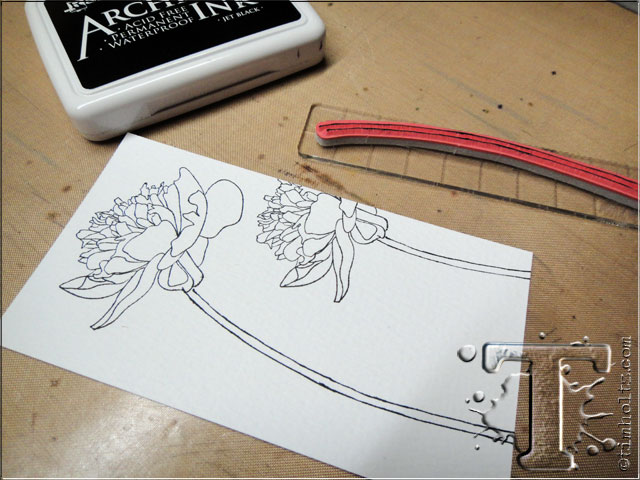 step 3: stamp the stem portion of the flowers with archival ink.
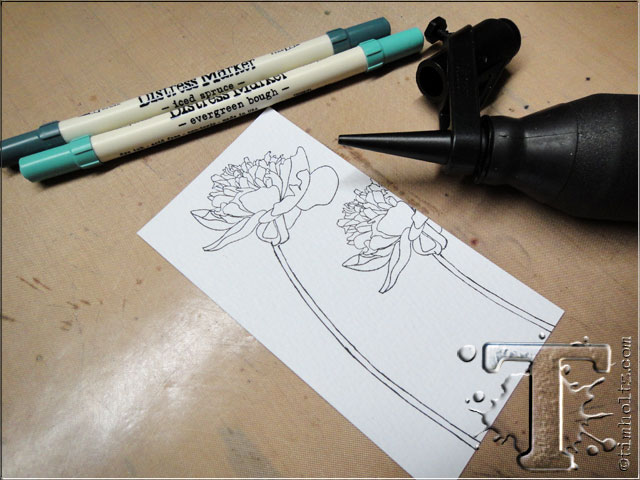 step 4: gather a couple distress markers to use for the background.
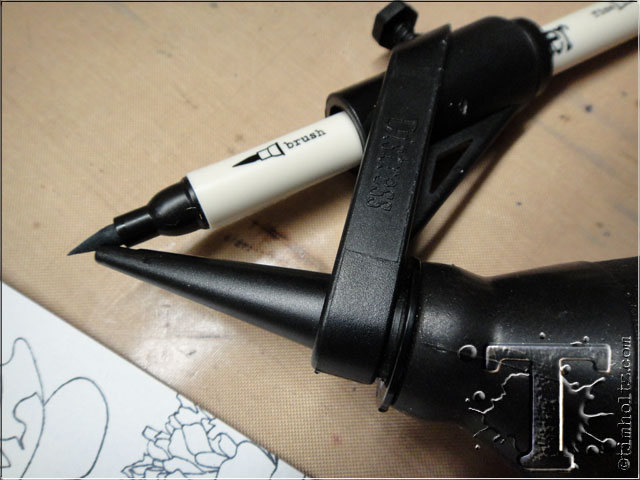 step 5: insert one of the colors into the distress marker spritzer to have it ready.
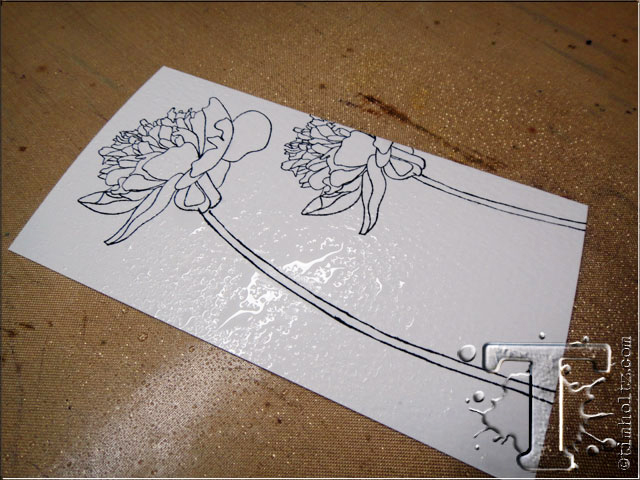 step 6: mist the cardstock with a thin layer of water covering it completely.
 step 7: spritz the marker over the wet cardstock and watch the distress ink immediately react with the water and “wick” out. quickly change colors and repeat with the second tone.
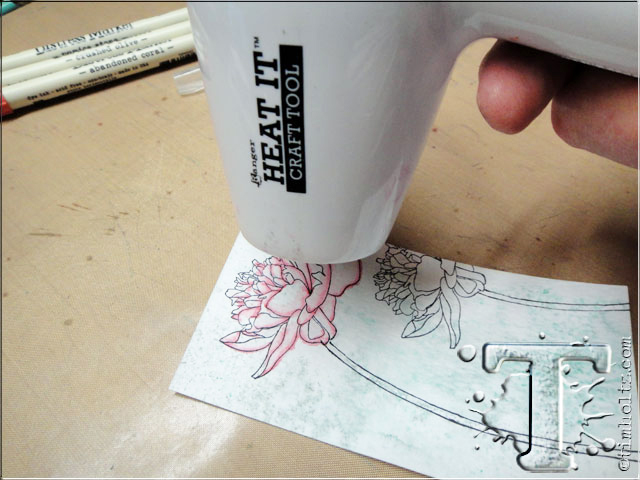
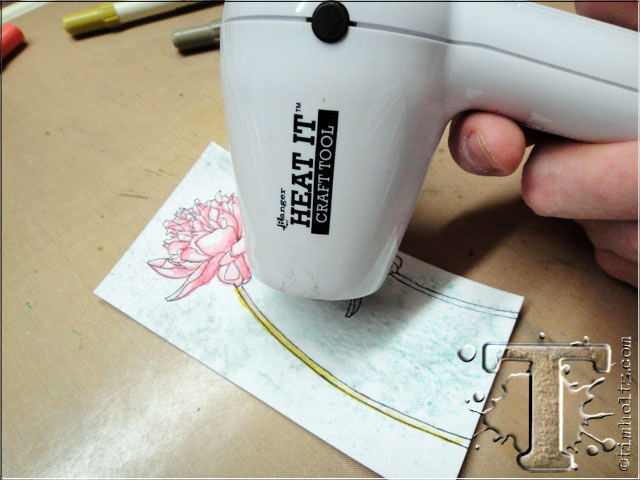
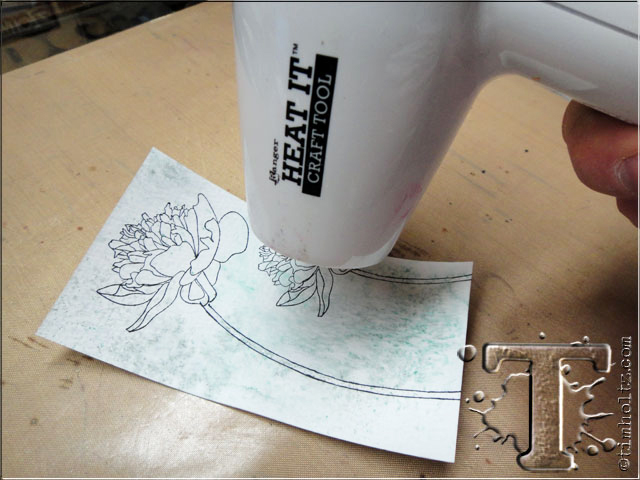 step 8: dry the cardstock with a heat tool.
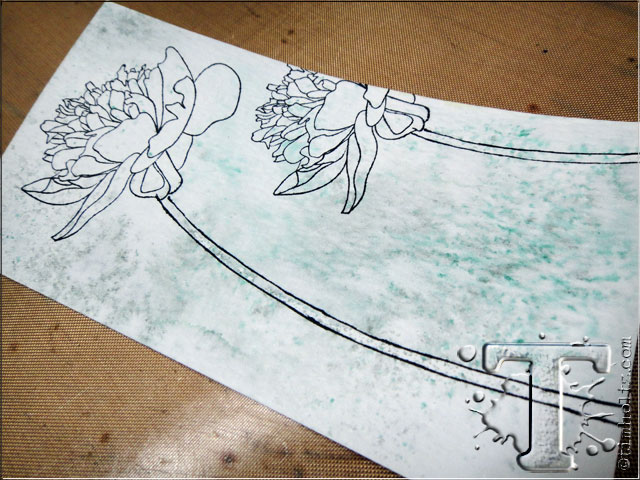 step 9: check out the cool spritzed watercolor background. starting with wet paper allowed the inks to spread faster creating a more mottled effect vs. spritzing dry cardstock and trying to wet the inks which would result in a more speckled background.
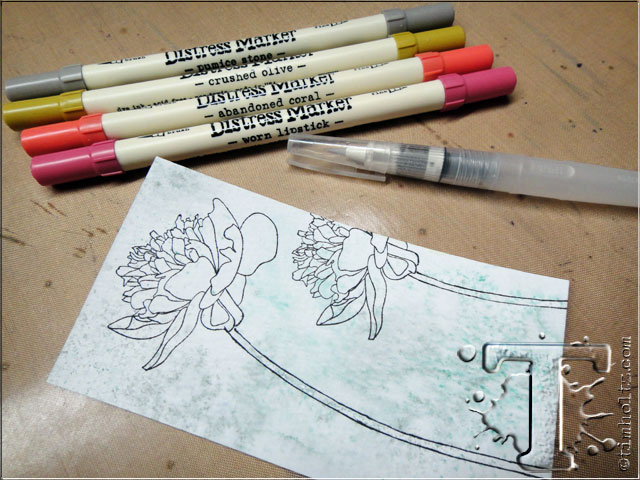 step 10: gather a few colors of distress markers to color your image and a detailer waterbrush. i’ve found if you choose a simple palette to start with it’s easier to get started colors. i also find using a waterbrush with detailed bristles helps to control the amount of water used to blend the colors.
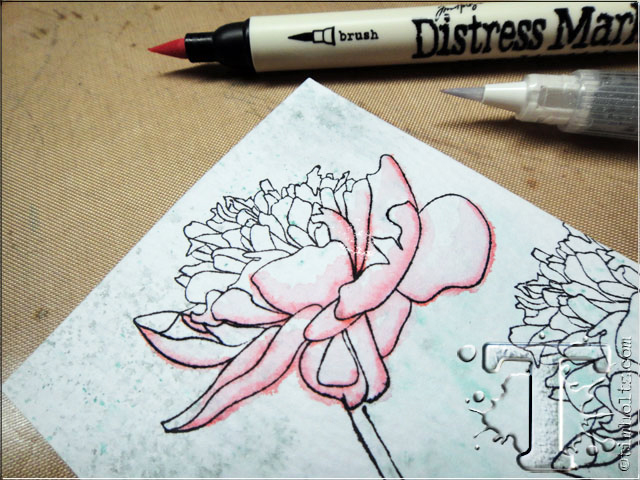
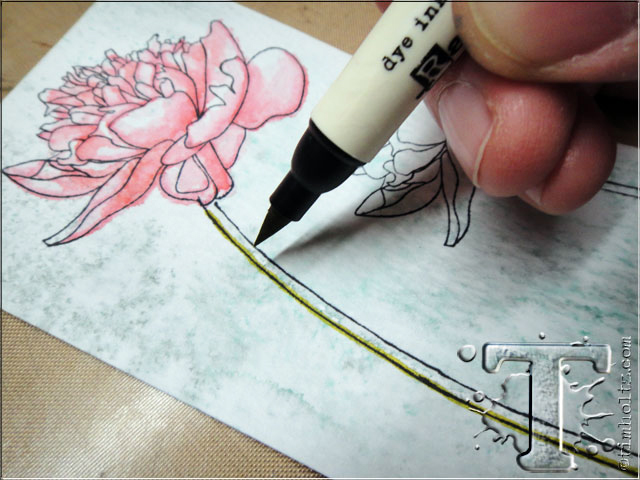
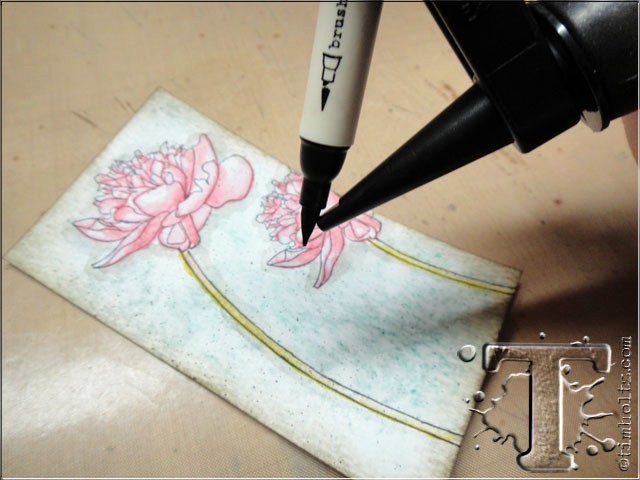
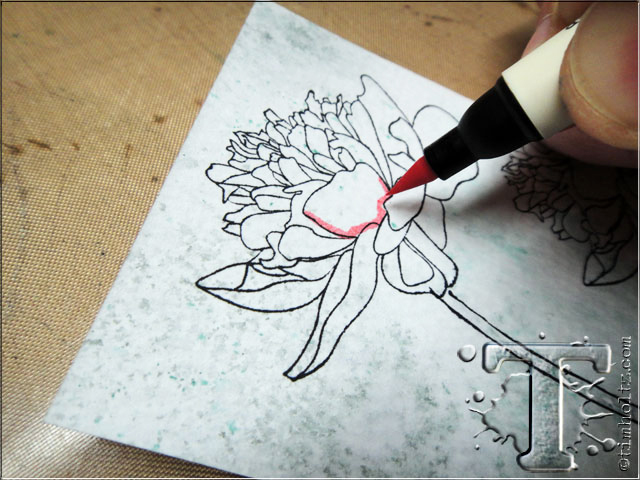 step 11: begin by coloring directly on a couple of the lines of the image using the brush tip of the marker.
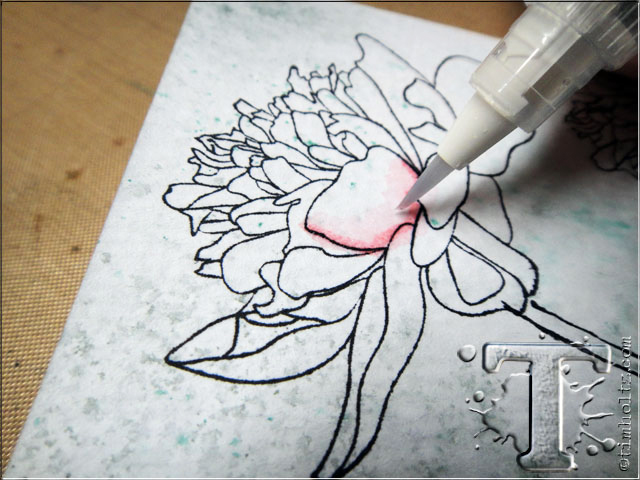 step 12: blend the color by pulling it into the open area of the image with a waterbrush.
 step 13: continue following the lines of the image remembering to only outline a couple of the lines and not the entire image with color. let the water pull and blend the color going from the darker shade to a lighter shade and remember to “embrace the space”. leaving areas uncolored will give your finished image more depth.
 step 14: once your outline coloring is finished, dry the image with a heat tool or allow it to air dry.
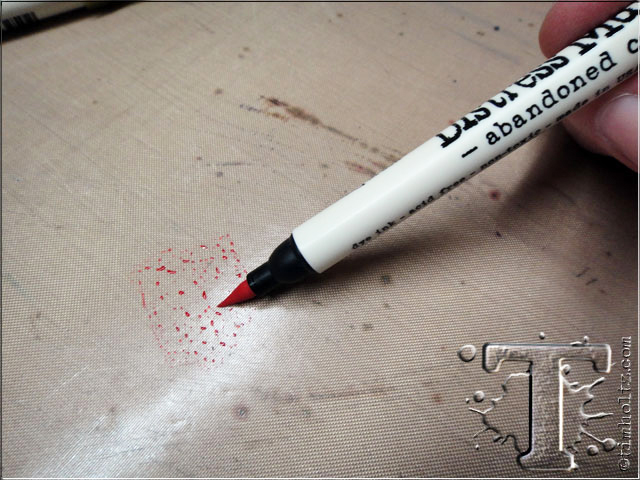 step 15: scribble a couple of colors of distress marker on to the craft sheet to create a palette.
 step 16: pick up some color using just the tip of the waterbrush.
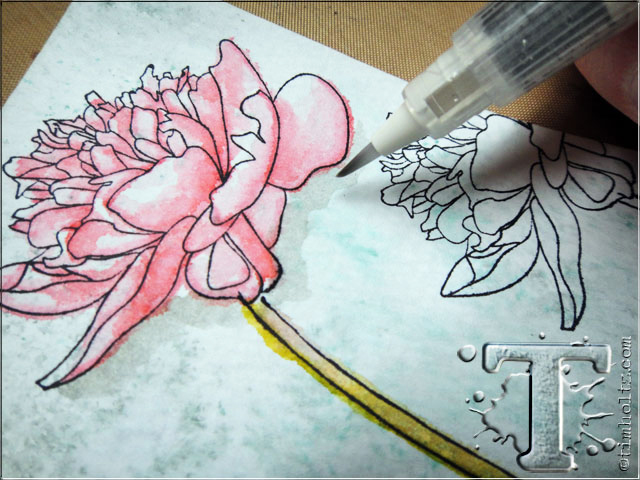
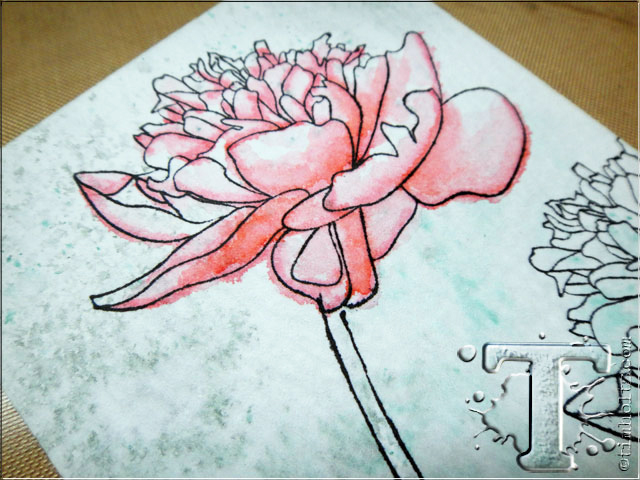 step 17: begin adding color to your image along the outlined areas you initially colored. this will provide more intense color in these areas adding contrast to the areas you shaded earlier.
 step 18: repeat the previous steps for the stem, coloring with the marker itself along parts of the lines, then blending in with the waterbrush.
 step 19: apply the distress marker to the craft and apply more color for contrast.
 step 20: once you’re finished watercoloring, dry the entire image with a heat tool.
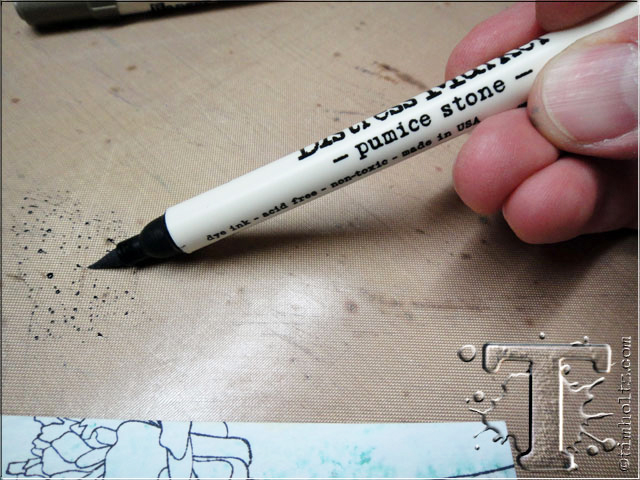 step 21: next we’re going to add a drop shadow and pumice stone is my color of choice for this step. scribble some of the marker on the craft sheet.
 step 22: using your waterbrush, create a wash of the color by freely applying it along the outer edges of the image.
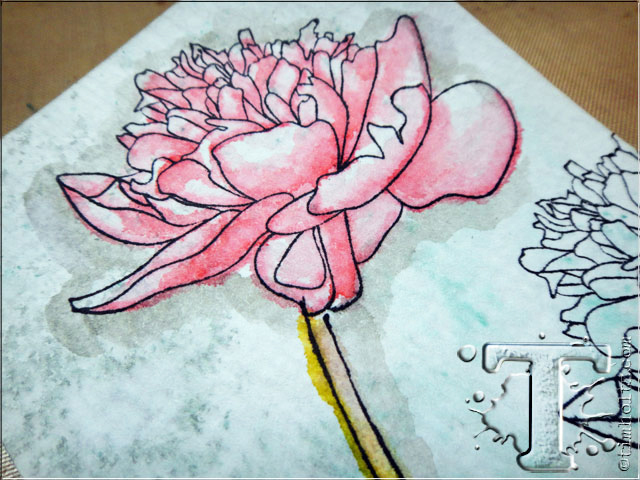 step 23: when you’re finished adding shadow, dry with a heat tool as well.
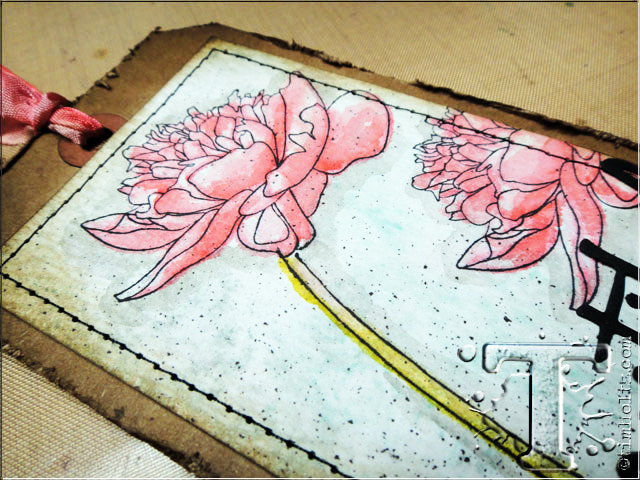
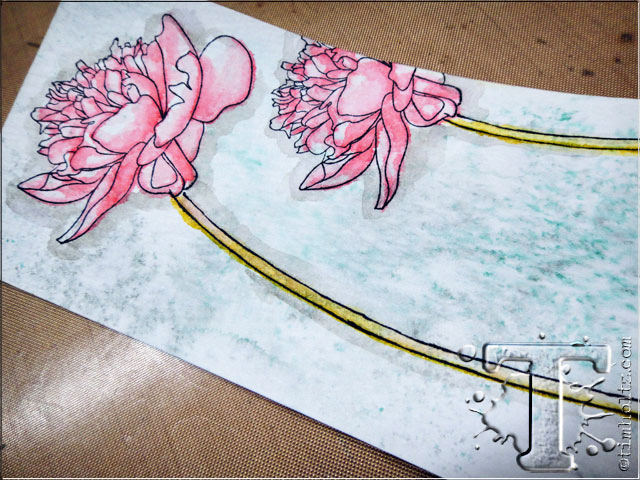 step 24: repeat the previous steps for the second flower – looking good.
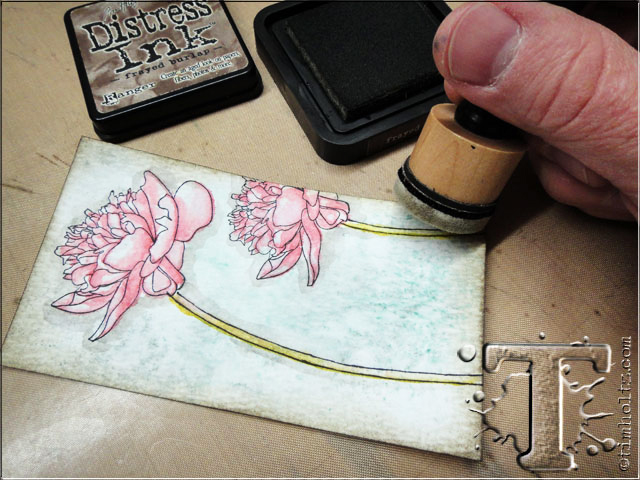 step 25: make sure your watercolor is completely dry and ink the outside edges with distress ink using an ink blending tool.
 step 26: insert a dark colored marker into the marker spritzer (i used black soot),
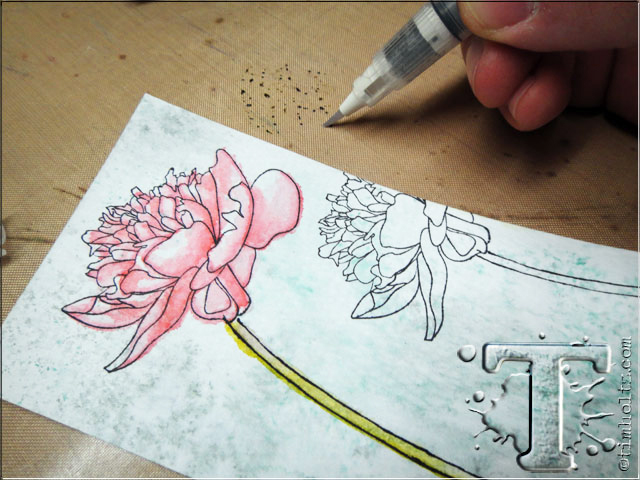
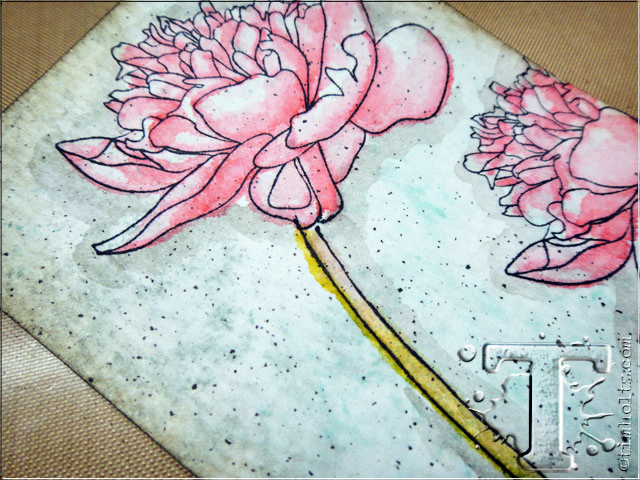 step 27: lightly spritz over your entire background creating contrasting speckles of color – this is one of my favorite uses for the spritzer.
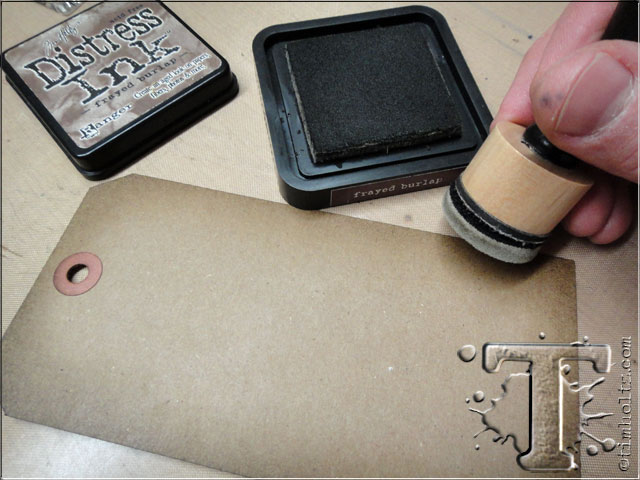 step 28: ink the edges of a kraft tag with distress ink using an ink blending tool.
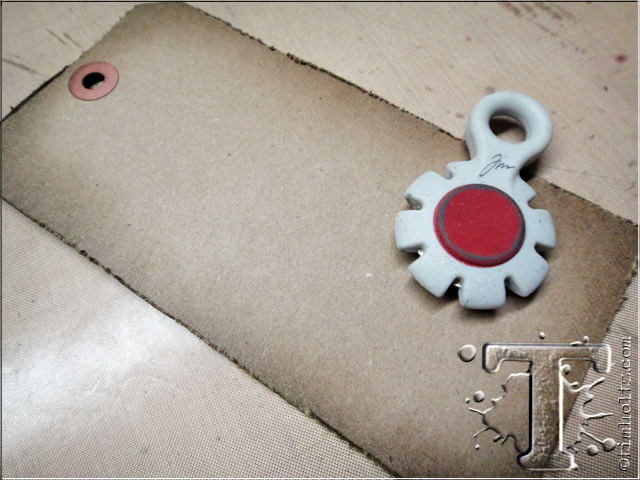 step 29: distress the edges using a paper distresser.
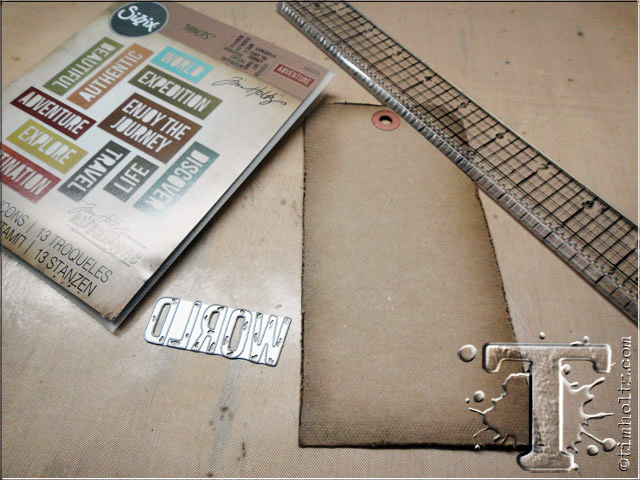 step 30: grab your word dies, a metal edged ruler, and a craft knife.
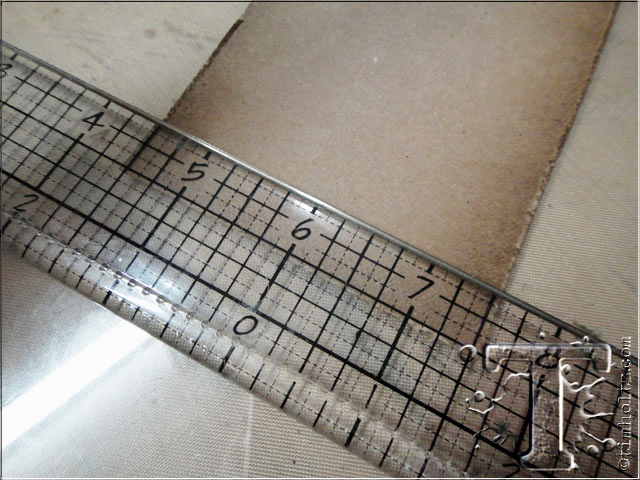 step 31: place the design ruler along the bottom edge of the tag with the metal edge of the ruler 1/2” above the edge of the tag as shown. the grid feature of the design ruler makes it easy to create a straight edge.
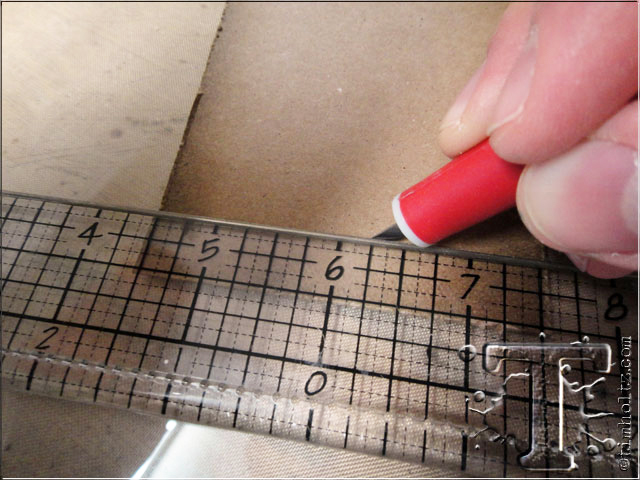 step 32: place the tag on a cutting surface (i use a glass mat over my craft sheet) and cut along the ruler with a craft knife leaving 1/8” on each edge of the tag UNCUT.
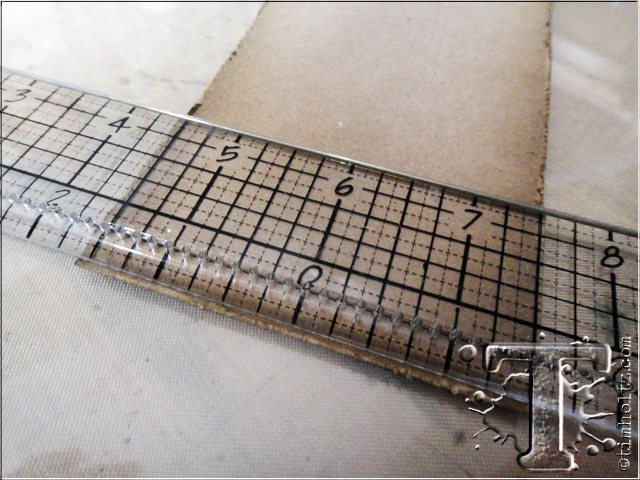 step 33: move the ruler up 1 1/2” above the bottom edge of the tag, and since this ruler is 1 1/2” wide, this step is easy.
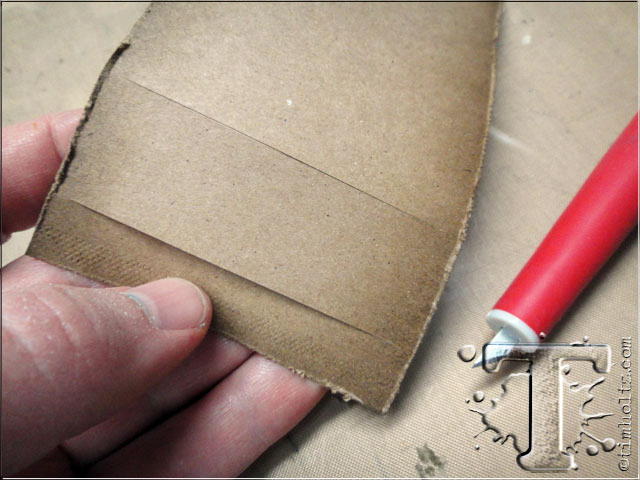 step 34: cut along this edge as well leaving 1/8” on each edge of the tag UNCUT – now we’ve created a 1” strip cut into the tag.
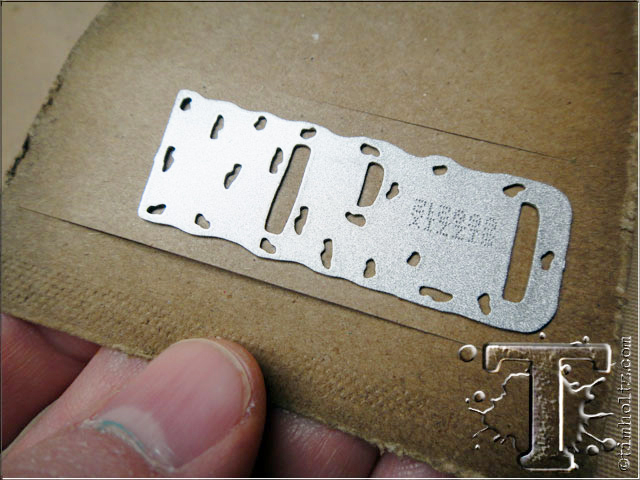 step 35: place your “block font” thinlit die face down over the strip making it slightly off center, but do not go all the way to either edge of the tag with it. make sure you leave enough space above and below the word so it doesn’t cut through the edge.
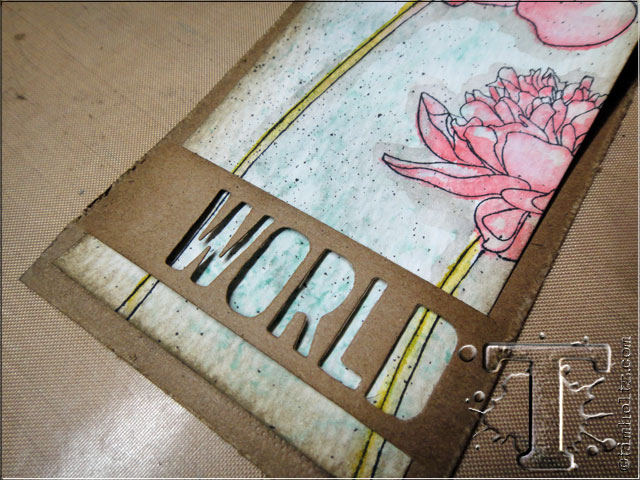
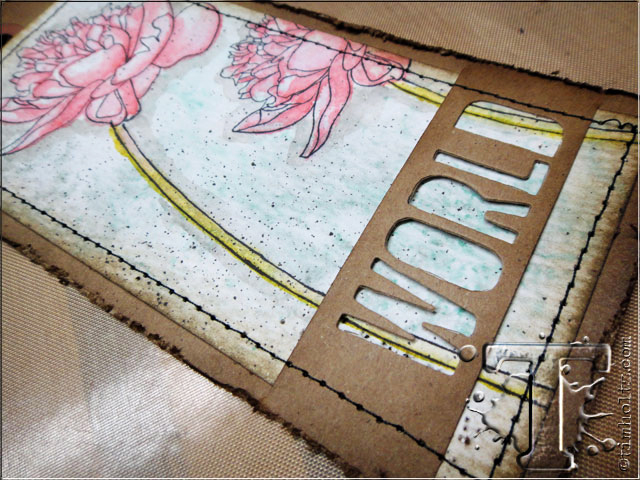
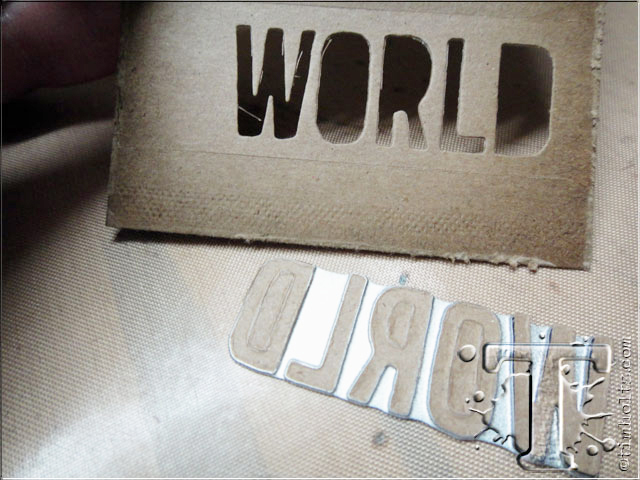 step 36: run the tag through your die cut machine and this is what we get – a cool knock out of the word along the strip (of course we’ll save the actual cut letters to use on another project sometime, but this time we’re using the negative space of the letters).
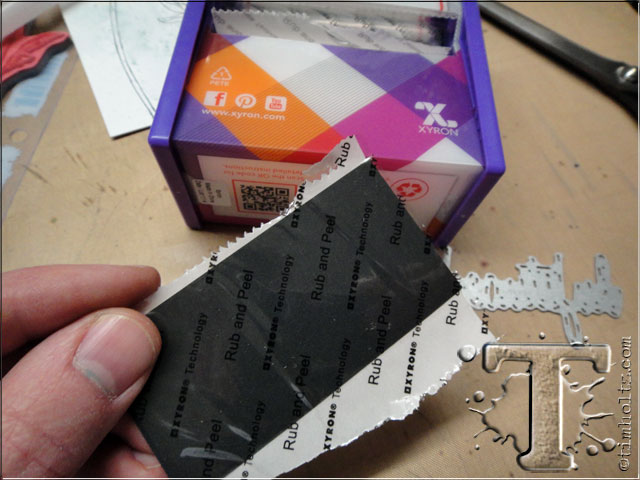 step 37: cut a piece of black cardstock and run it through your xyron to apply adhesive to one side.
 step 38: place the “script font” thinlit face down and die cut.
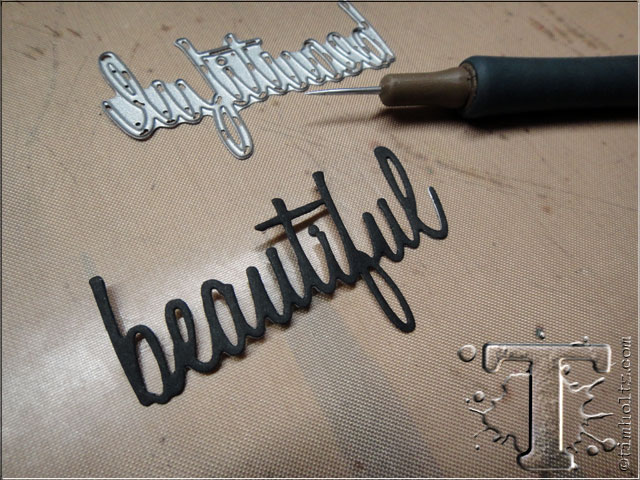 step 39: remove the detailed die cut word from the die using a die pick, and we’ll be ready to add it to our project without any messy glues.
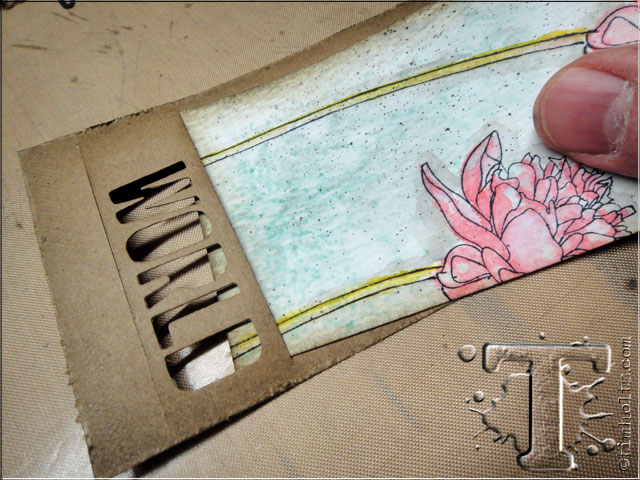 step 40: carefully slide the watercolored background under the top cut in the tag as shown.
 step 41: slide it under the strip and out through the bottom cut in the tag as shown.
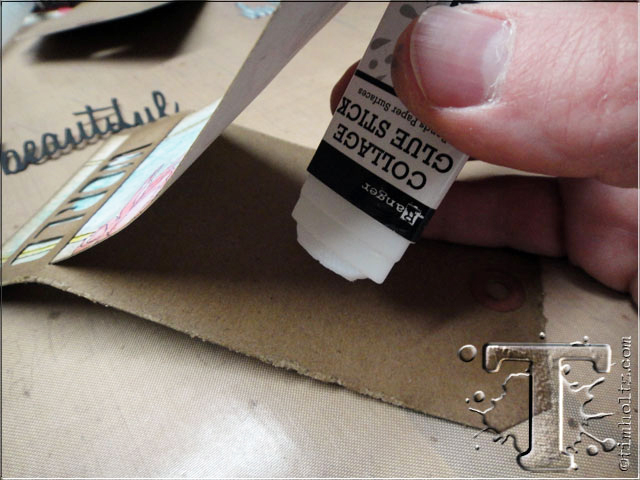 step 42: apply some collage glue stick to the large background of the tag to secure the watercolor background.
 step 43: sew around the entire background with a sewing machine (it’s all in the details, c’mon you can do it).
 step 44: tint a piece of crinkle ribbon by coloring along one edge of the ribbon with the side of the brush tip marker.
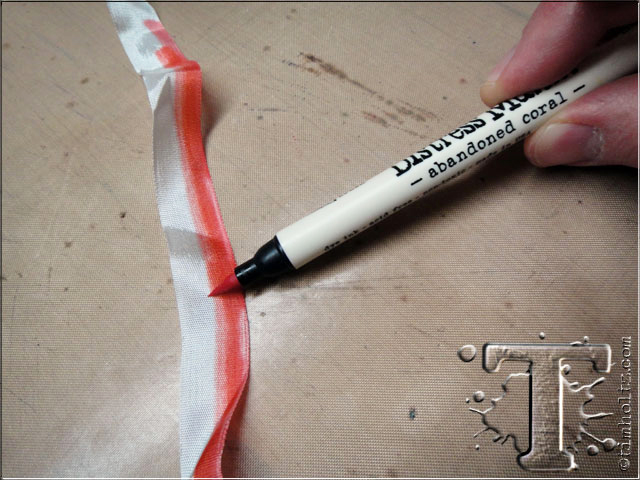 step 45: repeat with a second color directly above the first strip of color as shown.
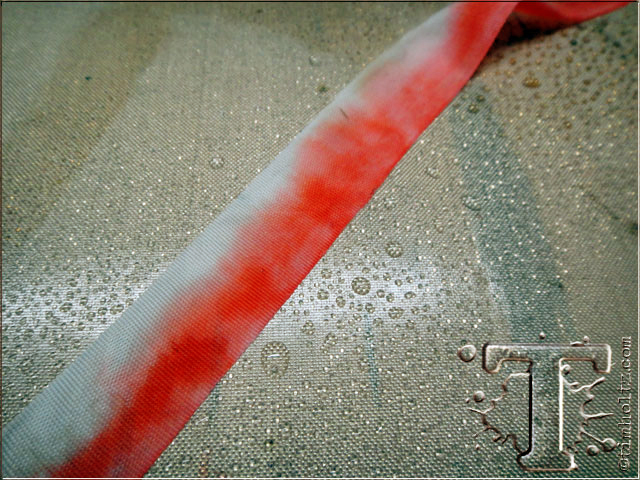 step 46: mist the ribbon with water allowing the inks to react and the color to wick through the ribbon.
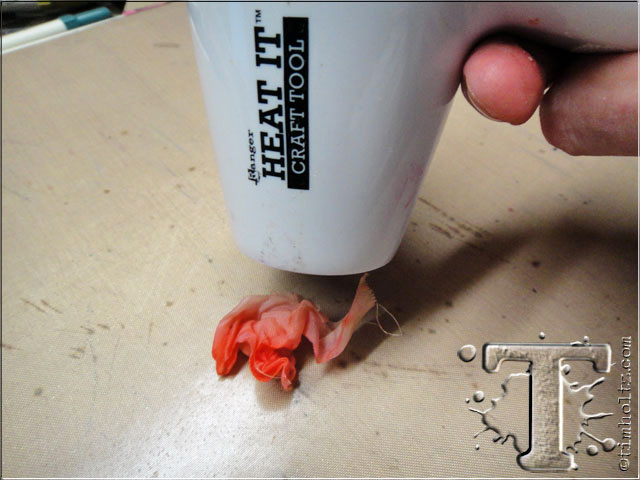 step 47: crinkle the ribbon into a ball and being drying with a heat tool.
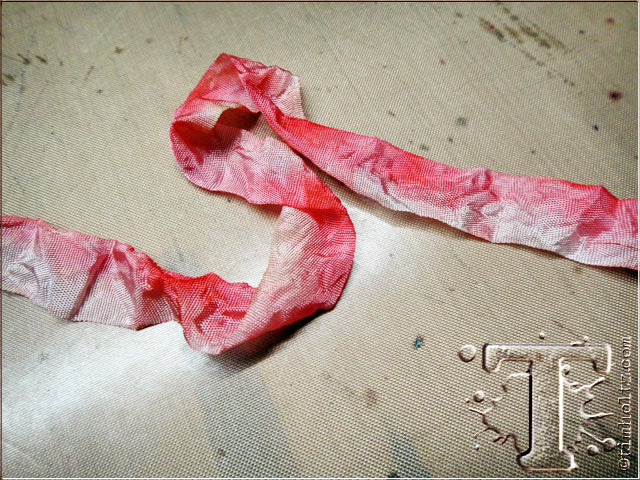 step 48: once the ribbon is almost dry, set it aside to air dry completely.
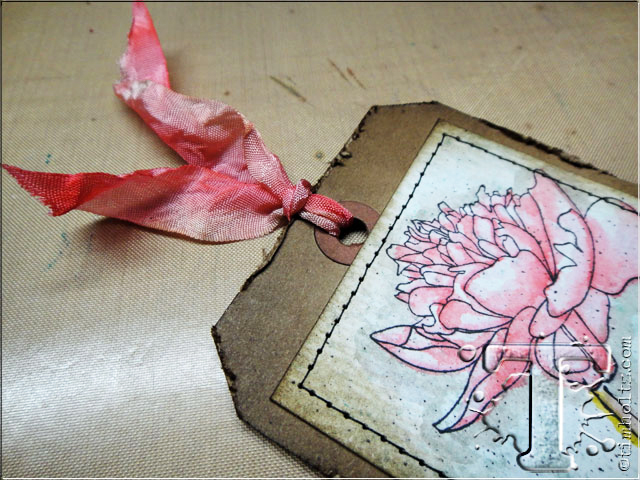 step 49: tie the ribbon through the top of the tag.
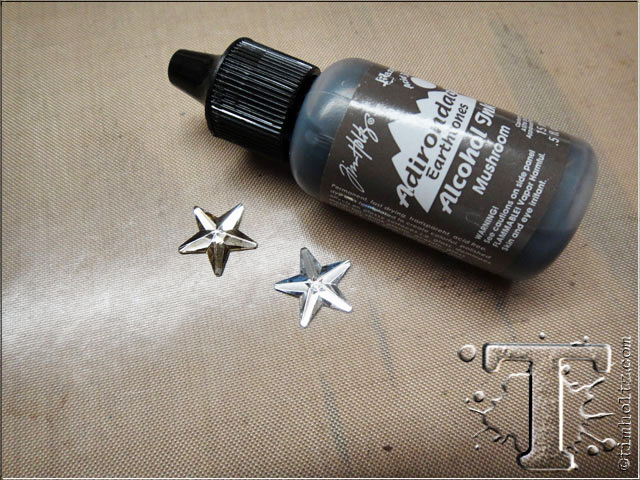 step 50: tint a mirrored star with mushroom alcohol ink to create a vintage look.
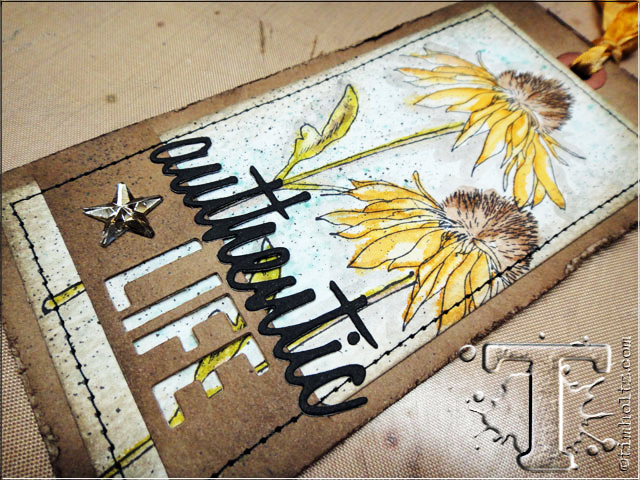
 finish the tag by adding the die cut script word as shown and adhering the mirrored star with glossy accents.
 i love the finished layered look of this watercolored tag. hard to believe the the background, image, and ribbon are all colored with markers right?
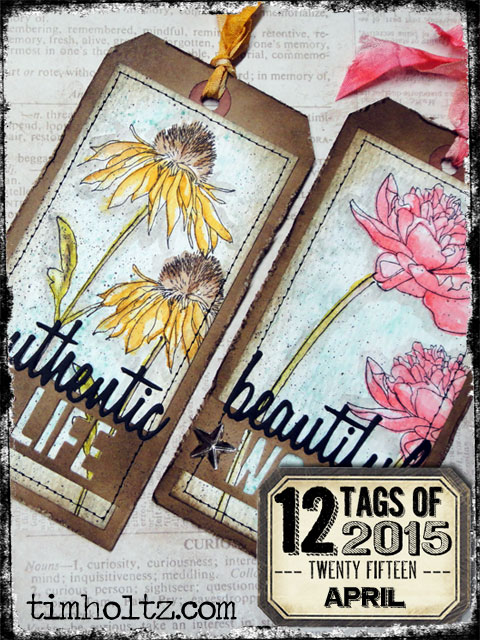
 once you get your first tag finished, i assure you creating more will be so much quicker. stamp and watercolor all of your backgrounds, then die cut all of your tags and words, then color all of your ribbons, then just assemble.
 this style of watercolor gives such depth, and it’s pretty amazing what a few distress markers can do.
Pin it to remember it!
congrats to the winners from the march 12 tags of 2015. if you see your name (and it links to your tag), please email [email protected] to claim your prize…
- Becky Colvin
- Notty
- Elaine Lin
- Ellie Knol
- Carol Dunham
- Audrey
- Joi@RR
- Katy D
- Julie Lavalette
- LaVon Hall
- Mylissa Stout
- Pawsitively Creative
*be sure to check your local stores for these supplies or you can click the links below to purchase online with a discount of 10% off your purchase – use the following code with your order: SSS code: 10APRILTH


.


