
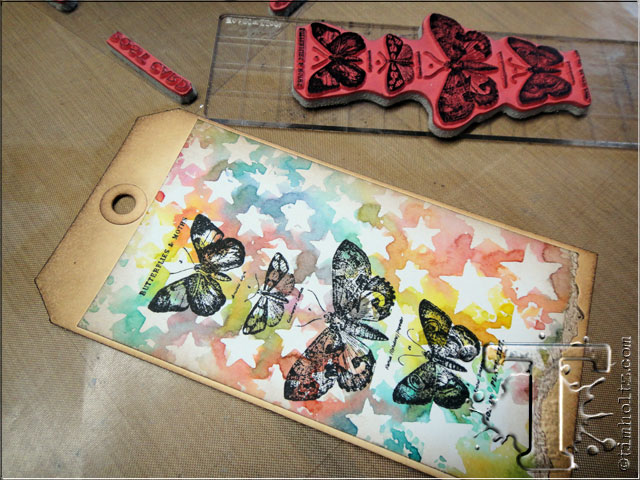
if you love the look of blended watercolor and looking for a different way to create colorful backgrounds, this month’s tag is just the thing. like many crafters, i have a new love and appreciation for using stencils on my cards and projects. their unique and often bold shapes allow me to incorporate them by layering with other imagery. layering with stencils is key in my opinion. of course there are so many different ways to use layering stencils, but today i wanted to show one of my favorites that is also in my book “a compendium of curiosities vol.III”. this technique also incorporates the new mini distress inks, but you could use your regular size distress pads too. i just prefer the convenience of being able to add color to smaller areas with these little guys. so before we start i want to remind you not to judge the success of this technique until you dry it. the look and effect of this watercolor monoprint using a stencil often changes when it’s completely dry. the definition and detail really come to life so hang in there and have fun playing with both color and design – here we go…t!m
supplies:
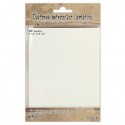
- surfaces: distress watercolor cardstock, #8 manila tag
- layering stencils: star
- stamps: cms182
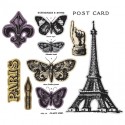
- dies: stamp & framelits- french flight
- embellishments: mini gears, game spinners, mini fasteners,
- trimmings: crinkle ribbon
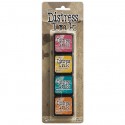
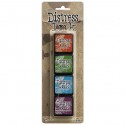
- distress ink: mini distress ink pads- assorted
- archival ink: jet black
- adheisves: foam tape
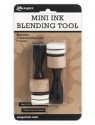
- tools: mini ink blending tool, detailer waterbrush, heat tool, craft sheet, mister, vagabond, magnetic cutting pad
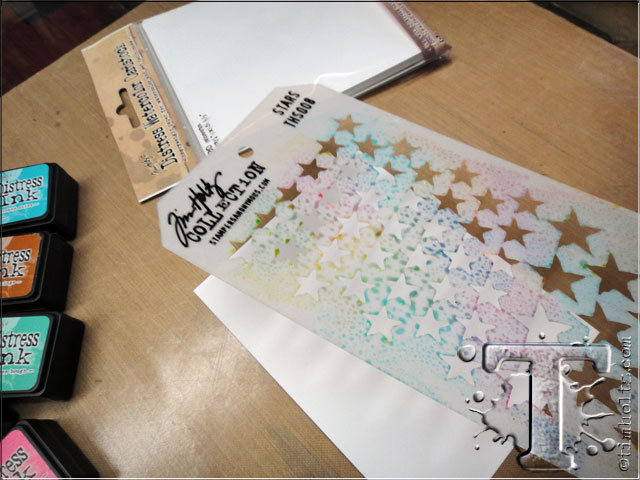
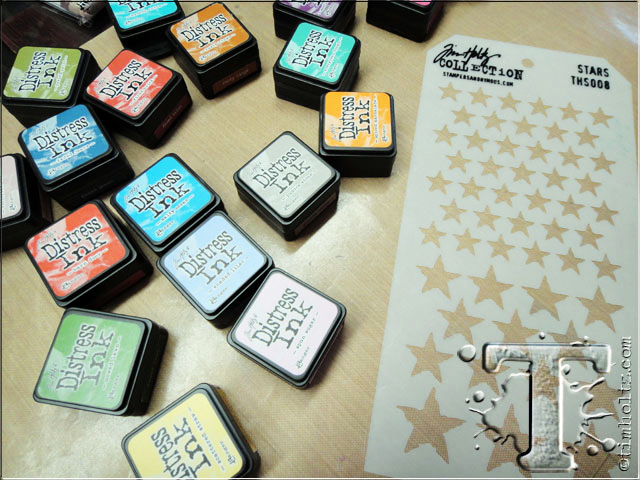 step 1: gather various colors of mini distress inks and a layering stencil.
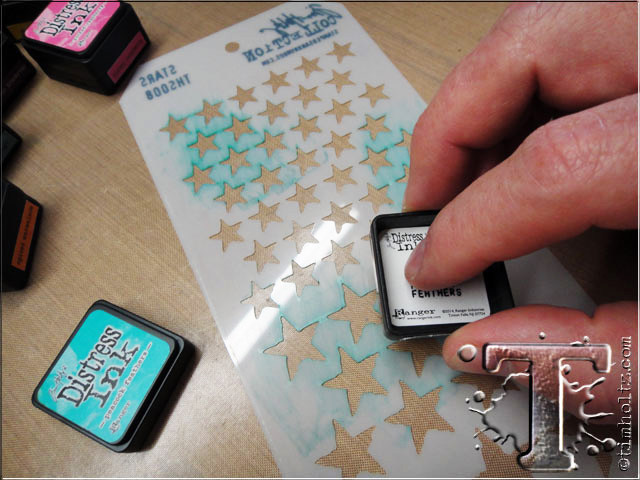 step 2: begin tapping or lightly rubbing the distress ink on the back of the layering stencil (since we will be “printing” the design i always get in the habit of inking the back of the stencil – this is really important when working with things that have letters or numbers so they don’t print backwards)
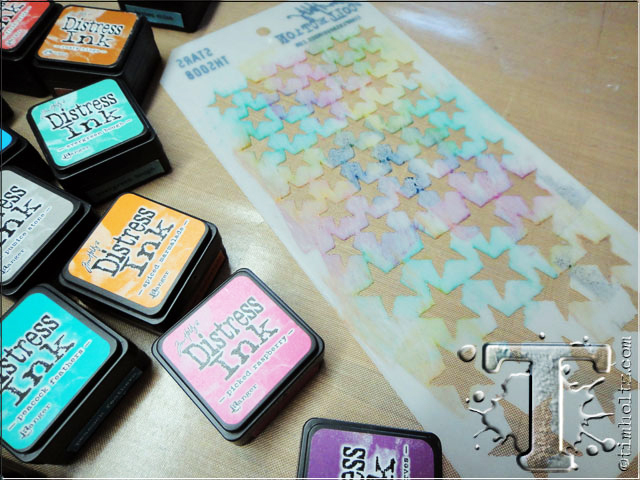 step 3: continue inking the stencil until you have color in most areas.
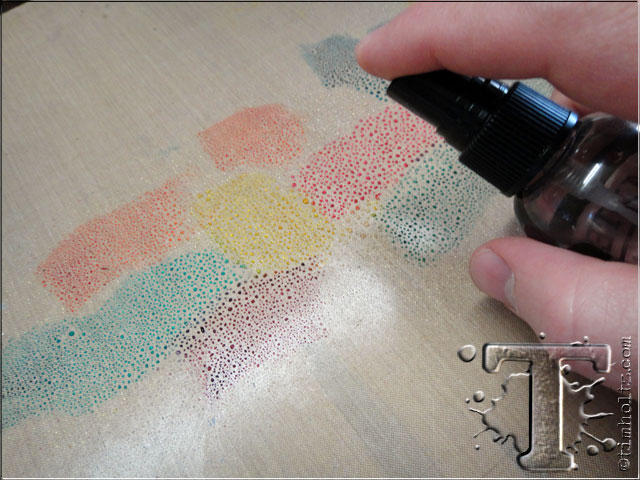
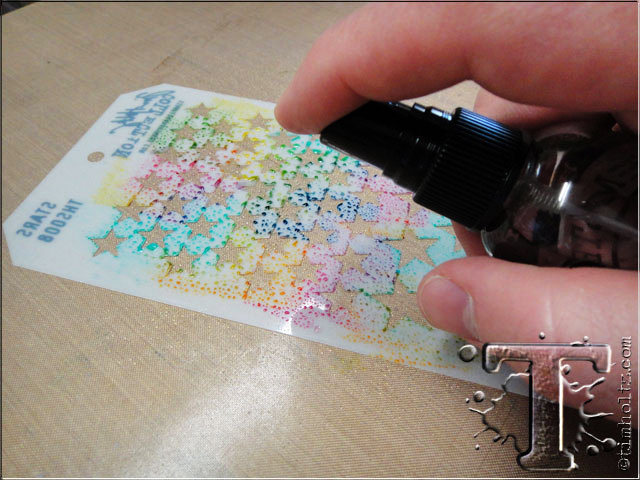 step 4: generously mist the inked stencil with water from a mister to react the distress inks. remember, distress reacts with water so the color will actually become more intense now and blend beautifully. *note: this is the one step what you will need to play with to find the right amount of water that works for the look you want to achieve.
 step 5: lift the stencil from the craft sheet and place it on to the smooth side of distress watercolor cardstock. *note: i found this technique worked on many surfaces including directly on to the tag, but the watercolor cardstock provides more “play” with the colors and water which i prefer.
 step 6: place the inked layering stencil directly on to the cardstock.
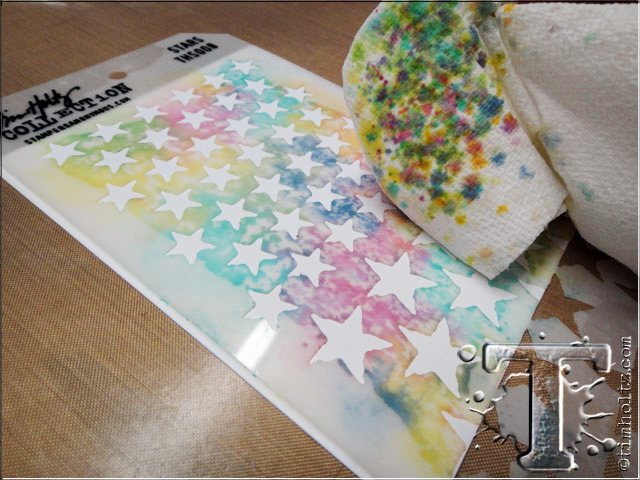 step 7: while the stencil is on the cardstock, press down over the entire design using a paper towel to print the color as well as immediately absorb any ink that might seep out inside the stencil openings.
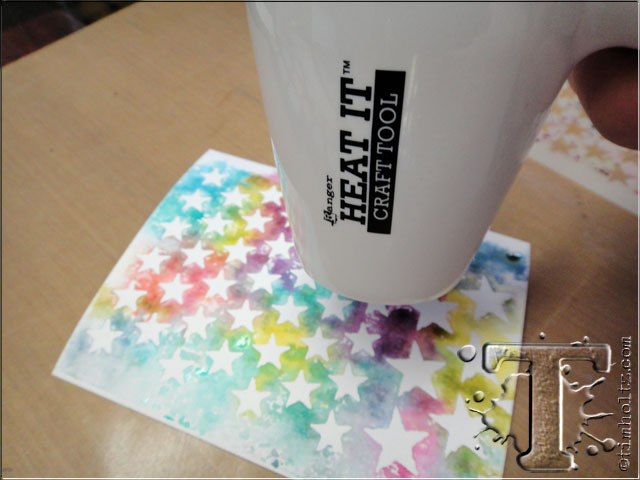 step 8: lift the stencil off, set it aside, and immediately dry your print with a heat tool. *note: as i mentioned in the opening, this step is very important since initially the image appears blurry and washed out at times. heating the image defines the color and design much more than what you see while it’s wet.
 check this out…colorful and cool don’t you think?
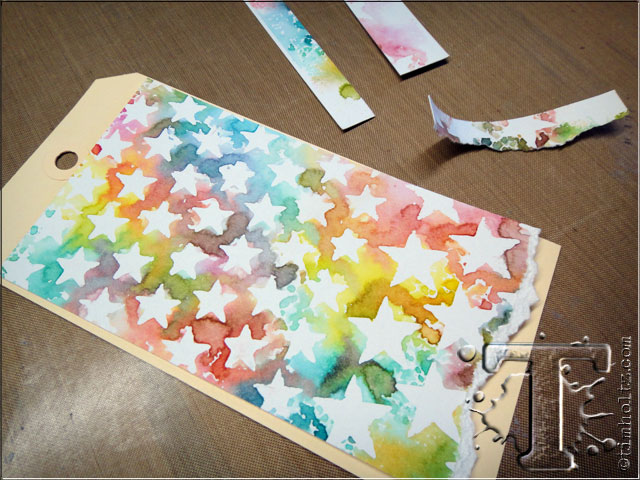 step 9: cut the cardstock to fit the tag, tear the bottom edge if you wish, and adhere to the tag.
 step 10: ink the edges with distress ink using an ink blending tool.
 step 11: stamp the butterflies image from the “french flight” framelit set using black archival ink.
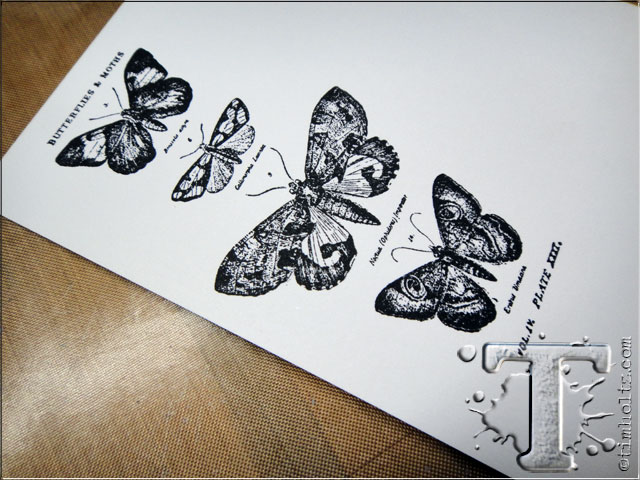 step 12: stamp the butterflies a second time on the smooth side of a piece of distress watercolor cardstock using archival ink.
 step 13: stamp the creativity verse on the tag along side of the butterflies using archival ink.
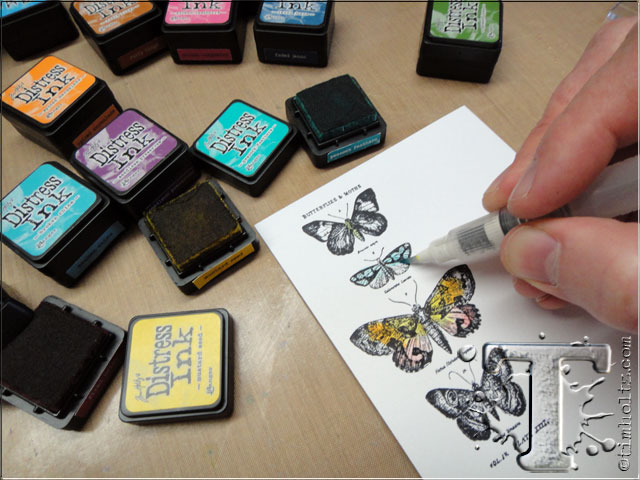 step 14: watercolor the butterflies using your mini distress inks by swiping the waterbrush directly across the pad.
 step 15: continue coloring until desired look is achieved (make sure to color outside the lines for this one), and dry with heat tool.
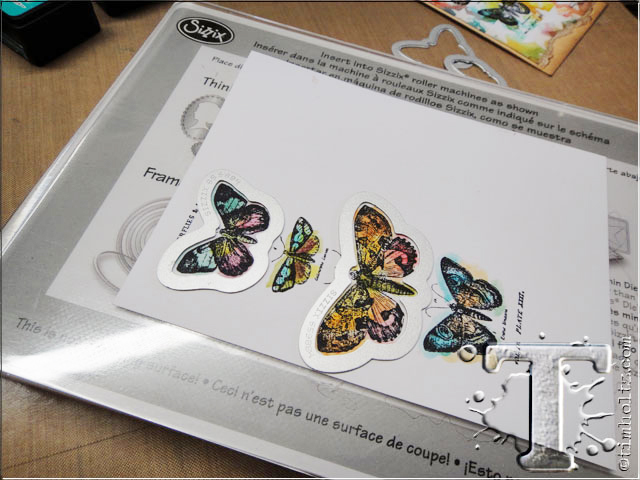 step 16: place stamped images on magnetic platform over a clear cutting pad. place framelits around the image and die cut. *note: you can use any stamped image and hand-cut around them if you don’t have this stamp/die set.
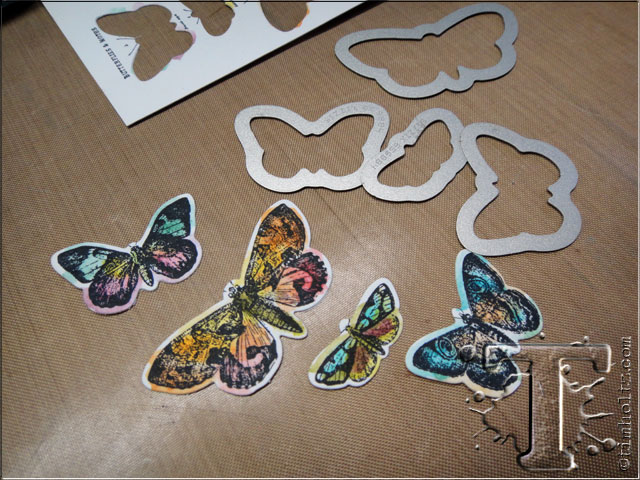 step 17: die cut all butterflies (see why it’s good to color outside the lines?).
 step 18: ink the edges of butterflies with distress ink using ink blending tool.
 step 19: apply a small piece of foam tape on the back of each butterfly behind the body area only.
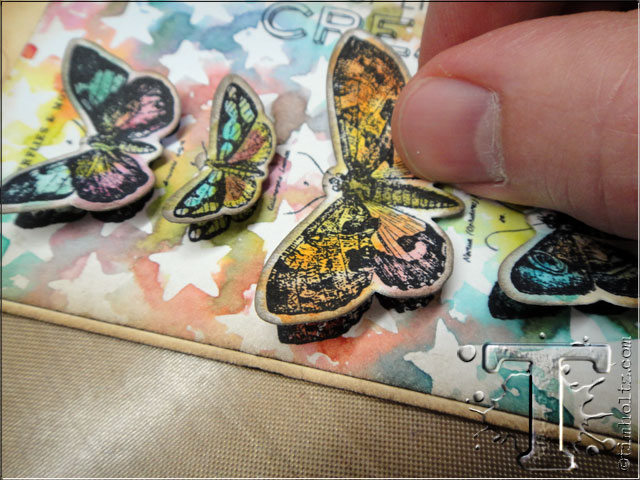 step 20: secure each butterfly to the tag slightly bending the wings to create dimension.
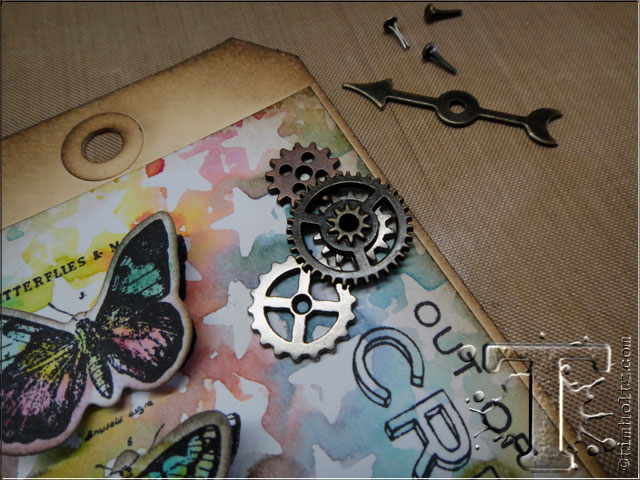 step 21: embellish the tag using mini gears, game spinner, and mini fasteners.
 step 22: apply various colors of mini distress inks to craft sheet.
 step 23: mist the inks with water from a mister to react the inks.
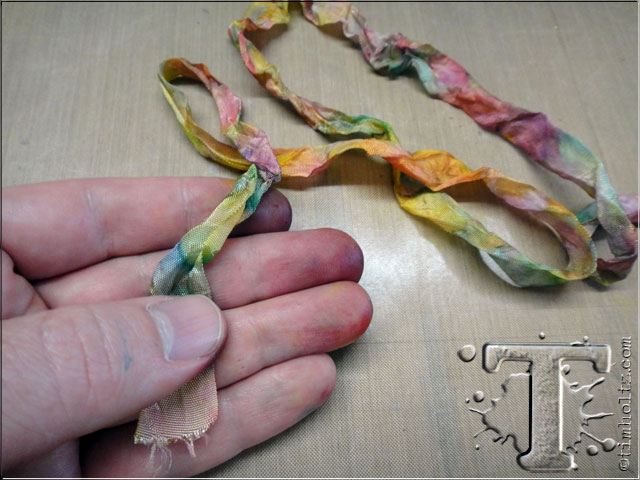
 step 24: press 2 cut pieces of crinkle ribbon into the inks until covered. (i cut the ribbons at 8″ and 24″ for my tag)
 step 25: crinkle the ribbons into a ball and dry with a heat tool.
 i love how the custom ribbon matches the tag background perfectly…
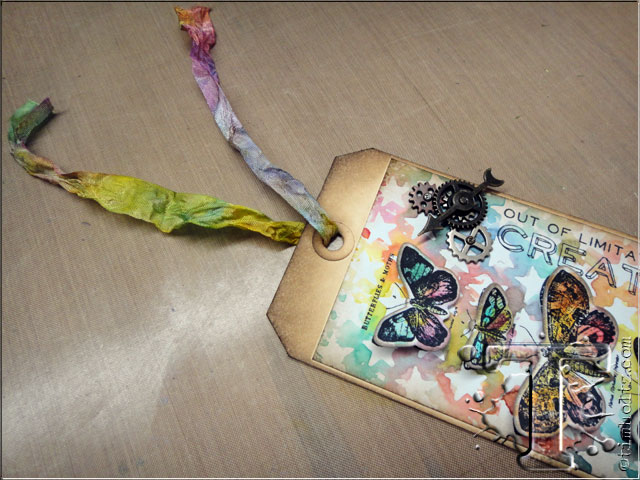 step 26: next we’re going to make what i refer to this as the “paula bow” – start by inserting the short ribbon through the hole in the tag as shown.
 step 27: take the longer ribbon and secure one end under your thumb as shown.
 step 28: wrap the remaining ribbon around your fingers until you run out.
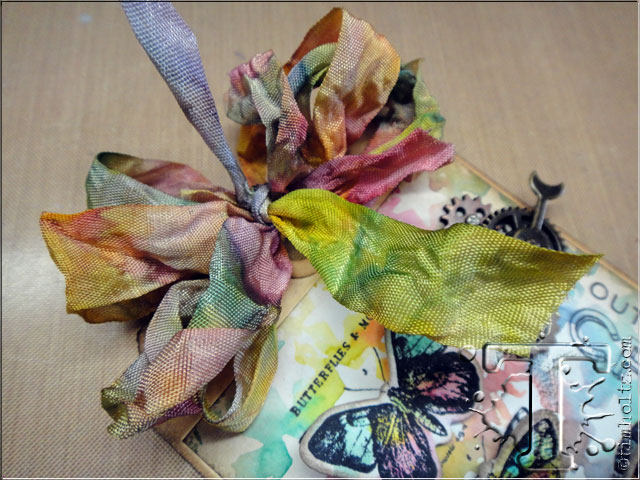
 step 29: slide the loop of ribbon from your fingers and pinch in the center to hold as shown.
 step 30:place the loop on to the top of the tag and tie the short ribbon around the loops to hold.
 step 31: tie again to create a knot and trim ends of ribbon if needed. cool right? thanks to my friend paula cheney for that great bow trick!
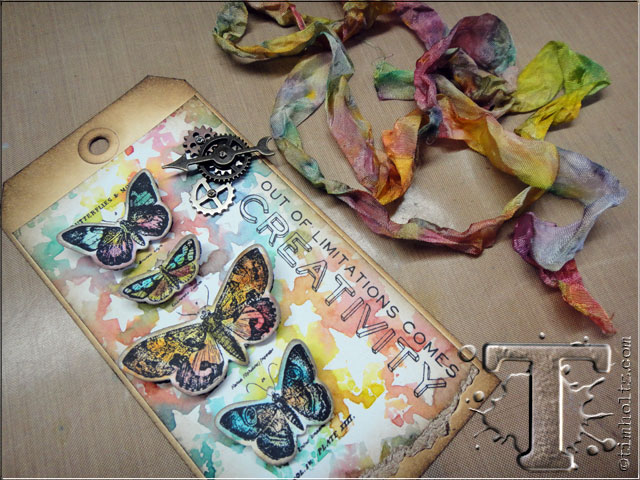
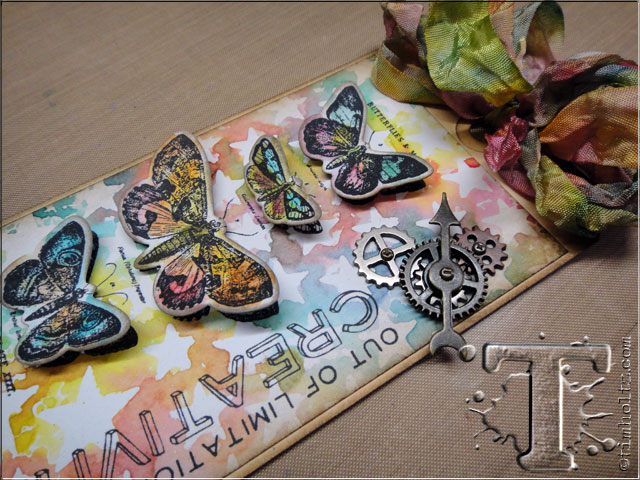 *the details: i really like the colors in this background, the coordinating ribbon, and of course the dimensional stamped butterflies…
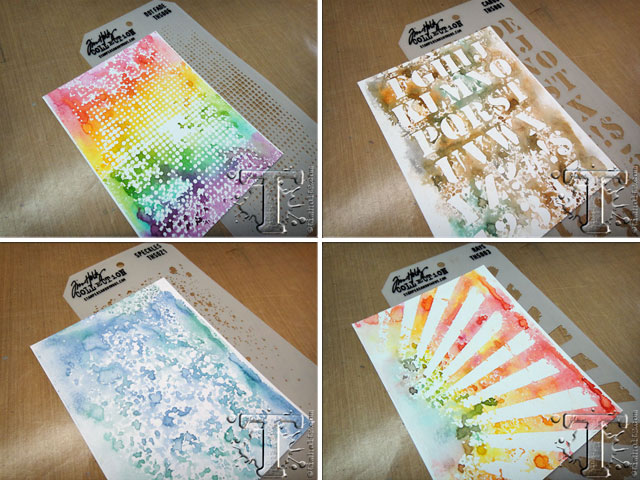
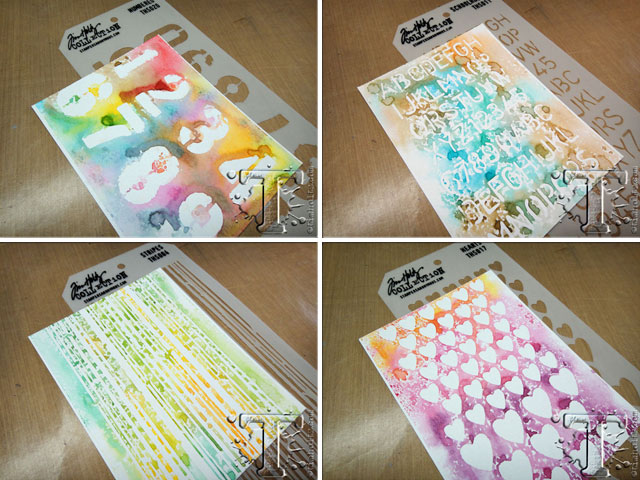
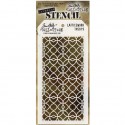
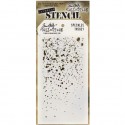
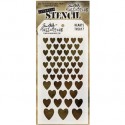
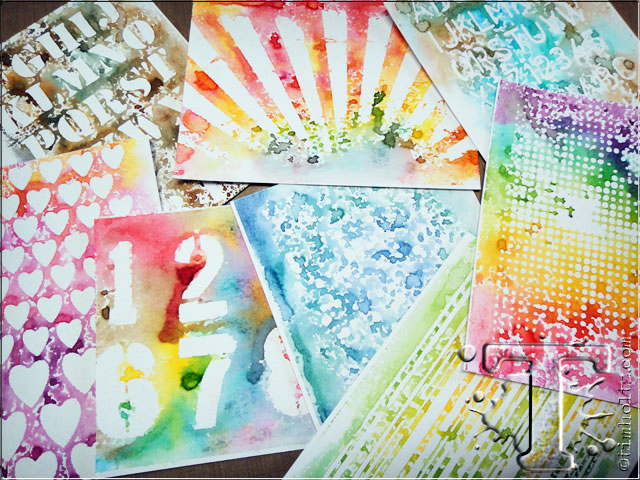 well i hope you like this technique, but more importantly i hope you take time to play with this technique. try different stencils, different colors of inks, and even different surfaces to create these colorful watercolor backgrounds. i wanted to share a few of my other favorite layering stencils for this technique…
*be sure to check your local stores for these supplies or you can
click the links below to purchase online…
(SSS=simon says stamp / IE=inspiration emporium)
GREAT NEWS! both of these online stores are offering a discount of 10% off your purchase – use the following codes with your order:
(SSS code: 10JUNETH / IE code: timtime)
|
|
|
 |
 |
 |
 |
 |
 |
 |
 |
 |
 |
|
|
|
|
|
|
|
|
|
|
|
|
 |
 |
 |
 |


