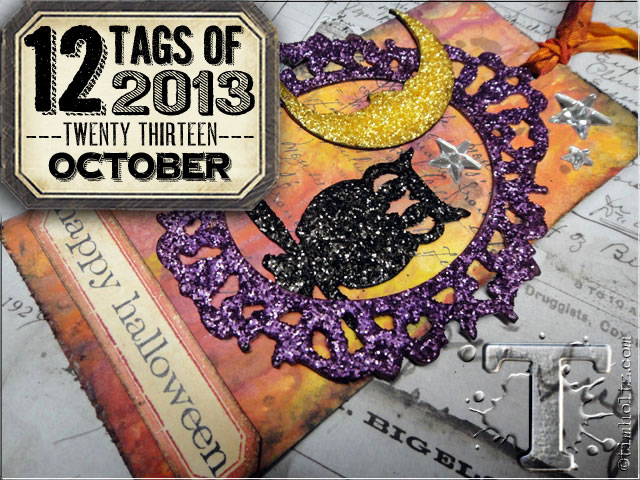
the chill of fall is definitely in the air around the studio and that means one thing – candy corn! well it also means that halloween is coming soon so i wanted to share a fun halloween inspired tag this month. now i know not everyone is a fan of halloween, but remember the tags are all about the inspiration of a technique so keep that in mind. i personally love the color palette and decorative elements of this time of year, definitely one of my favorite seasons. the nostalgic look of tattered sparkling vintage halloween decorations conjures up those childhood memories of carving pumpkins and trick or treating. so for me, the new distress glitter was perfect for what i had in mind to make. the colors, texture, and inkability of distress glitter mimics the look of glass glitter or mica, but without the hazards of either. i absolutely love this new glitter and whether you’re a glitter person or not, you should try this stuff yourself to see how amazing it is to work with. alright, the sugar from the candy corn is kicking in so let’s get to creating…
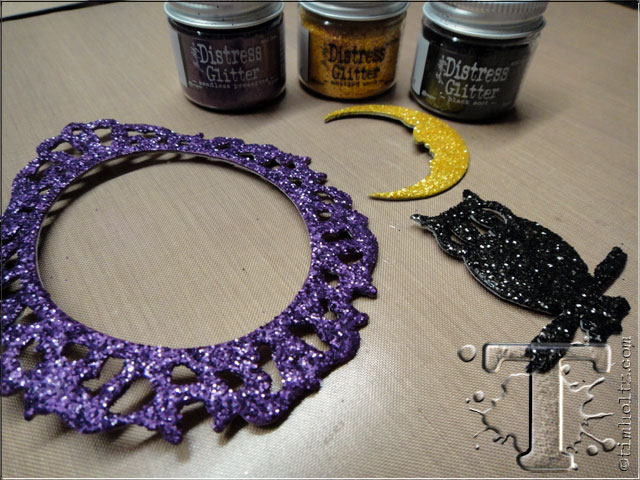
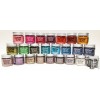
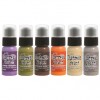
supplies: distress glitter/seedless preserves/black soot/mustard seed/spiced marmalade, distress paint/ripe persimmon/crushed olive/seedless preserves/scattered straw, distress ink/seedless preserves/mustard seed/spiced marmalade/black soot/walnut stain, ink blending tool, glossy accents, mister, heat tool, craft sheet, archival ink/jet black, grungeboard, mirrored stars, crinkle ribbon, sizzix bigz/ornate frame, sizzix mini movers/owl & moon/pumpkin/bat, sizzix base tray, sizzix vagabond, stamps/CMS138/CMS155, #8 manila tags
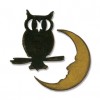
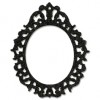
 step 1: die cut the elements from grungeboard. *note: since the ornate frame die is so detailed, grungeboard is definitely much easier to use for this than chipboard.
 step 2: ink all of the die cut pieces with distress ink using an ink blending tool – i use the matching color of ink to glitter.
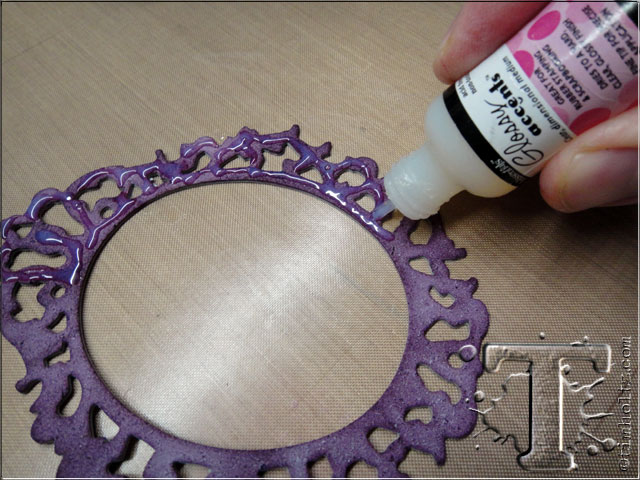 step 3: apply glossy accents to the inked grunge. although you can use a variety of wet adhesives with this glitter, glossy accents is by far my favorite because of it’s translucency and fast drying time.
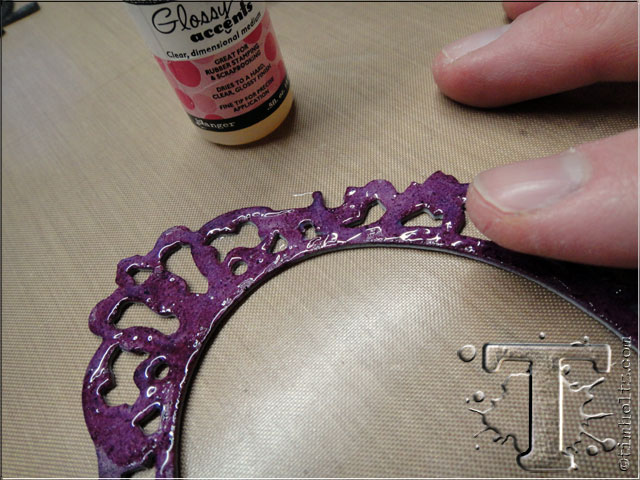 step 4: using your finger, lightly tap the glossy accents to spread it out. i prefer this method vs. wiping the glossy accents to keep a nice wet layer of adhesive.
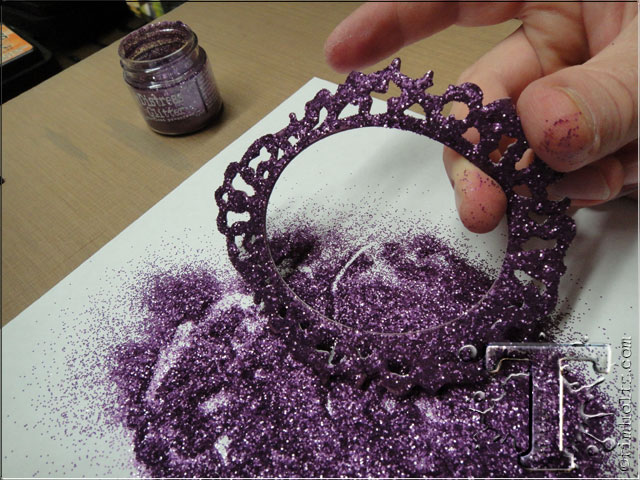
 step 5: place the grunge on a piece of scrap paper and cover with distress glitter – DO NOT PRESS THE GLITTER DOWN. one of the tricks to getting the most sparkle from this glitter is to allow it to fall in random positions on the adhesive. if your press it down to pack it on the surface, you loose some of that effect.
 step 6: you can immediately lift up the piece from the pile of glitter and tap it on the sheet to remove the excess, and place all of the remaining glitter back in the jar.
 step 7: repeat the previous steps for all of the pieces you want to glitter and set them aside to dry. note: you can also quickly dry the adhesive with a heat tool as distress glitter is heat stable.
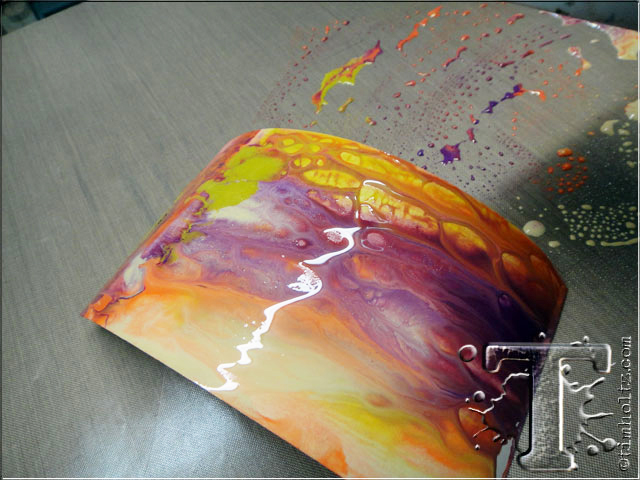
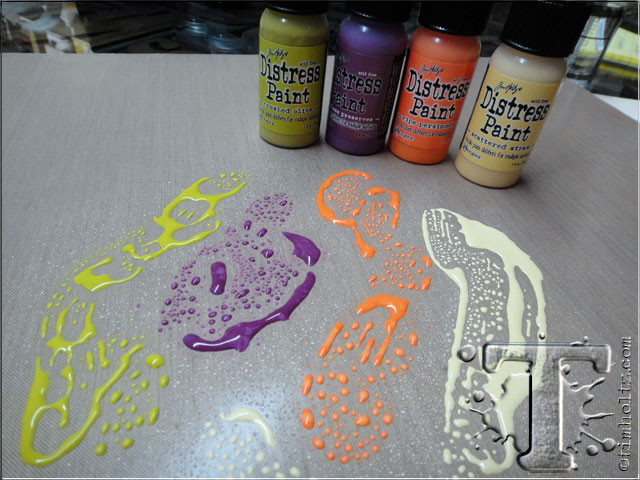 step 8: for the tag background i’m going to do the distress paint marbling technique using some of the new fall release colors of distress paint (ripe persimmon is a must!). just swipe various colors of paint on to the craft sheet.
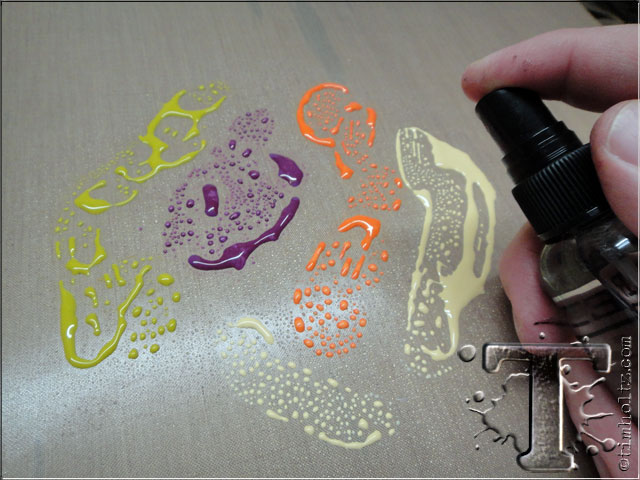 step 9: mist the paints with water from a mister.
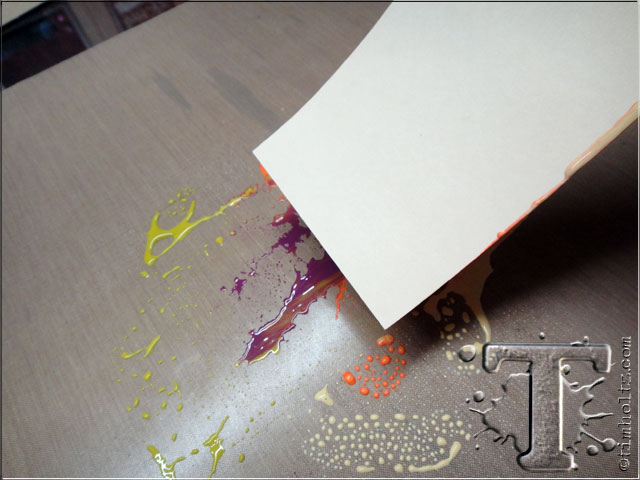 step 10: swipe a manila tag through the paints to cover the surface.
 step 11: mist the painted tag with water to marbleize the colors and begin drying it with a heat tool.
 step 12: continue drying the tag and blot off any excess wet paint if needed.
 step 13: ink the edges of the tag with black soot distress ink using and ink blending too.
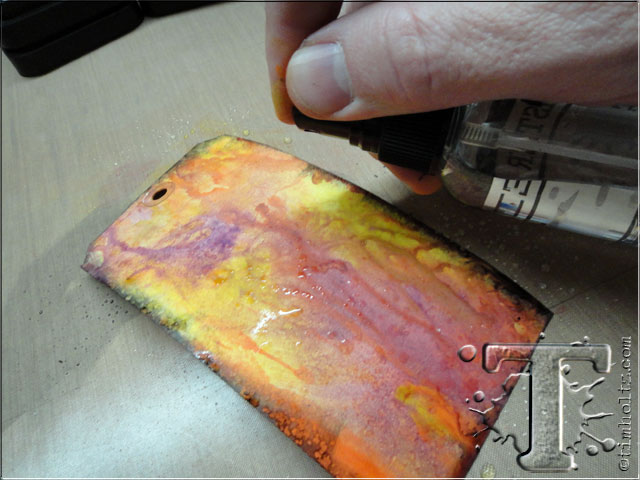 step 14: mist the inked tag with water from mister and dry with heat tool. since the black soot distress ink remains black even when you wet it, it becomes very “smoky” looking.
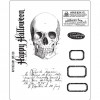
 step 15: stamp some script or background imagery on a portion of the tag only with archival ink.
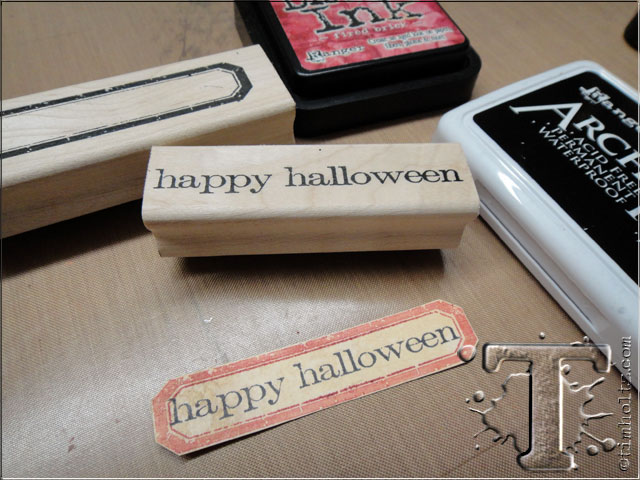 step 16: stamp the simple sayings word and label frame on a scrap piece of manila tag, cut it out, and ink the edges with distress ink.
 step 17: my absolute favorite thing about distress glitter is that it is “inkable” with distress ink. once the glitter is dry, ink the edges of surface of distress glitter with distress ink using an ink blending tool. distress glitter actually takes on the tint of the distress ink color you use – so amazing! the glitter on the moon looks like tarnished vintage perfection…
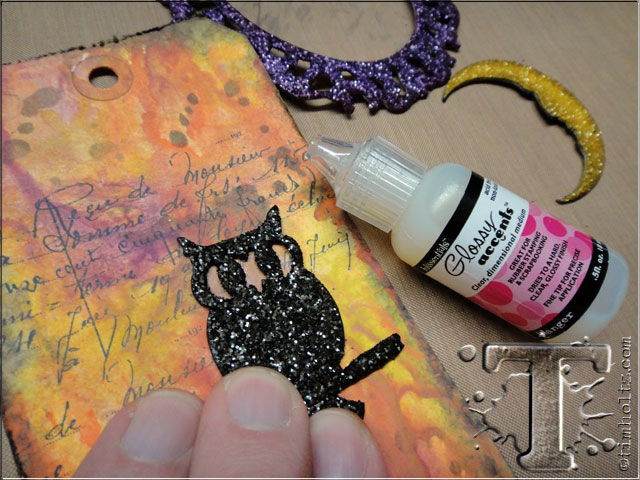 step 18: adhere the glittered elements to the tag with glossy accents.
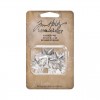
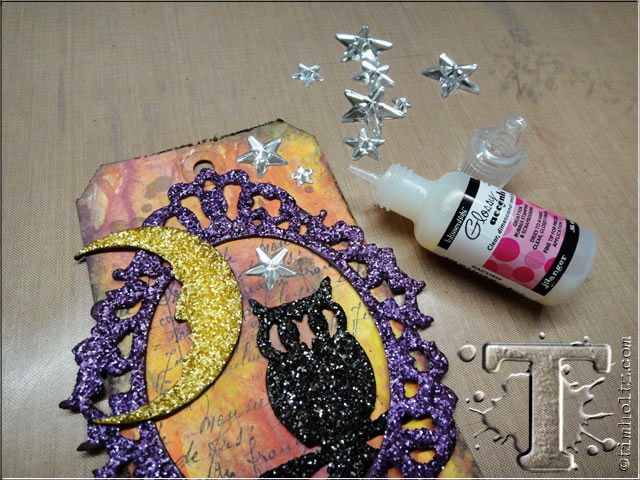 step 19: i also added the new mirrored stars to this tag by adhering them with glossy accents. i like all of the sizes of stars that these have. one thing to note is that you can colorize these with alcohol inks, but i preferred them to stay silver for this tag.
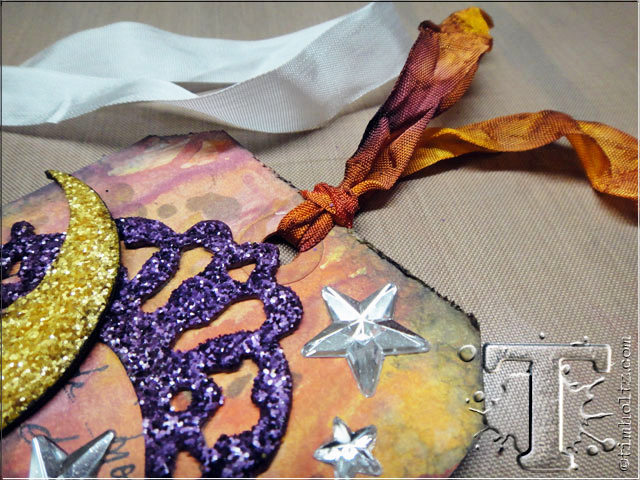 step 20: to colorized a piece of crinkle ribbon to match the background colors of the tag, swipe distress inks on the craft sheet, mist with water, swipe ribbon through it, and dry with heat tool.
 the details: the vintage look of this inked distress glitter is so wonderful, and layering these over the marbled matte finish of the coordinating distress paints make the elements really stand out.
 the details: i wanted to show you that you can use other shapes inside the ornate frame and it still looks great. i can see this layout as a wonderful card for all seasons.
so now it’s time to get your “glitter on” and create some fun projects using the distress glitter. whether you’re creating decorations for your home, favors or invitations for your halloween party, or just want to make something with a touch of nostalgic sparkle – do it. i can’t wait to see what creative ideas you come up with this month using distress glitter. remember to take time and enjoy…t!m
congrats to the winners from the september 12 tags of 2013.
if you see your name (and it links to your tag)
please email [email protected] to claim your prize…
1. PavlaH
2. Fieneke
3. Kayla Turner
4. Marianne H
5. Laurart
6. Janet
7. Lisa F
8. NGCARDS
9. cheiron
10. Terry Lightfoot
11. Christina Sedor
12. KateT
*be sure to check your local stores for these supplies or you can
click the links below to purchase online…
(SSS=simon says stamp / IE=inspiration emporium)
GREAT NEWS! both of these online stores are offering a discount of 10% off your purchase – use the following codes with your order:
(SSS code: TH12TAGOCT / IE code: timtime)
|
|
|
|
|
|
|
|
|
|
|
|
|
|
|
|
|
|


