we want to take this moment to acknowledge the fallen prescott firefighters “the granite mountain hot shots” in the recent tragedy. our thoughts and prayers go out to them and their families for this very sad loss – we are forever thankful for their service…
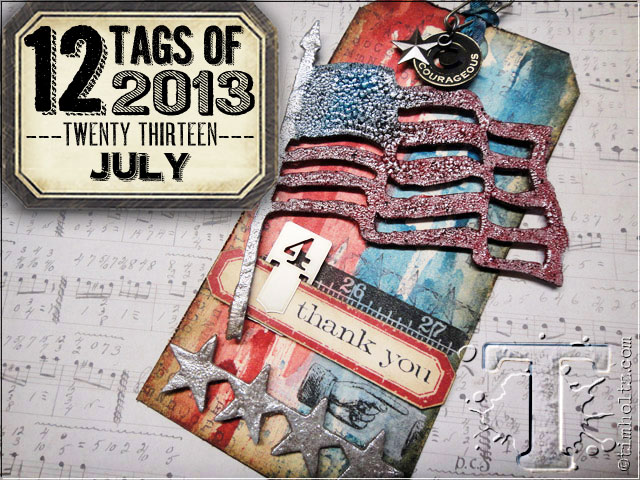
i can’t believe this year is already half over. i had so many ideas spinning in my head, but i continued to be inspired by this theme so i wanted to embrace it. hope you give this one a try, it’s a pretty cool way to use distress stains in a very different way – here we go…
supplies: craft sheet, mini brayer, distress stains/fired brick/barn door/faded jeans/salty ocean/brushed pewter, distress rock candy crackle paint, distress ink, ink blending tool, heat tool, archival ink/vermillion/jet black, #8 manila tag, stamps: simple sayings/music notes, stencil clip, tissue tape, grungeboard, crinkle ribbon, sanding grip, wire pin, muse token, adornment, old glory die, vagabond, paper distresser, scissors, foam tape
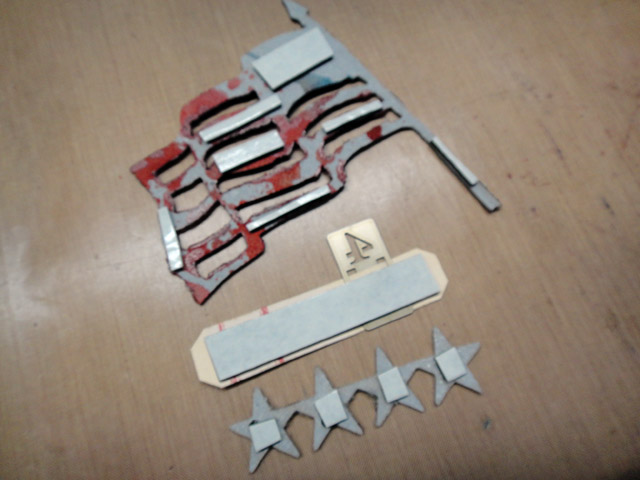
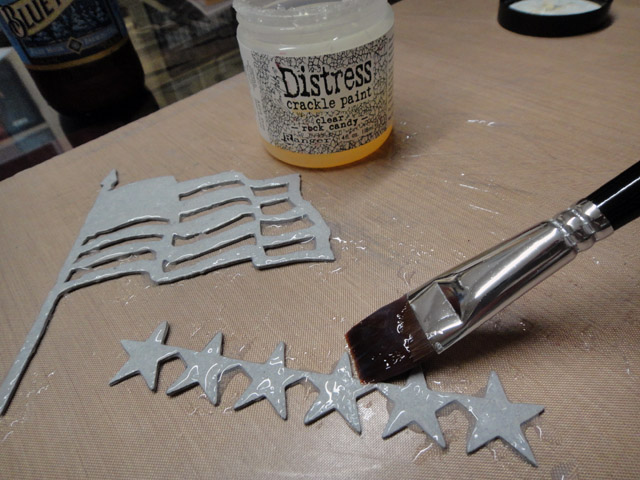 step 1: die cut old glory die from grungeboard using a vagabond. paint a medium layer of rock candy distress crackle paint over pieces and set aside to dry.
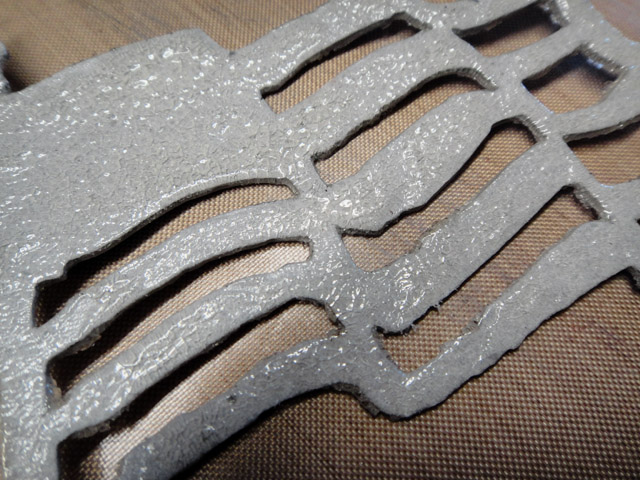 step 2: once the crackle is completely dry you will notice the porcelain style crackling on the pieces.
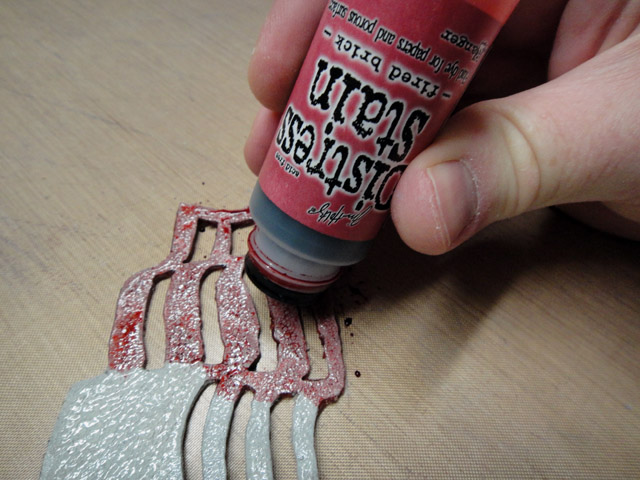 step 3: begin coloring the design by tapping distress stain over the crackled portions of the color. allow the stain to seep into the cracks to create the desired intensity of color.
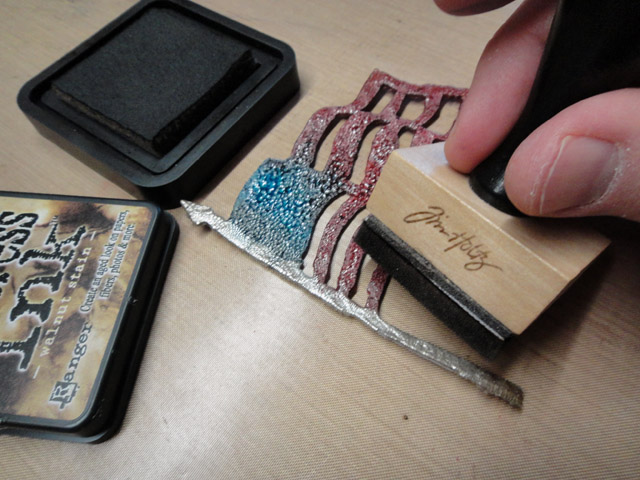
 step 4: continue coloring using various colors of distress stain.
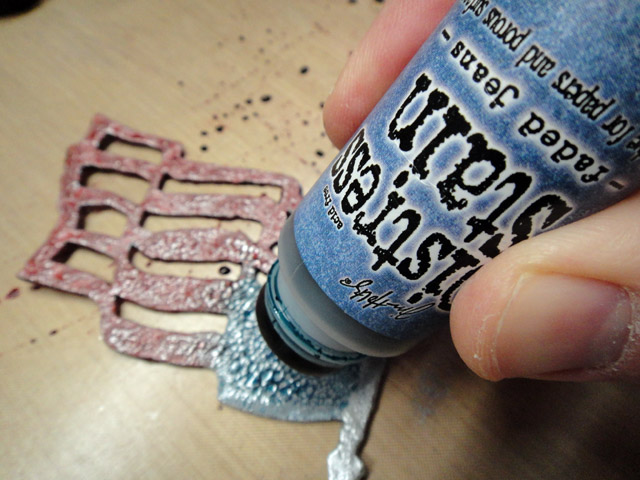
 step 5: add a touch of metallic using metallic distress stain to areas also.
 step 6: heat the stained crackle using a heat tool to “bake” the colors into the crackle.
 step 7: for an added distressed look, ink over stained piece with distress ink using an ink blending tool.
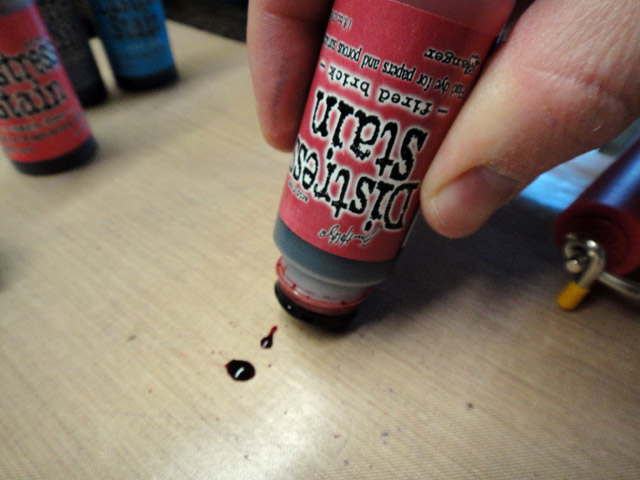 step 8: for the tag background, apply distress stain to a craft sheet by pressing down and squeezing the side of the bottle to dispense stain. (i used 2 tones of a color)
 step 9: lightly roll a brayer through the fluid stain to cover the roller with droplets of ink. *note: if you press down too hard when rolling through the ink you will not pick up enough “droplets” for the technique effect.
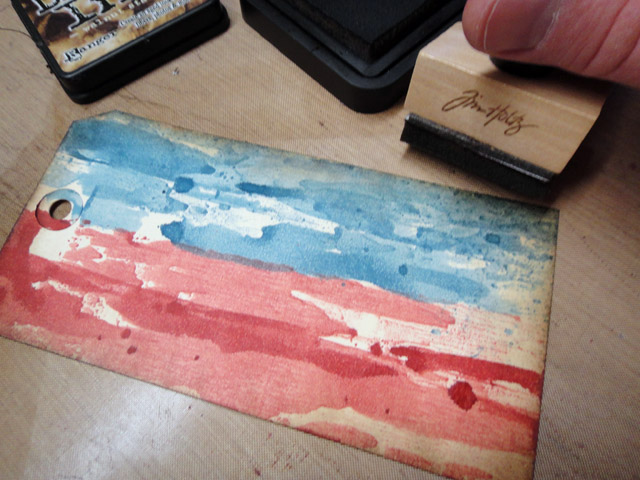
 step 10: quickly and lightly roll the inked brayer across the tag in one direction. check out the great random and mottled inked effect.
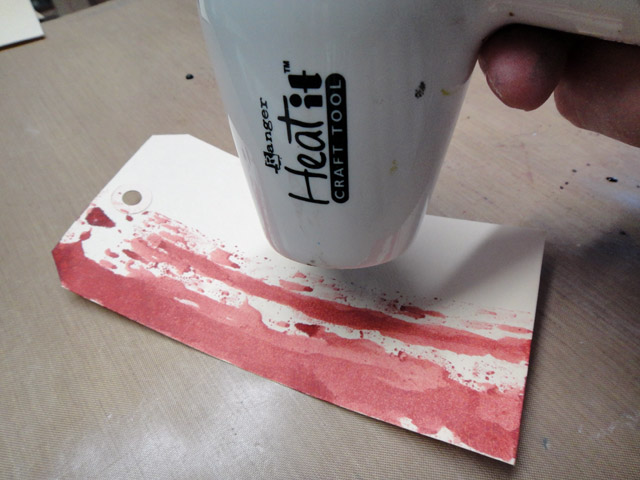 step 11: dry the inked area with a heat tool.
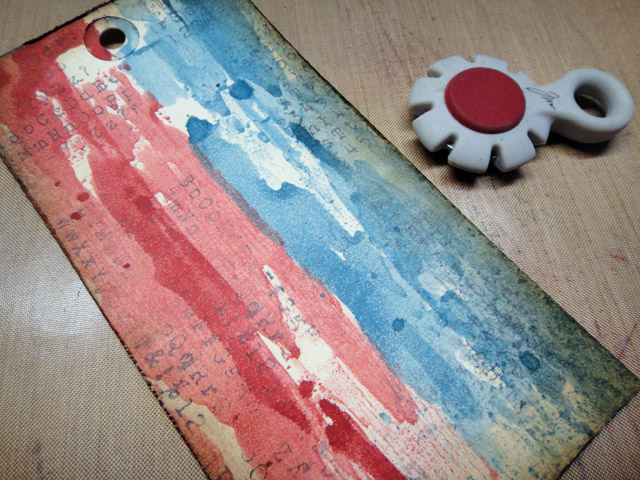
 step 12: repeat previous steps with another color combo and ink in another area of the tag. dry this layer with a heat tool as well.
 step 13: ink the edges of the tag with distress ink using an ink blending tool.
 step 14: randomly stamp a background stamp using archival ink using just parts of the stamp by bending the stamp when applying it.
 step 15: distress the edges of the tag with a paper distresser.
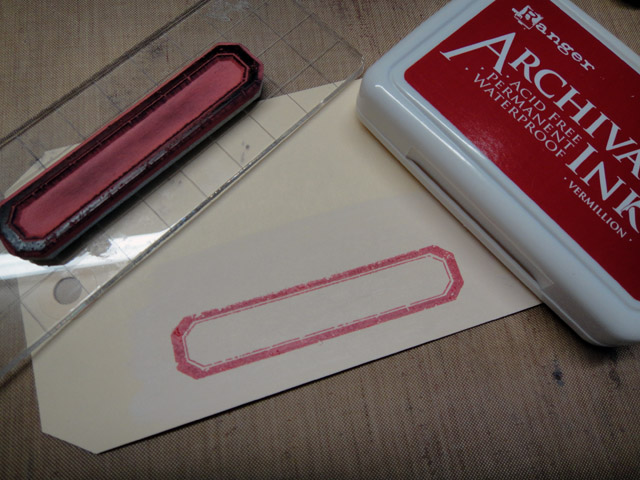 step 16: stamp the label from simple sayings set on to a manila scrap.
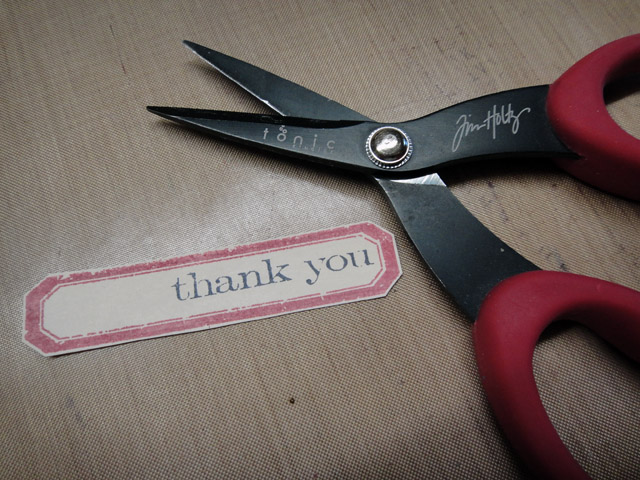 step 17: stamp words inside the label using the simple sayings set and cut to size.
 step 18: ink the edges with distress ink using ink tool.
 step 19: add stencil clip to stamped label.
 step 20: add tissue tape to various areas of the tag.
 step 21: apply foam tape to the back of all pieces for the tag.
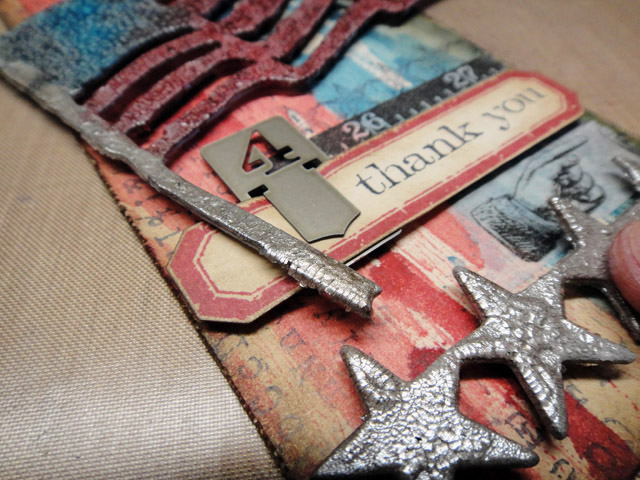 step 22: adhere all pieces to tag as shown.
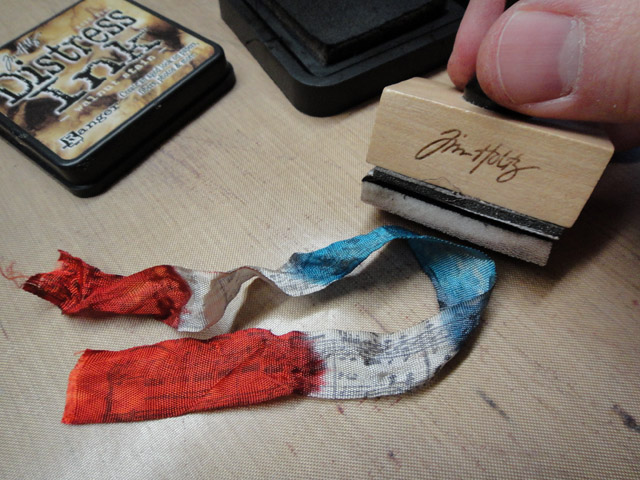
 step 23: stamp crinkle ribbon with archival ink and dry ink immediately with heat tool.
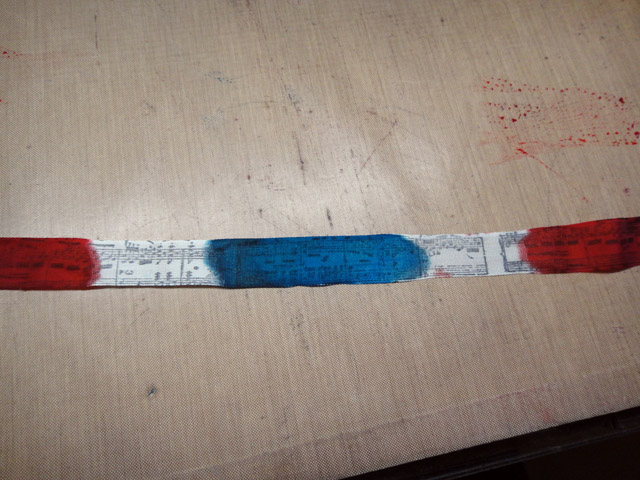 step 24: apply distress stains to various areas of the ribbon leaving some areas plain white.
 step 25: mist the crinkle ribbon with water to blend colors.
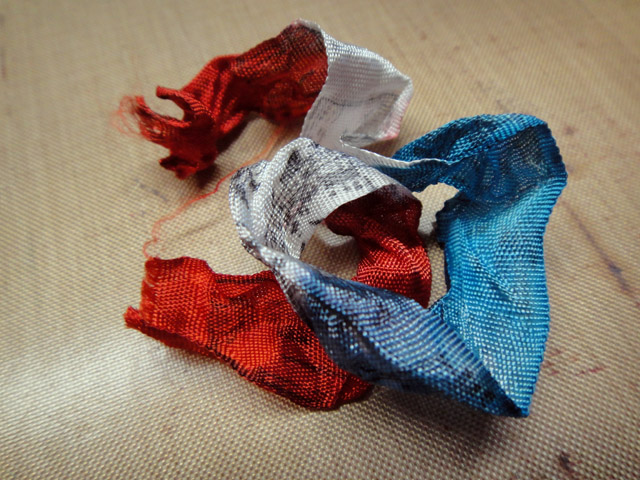 step 26: crumple ribbon into a ball and let dry or dry with heat tool.
 step 27: ink the dry ribbon with distress ink using ink tool.
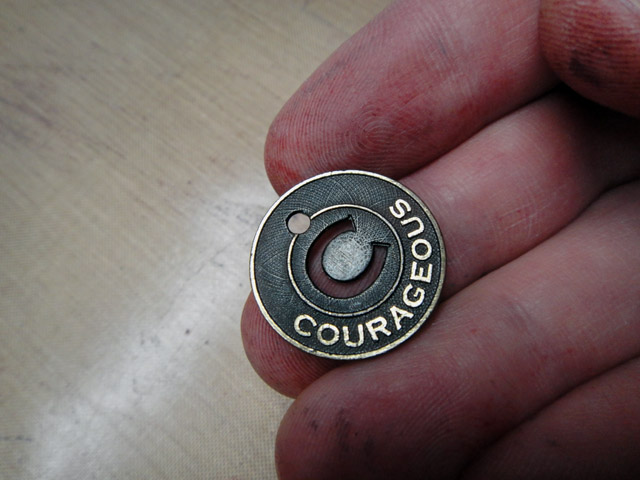 step 28: sand the surface of a muse token with sanding grip to bring out the shine in the metal word.
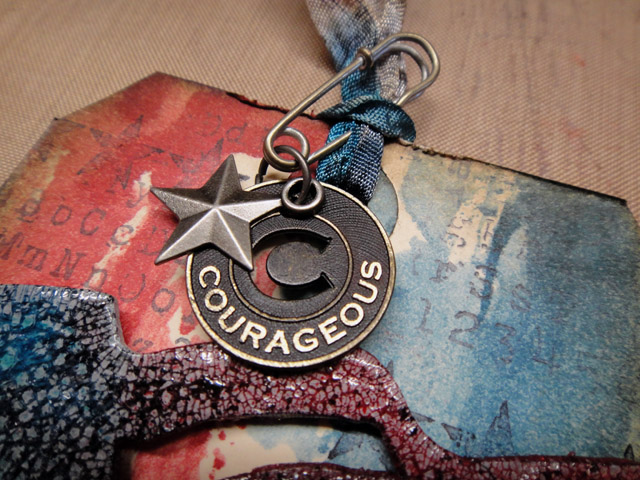 step 29: attach muse token and adornment charm to ribbon with wire pin.
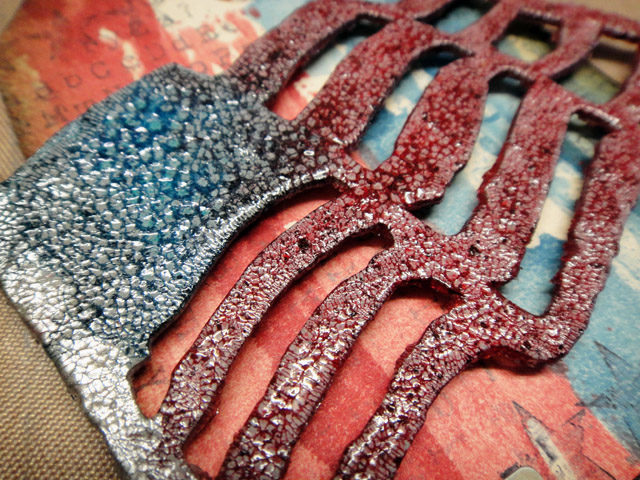 the details: check out how cool the flag looks…like glazed porcelain.
what a cool background trick with a brayer huh? you can use this technique with your favorite color stains, ink sprays, paints, and more. the more you practice the amount of liquid you get on the brayer and the lighter you roll across the surface, the results are always amazing. i can’t wait to see what you create this month…t!m
congrats to the winners from the june 12 tags of 2013.
if you see your name (and it links to your tag)
please email [email protected] to claim your prize…
1. Hetty- nov
2. Shirl L
3. Mary Elizabeth
4. Dolly
5. froebelsternchen
6. Sue C
7. Amy*
8. Chary Deiling
9. Nunt
10. Donna
11. Ruby C
12. Katy D
*be sure to check your local stores for these supplies or you can
click the links below to purchase online…
(SSS=simon says stamp / IE=inspiration emporium)
GREAT NEWS! both of these online stores are offering a discount of 10% off your purchase – use the following codes with your order:
(SSS code: 713THTAG / IE code: timtime)
|
|
|
|
|
|
|
|
|
|
|
|
|
|
|
|
|
|
|


