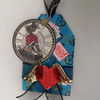
can you believe a month has already flown by this year? i mean where did january go? it was definitely a busy month around here, and i must say that i’m certainly glad it was. today i’m happy to start off the month with the february tag of 2013 – have you been creating the tags this year? i hope so… if not, it’s never too late to jump right in and start with this month (remember all of the tutorials for the previous tags and even previous year’s tags are located in the archive links in the right column of the blog)…
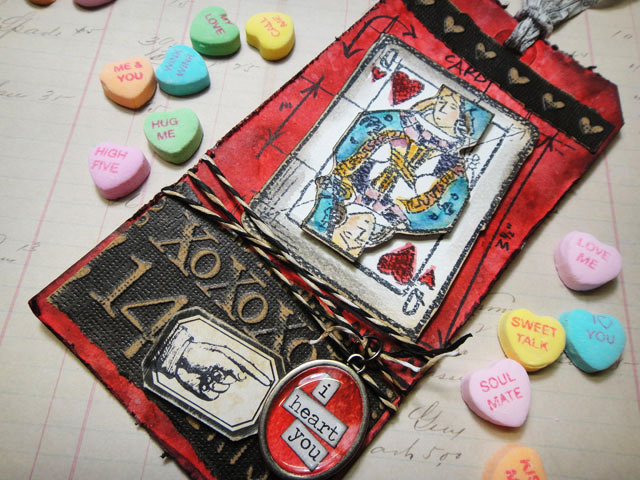
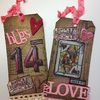
so with valentines day being just a couple of weeks away now, my inspiration was the new “queen of hearts” blueprint stamp which i thought was the perfect image to use. i really enjoy using so many of the blueprint images on my tags and cards especially if i’m coloring them in, and today is all about coloring. when distress markers were first released, i made a video sharing many of the tips and techniques for using them (click here to watch).
well like with any product, the more you use it, the more you discover about it – right? what i love most about distress markers is that even though you may not be the best “colorer” they certainly make you look like you know what you’re doing – hey i’m proof of that. so today i want to share a new distress marker video i made that includes some updated info, new tips and techniques for getting the most from these awesome markers. it’s over on ranger’s website so head over there to check it out and then come right back so we get started on the tag…
supplies: distress markers, waterbrush/detailer, distress stain/festive berries/fired brick, distress ink/black soot/frayed burlap, archival ink/jet black, mister, heat tool, craft sheet, glossy accents, ink blending tool, #8 manila tag; sanding grip, tissue tape/symphony, cash keys, vial labels, paper string, chitchat stickers/seasonal, jump ring; kraft core/seasonal impressions; stamps/cms143/cms120, gird-blocks; scissors, paper distresser; foam tape; watercolor paper (140lb. cold press)
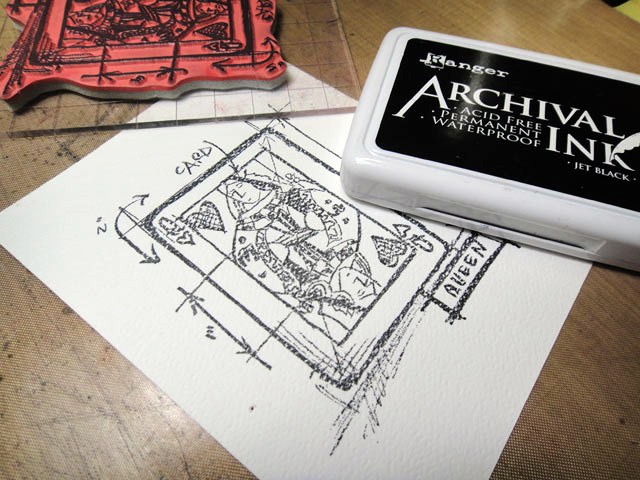 step 1: stamp the queen of hearts on 2 pieces of watercolor paper using archival ink.
 step 2: cut one of the images around the card, and the other around the queen body (i want stamp2cut for this one, but it’s not available until march…ugh!)
 step 3: color the images using distress markers and blend using the detailer water brush. *be sure you’ve watched today’s distress marker video for more info on watercoloring with the markers.
 step 4: distress a manila tag by swiping distress stain/festive berries over the entire tag.
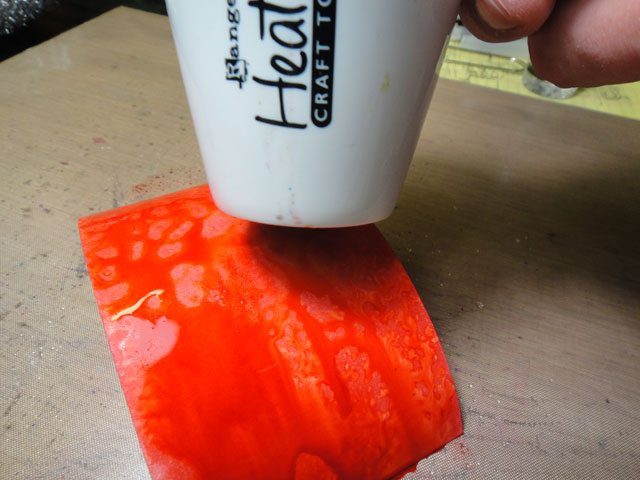 step 5: begin drying the tag with a heat tool.
 step 6: while drying the tag, spritz it with water to react the inks to create a great watery effect.
 step 7: swipe a darker color of distress stain/fired brick over various areas of the tag. follow the previous steps by drying the tag again and spritzing with water to blend.
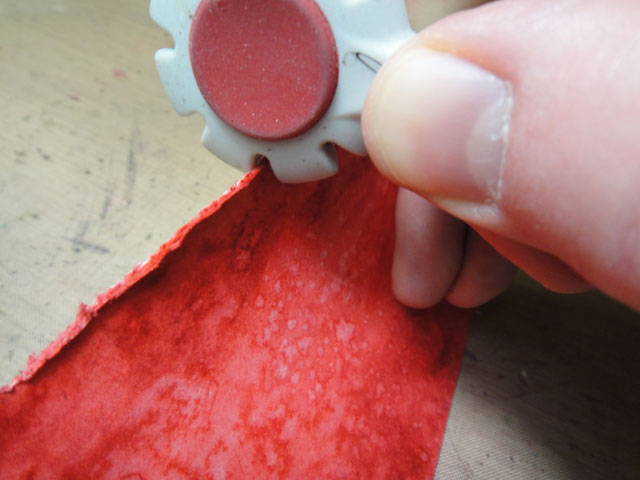 step 8: drag a paper distresser along the edges of the tag to tatter.
 step 9: ink the edges of the tag with black soot distress ink using an ink blending tool.
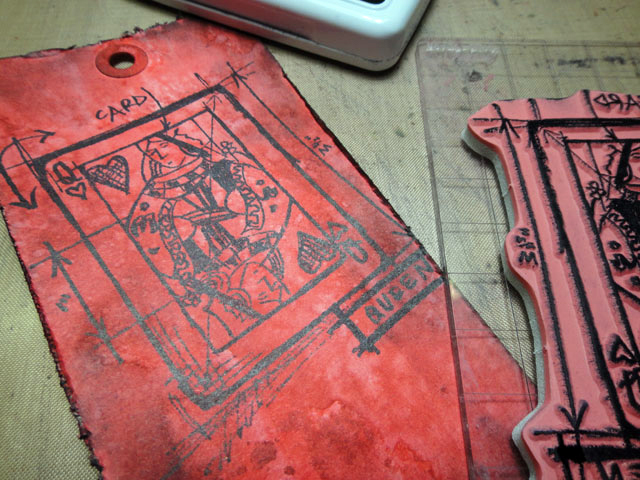 step 10: stamp the queen of heart blueprint image directly on to the tag with archival ink and let dry.
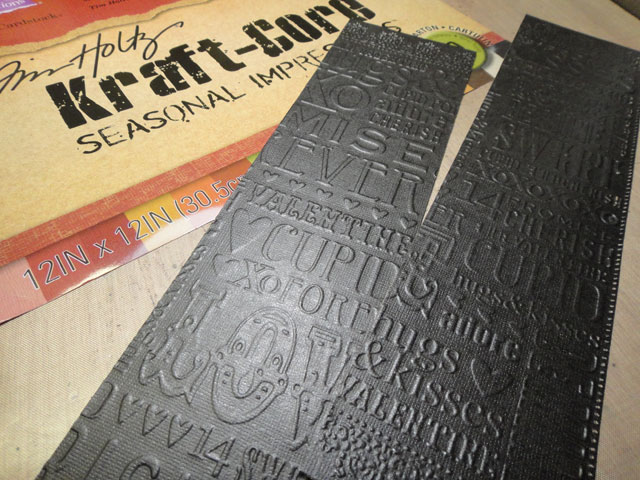 step 11: cut a piece of kraft core seasonal impressions to 3″ wide which is slightly smaller than the tag.
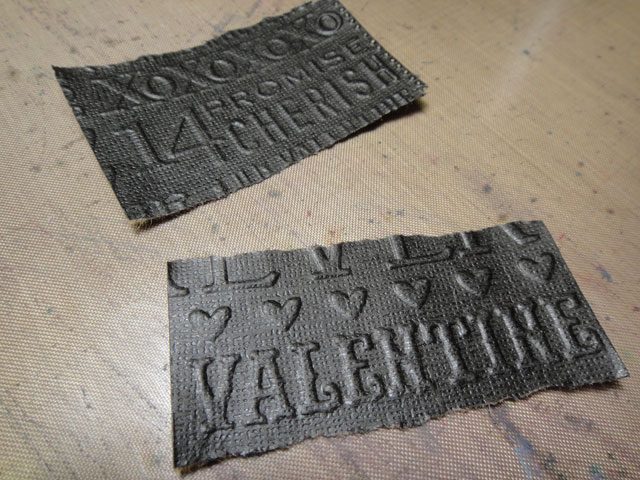 step 12: choose the areas you want and tear the paper to create a cool edge.
 step 13: place the paper on to a scrap piece of paper and sand over the raised areas with a sanding grip to expose the kraft core. what i love about this seasonal impressions is that is has a variety of sized words and images so it is perfect for all kinds of projects including tags and cards since they have smaller embossed designs you can’t get with an embossing folder. (here’s a video for that too)
 step 14: adhere the kraft core to the tag using glossy accents or your favorite adhesive (i decided to tear off a little more).
 step 15: adhere the colored queen of hearts images using foam tape on each layer for added dimension.
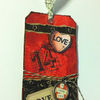
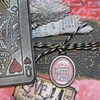
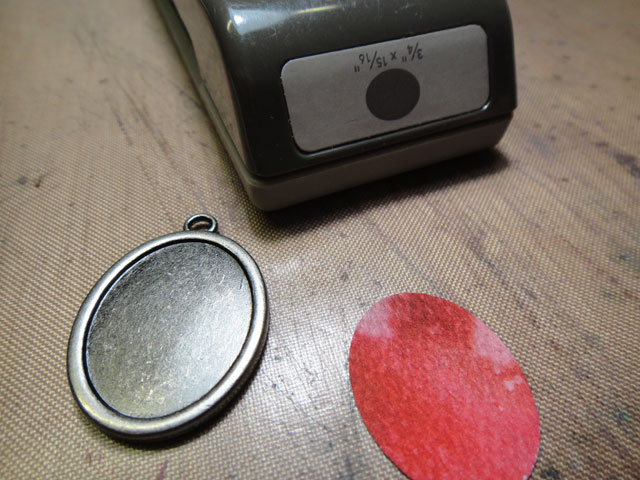 step 16: to create a custom cash key, i inked a scrap piece of watercolor paper with distress stains, let it dry, and then punched it out with this oval punch from stampin’ up which is the perfect oval size for custom cash keys.
 step 17: next i selected words from the seasonal chitchat stickers (did you know there is a seasonal chitchat set of words?), and i trimmed off some of the excess paper, inked the edges a little with distress ink, and adhered them to the punched oval.
 step 18: apply a small amount of glossy accents to the inside area of the cash key and spread it around with the tip of the bottle.
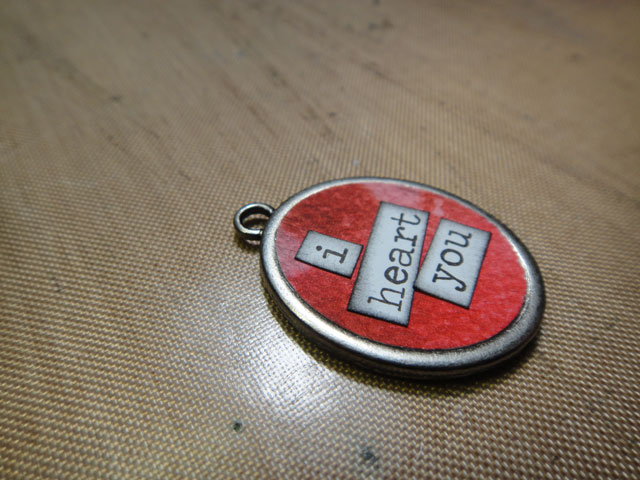 step 19: adhere the paper background to the cash key and hold in place to dry.
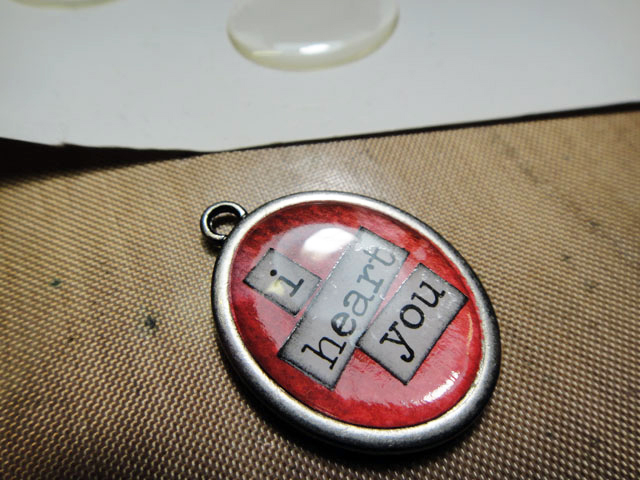 step 20: adhere the included epoxy stickers to create a cool custom embellishment.
 step 21: cut a strip of paper string and ink it with distress ink using an ink blending tool. simply ink up the tool, press the tool on to one end of the string on your craft sheet, and pull the string under the inked foam to distress. it’s that easy!
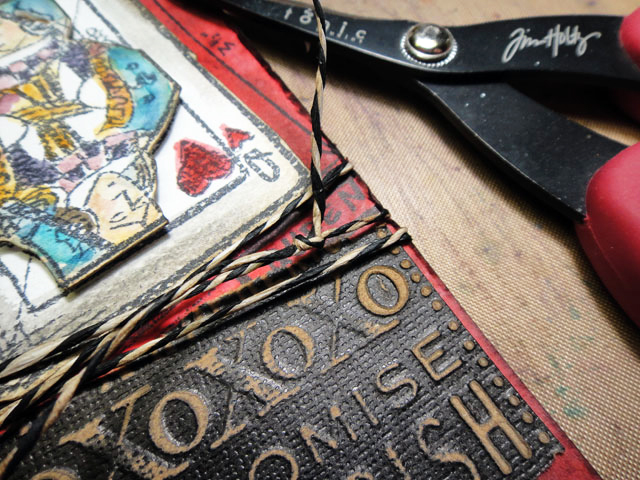 step 22: tie the paper string around the tag a few times and tie it in a knot – the inked string is perfect.
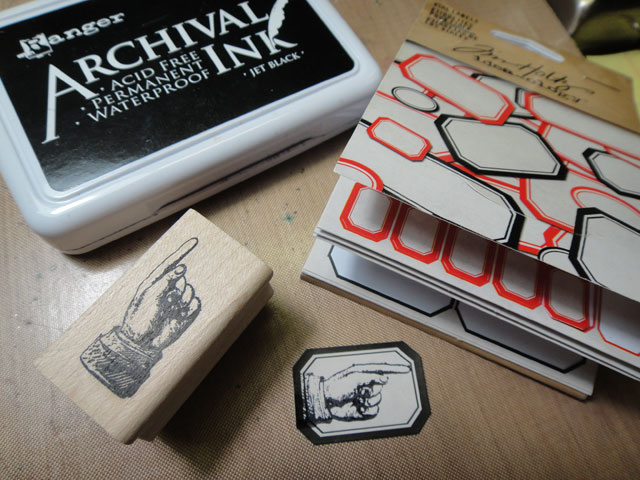 step 23: stamp the pointing finger on to a vial label using archival ink and heat to dry.
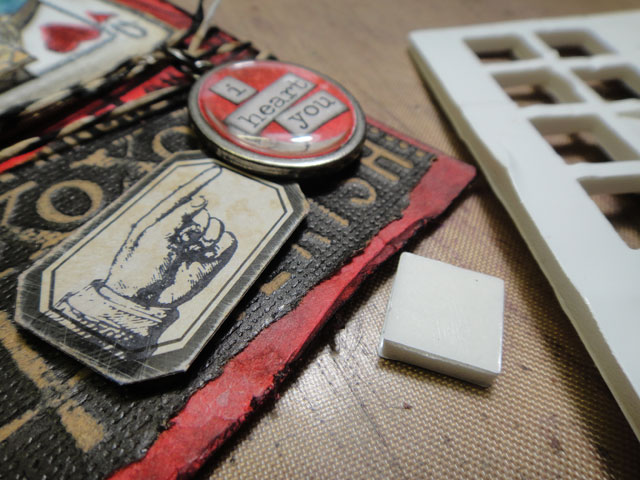 step 24: adhere the vial label with foam tape and attach the cash key to the string with a jump ring. *tip: i also add a small piece of foam tape to the back of the cash key to keep it in place and always facing the way i want.
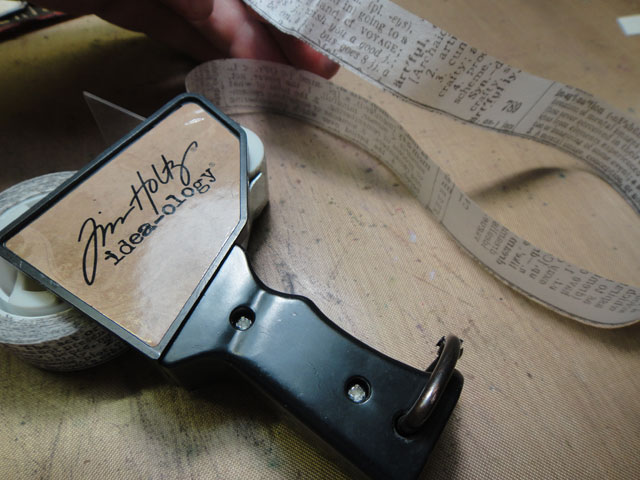 step 25: working on your craft sheet, roll out about 18″ or so of tissue tape.
 step 26: fold the entire piece of tape together (sticky side to sticky side) in half.
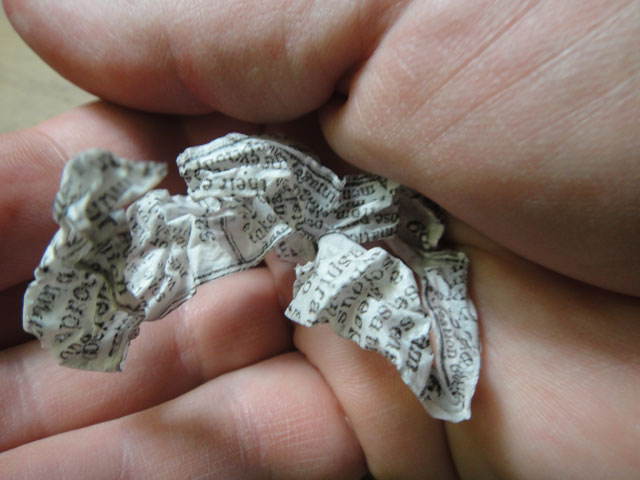 step 27: crumple tissue tape in your hand to create a piece of cool, durable tissue ribbon – very cool right?
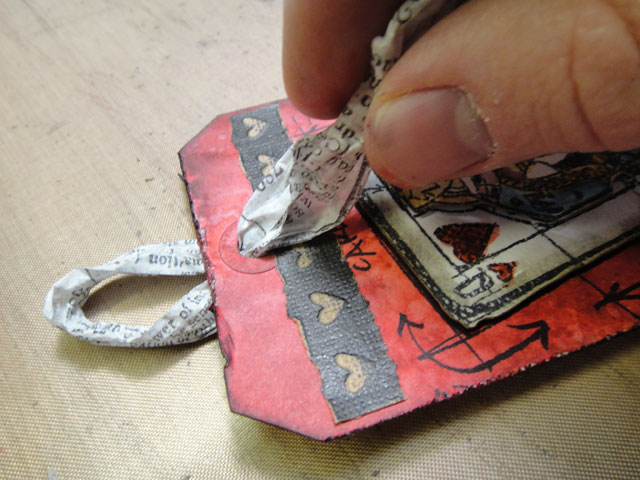 step 28: fold the strip in half and insert the fold through the hole in the top front of the tag.
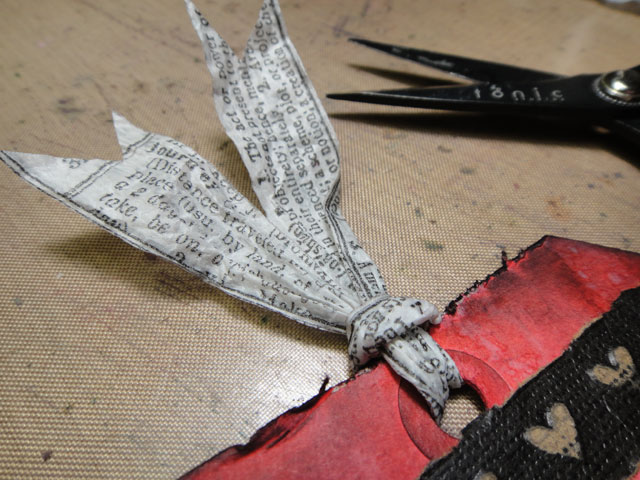 step 29: bring the ends of the tissue tape through the loop and pull to secure. then just trim the ends with scissors and you’re all done!
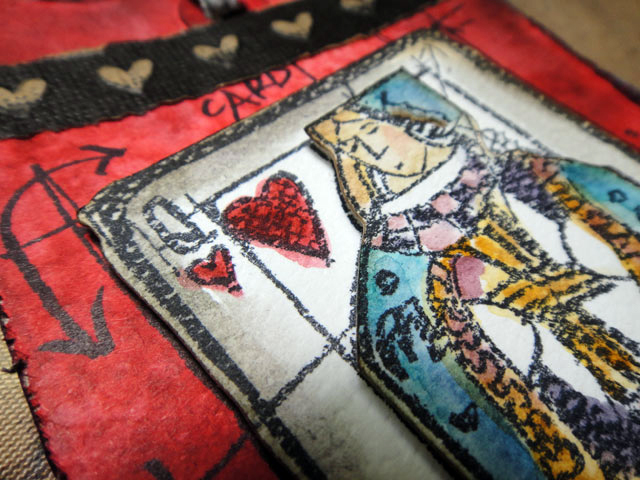 the details: i love the look of the layered stamped and cut image for this tag. distress markers really do make it easy to create a perfect watercolored image.
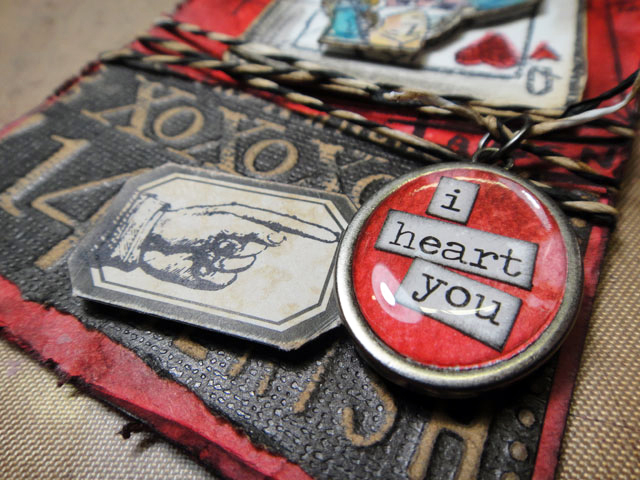 the details: it’s important to remember you can customize many of the embellishments you already have for projects you’re working on – always think outside the box.
so remember to share the love this month…the creative love….with yourself! take time to just make something whether it’s for yourself or that someone special, enjoy the fun of being creative. i hope you give coloring with distress markers a try, they sure are fun and easy to use. remember if you do participate in the 12 tags, be sure to upload your tag to the blog for your chance to be a winner! in fact, it’s time to announce our first 12 tags of 2013 random winners from the january tag uploads so i’ll sign off here. i hope you enjoy today’s tag, and remember “i heart you”…t!m
one more thing: many of you have been asking for a “12 tags of 2013” image to copy and paste on to your blog to show that you’re participating in the tags – so here it is…
congrats to the winners from the januray 12 tags of 2013. if you see your name (and it links to your tag) please email mario@timholtz.com to claim your prize…
1. Rebecca Morris
2. Lise A. Seivaag
3. Sarinda Jones
4. BJ
5. Trent Miller
6. Belinda Achatz
7. Annie G
8. Nicolle Kramer
9. Brenda Brown
10. Hazel H
11. Chris R
12. Nonnie
*be sure to check your local stores for these supplies or you can
click the links below to purchase online…
(SSS=simon says stamp / IE=inspiration emporium)
GREAT NEWS! both of these online stores are offering a discount of 10% off your purchase – use the following codes with your order:
(SSS code: THFEBTAG / IE code: timtime)
UPLOAD YOUR PROJECT: here's the place to share your own project
inspired by this month's "12 tags of 2013" right here on my blog!
To Get Started:
1. click on the (add your link) button at the bottom of the post.
2. after you enter your info, click (next step) and you'll be able to
select the photo you wish to display.
*note: you may link from your blog or from a public hosting site.
please only post your project photo relating to this month's tag.
| | | | |
| | | | |
| | | | |
| | | | |
| | | | |
| | | | |
| | | | |
| | | | |
| | | | |
| | | | |
| | | | |
| | | | |
| | | | |
| | | | |
| | | | |
| | | | |
| | | | |
| | | | |
| | | | |
| | | | |
| | | | |
| | | | |
| | | | |
| | | | |
| | | | |
| | | | |
| | | | |
| | | | |
| | | | |
| | | | |
| | | | |
| | | | |
| | | | |
| | | | |
| | | | |
| | | | |
| | | | |
| | | | |
| | | | |
| | | | |
| | | | |
| | | | |
| | | | |
| | | | |
| | | | |
| | | | |
| | | | |
| | | | |
| | | | |
| | | | |
| | | | |
| | | | |
| | | | |
| | | | |
| | | | |
| | | | |
| | | | |
| | | | |
| | | | |
| | | | |
| | | | |
| | | | |
| | | | |
| | | | |
| | | | |
| | | | |
| | | | |
| | | | |
| | | | |
| | | | |
| | | | |
| | | | |
| | | | |
| | | | |
| | | | |
| | | | |
| | | | |
| | | | |

