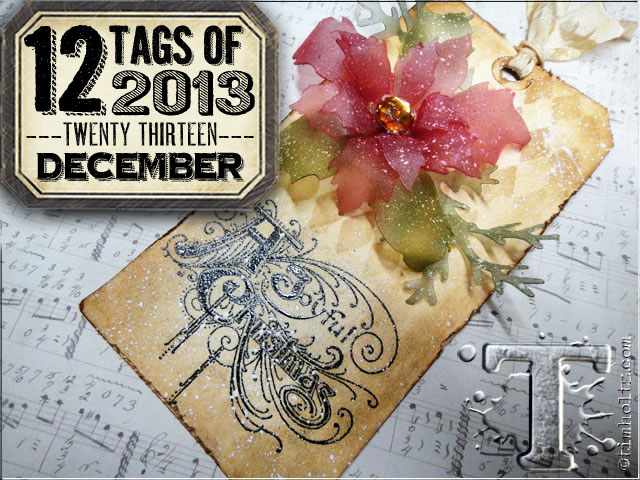
happy holidays everyone! it truly is the most wonderful time of the year so let’s fill our creative spirit with the magic and merriment of the season. this month’s tag using some pretty unique products, but when you see how simple it is to create these amazing results you’ll find the need to have these products as part of your creative stash. let’s get started…
supplies: frosted film, heat tool, ink blending tool, craft sheet, distress stain/antique linen, distress ink/frayed burlap, distress paint/picket fence, layering stencil/harlequin, distress embossing ink, fine detail embossing powder/black, stamps/CMS119, manila tag, mister, paper distresser, craft pick, bigs die/tattered poinsettia/tattered pinecone, vagabond machine, long fastener, crinkle ribbon, hot glue, splatter brush
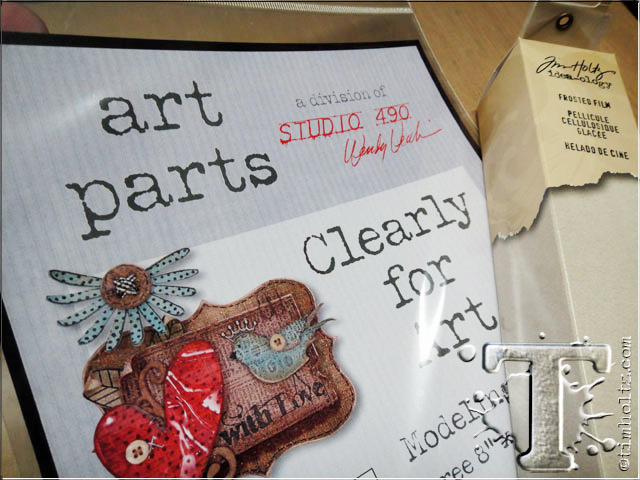 “clearly for art” and “frosted film” are two very unique products with very different uses, but when combined the effects are amazing! before we start the actual technique i want to share a little more about these products: “frosted film” is a thin adhesive back vinyl film sold in a 12″ wide roll with 6 feet of film. use it on papers, photos, glass, and plastic to create a “frosted” effect on the surface it is applied to. you can also die cut it, use your e-cutters on it, stamp on it, and of course colorize it with any type of permanent ink. “clearly for art” is a modeling plastic designed to be stamped on or die cut. you can heat it and actually form and shape it while the plastic is warm. once cool, it will retain it shape indefinitely. if you don’t like the shape you created, simply reheat it and it will flatten out completely allowing you to reshape it. this film is available in clear, white, and black, but my preference is clear since you can colorize it with paints and permanent inks too. today’s tutorial shares a cool effect when these two products are combined.
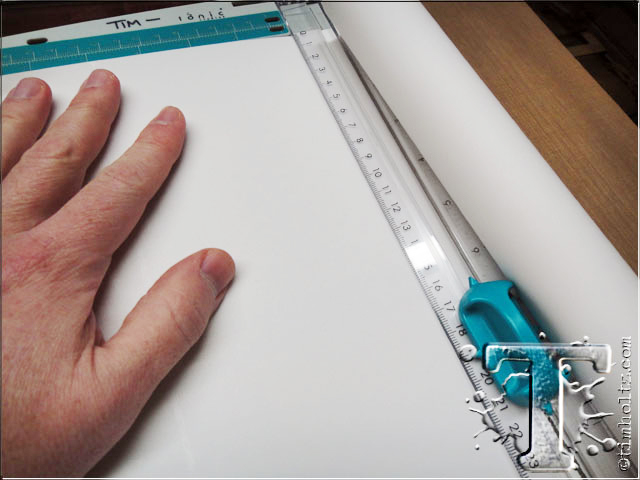 step 1: measure the surface you want to cover with frosted film and cut the frosted film to size using a paper trimmer.
 step 2: begin removing the paper backing of the frosted film exposing the adhesive.
 step 3: line one edge of the frosted film along the clearly for art sheet.
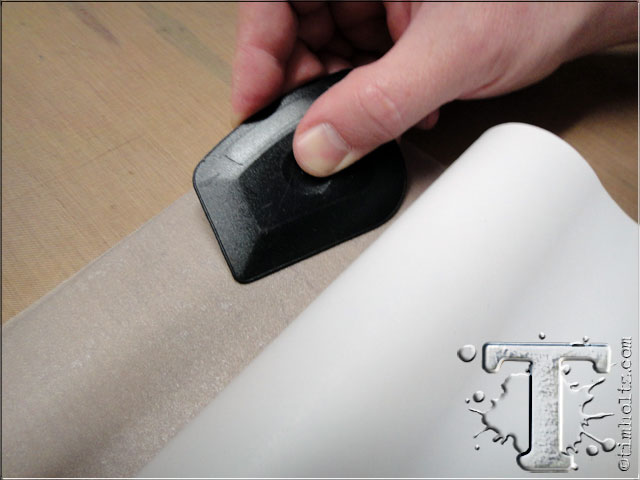
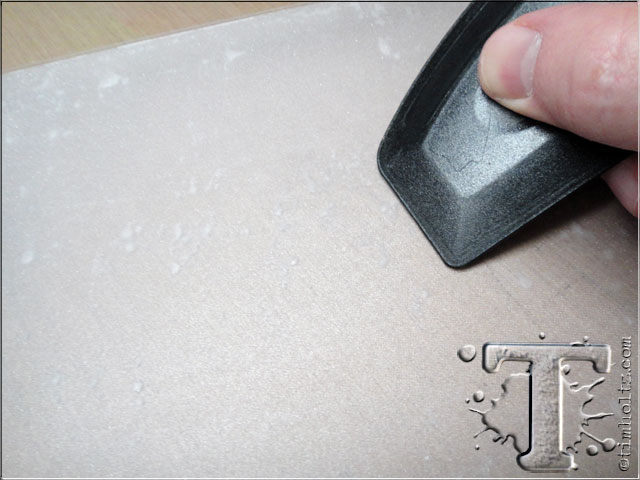 step 4: apply the film by slowly removing the paper backing of the film as you smooth the film to the clearly for art. note: i used a craft scraper for this step to help smooth it out.
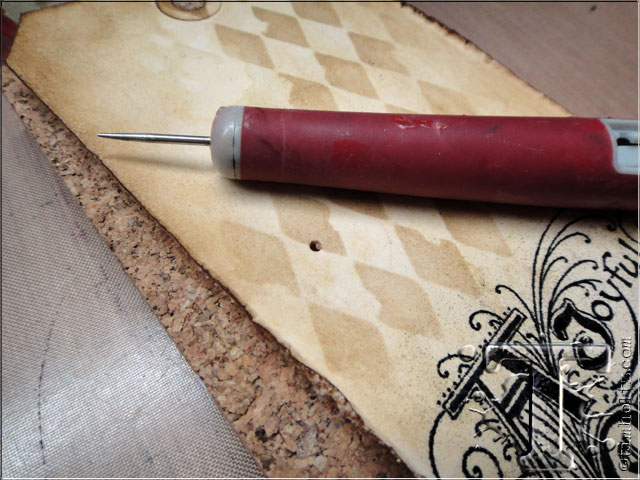
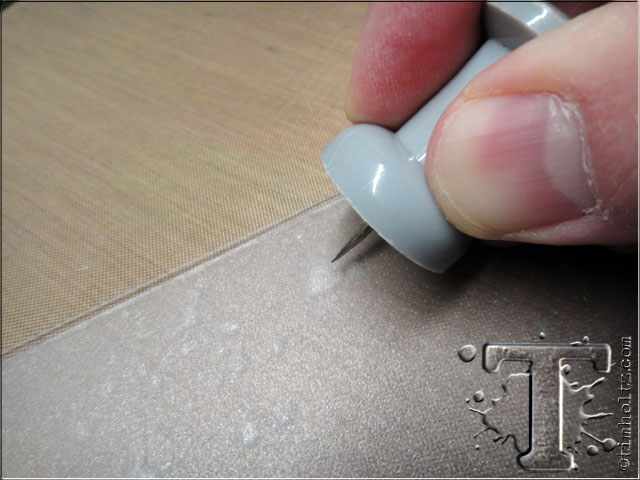 step 5: if you get air bubbles (and you will most likely get air bubbles) just pop them with a needle of push pin.
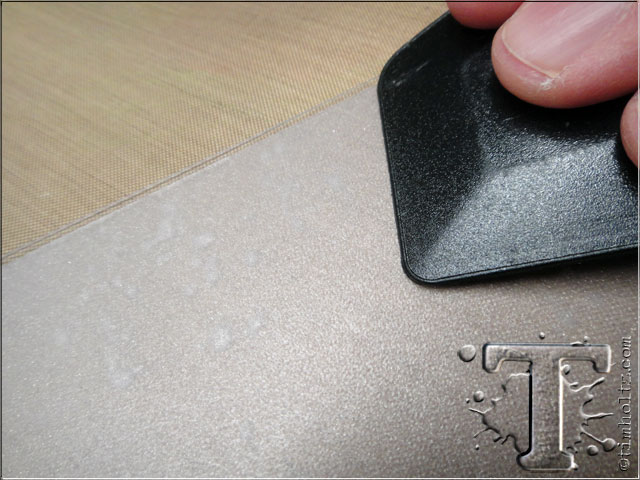 step 6: then use a craft scraper to flatten out the air bubbles – simple as that.
 step 7: die cut the frosted material using the tattered poinsettia die. note: you must use a steel rule die to cut frosted film and clearly for art.
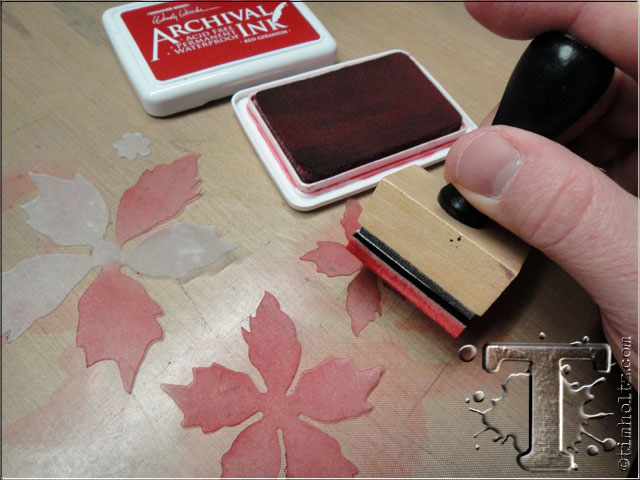 step 8: colorize the frosted side of the film using archival inks and an ink blending tool. i’m using wendy’s palette of archival inks from ranger for this, but you can also use alcohol inks, copic markers, or any other permanent ink to colorize the frosted surface.
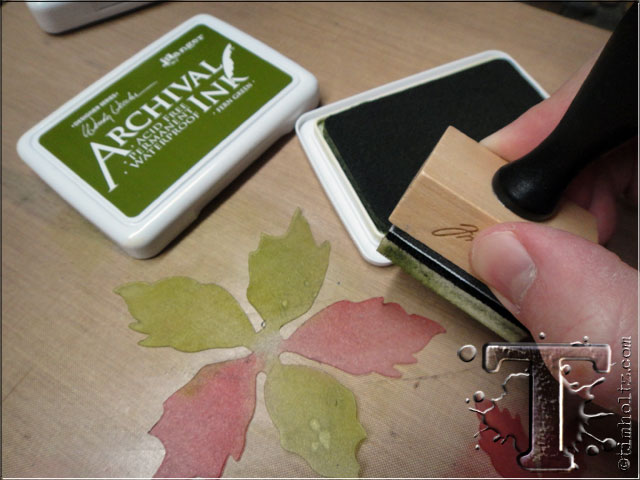 step 9: when inking the tattered poinsettia, ink three “petals” of the largest piece green to create the leaves.
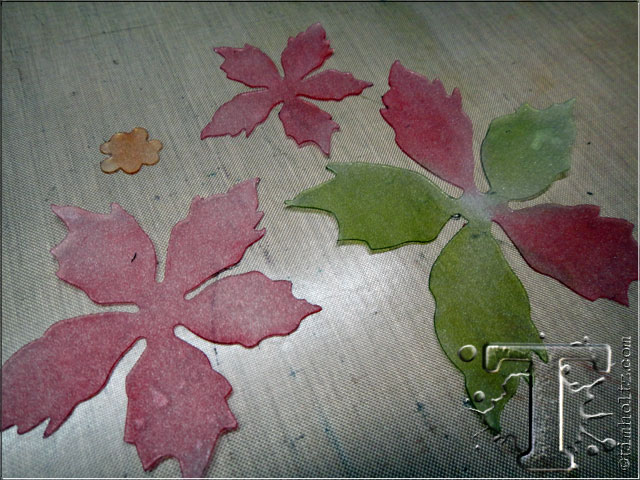 step 10: continue inking all cut pieces as shown.
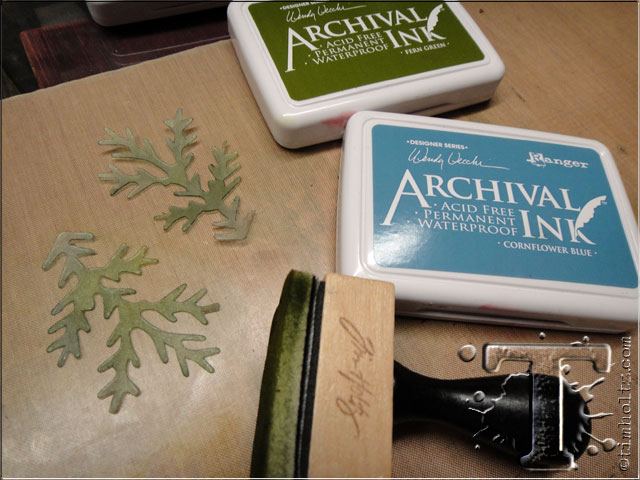 step 11: using the scraps i die cut two juniper pieces from the tattered pinecone die and inked them with archival.
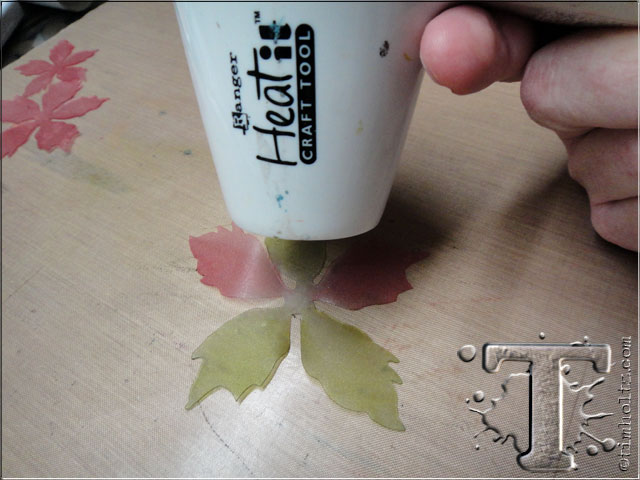 step 12: this is where things get interesting, gently heat the film using a heat tool. watch the film begin to get wavy (it doesn’t take long so pay attention so you don’t burn yourself).
 step 13: while the film is warm, simply shape with your fingers by curling and bending the petals to form. the surface cools almost immediately and your shape is held – cool right?
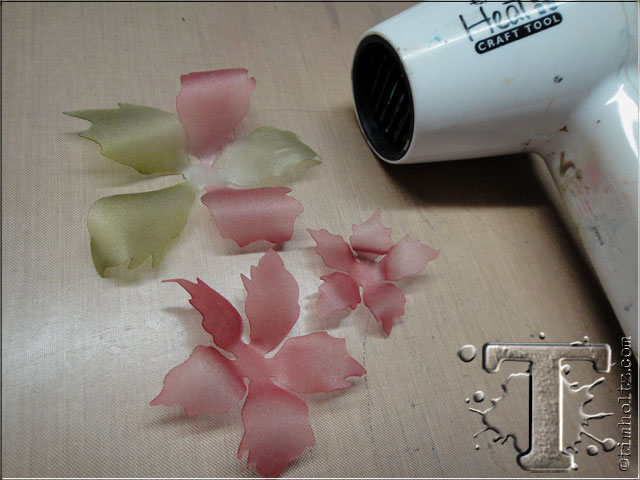 step 14: continue heating the shaping all of the pieces. remember if you don’t like the shape of any piece, simply reheat and the surface will flatten out allowing you to reshape it again and again until you’re happy with it.
 step 15: place the shaped pieces on a cork mat and pierce a hole in the center of each layer using a craft pick.
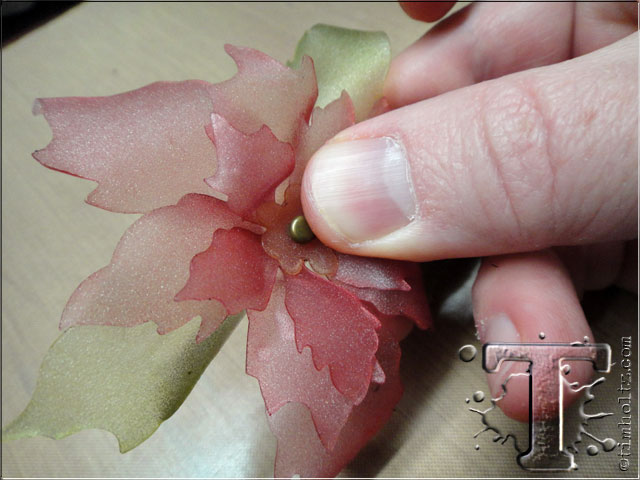 step 16: stack all pieces together using a long fastener and secure in the back until we’re ready to add it to our tag.
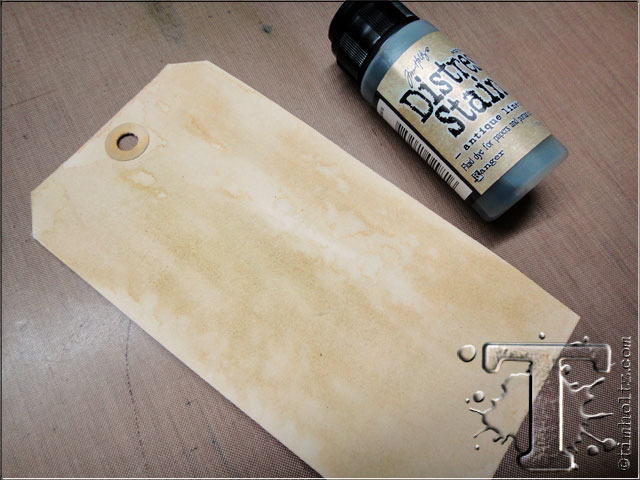 step 17: create a quick background on a tag using distress stain, spritz with water, and dry with a heat tool.
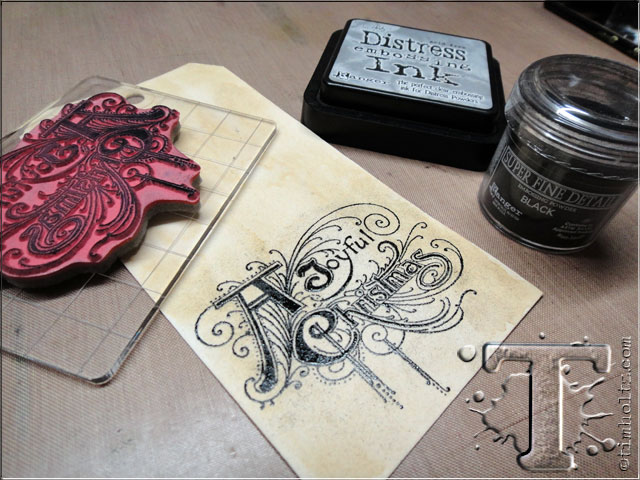 step 18: stamp your verse with distress embossing ink and emboss with super fine detail embossing powder.
 step 19: place a layering stencil over the tag and ink through various areas with distress ink using an ink blending tool.
 step 20: distress the edges of the tag with a paper distresser and distress ink.
 step 21: pierce a hole through the tag where you want to attach the tattered poinsettia.
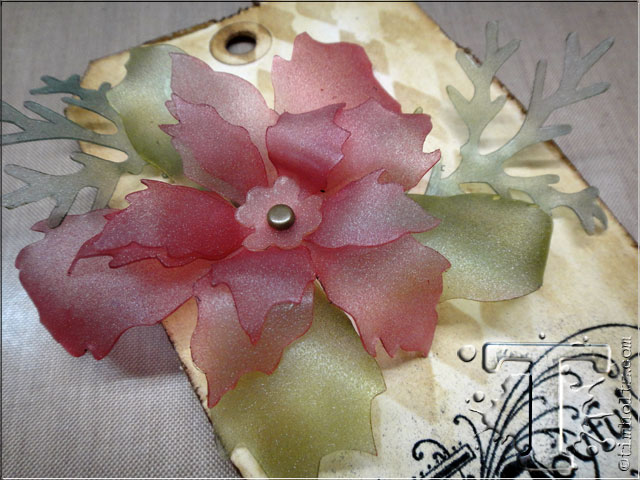 step 22: secure the poinsettia to the tag using the long fastener and adhere the juniper pieces with hot glue.
 step 23: place the tag on a piece of scrap paper or your craft sheet and splatter the entire surface using picket fence distress paint to create a snowy effect. SPLATTER BRUSH: i used this cool splatter brush from liquitex – click here for more info.
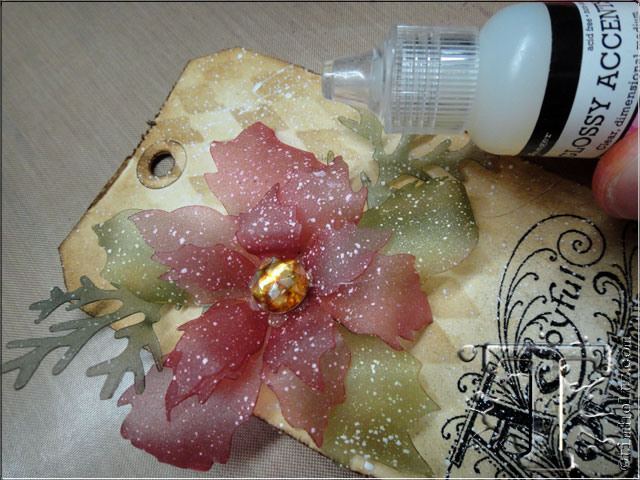 step 24: once the paint is dry, adhere a gem to the center with glossy accents.
 the details: the dimensional flower is incredible since it will keep it’s shape (even through the mail). i love the effect the frosted film gives the clearly for art and the archival ink provides the perfect tint of color.
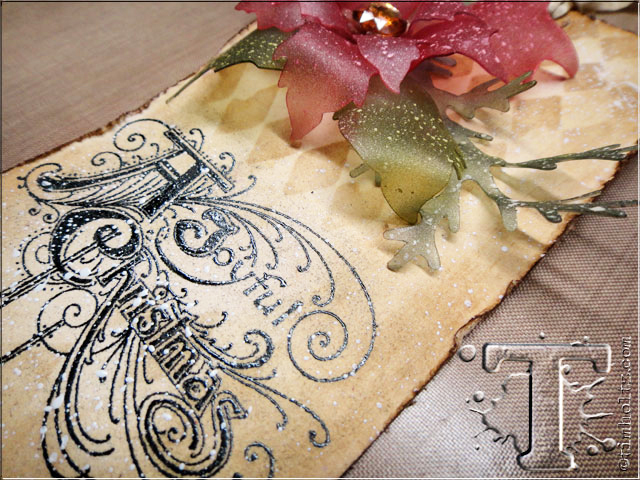 the details: combining stencils and stamps for your background creates layers of imagery and interest.
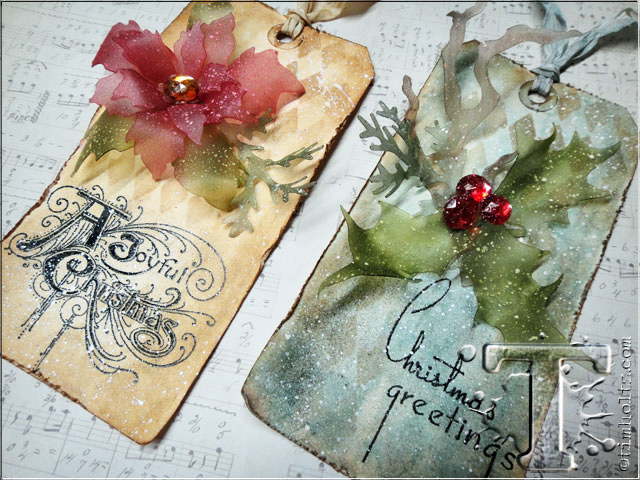 the details: of course i couldn’t stop at just one tag. i used the other half of my frosted clearly for art to create another tag using the holly branch die, a winter wonderland!
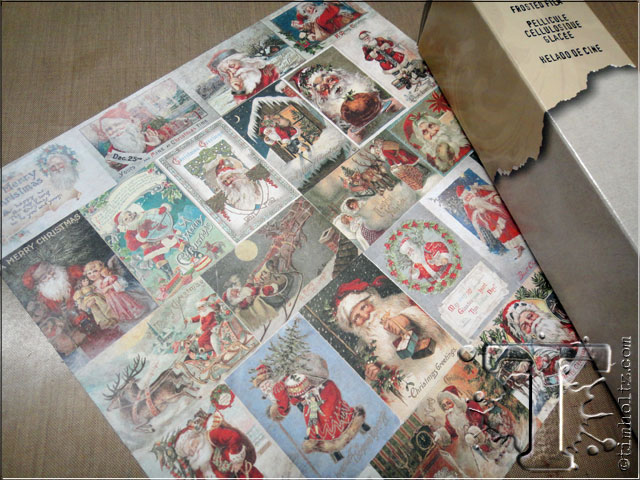 – another thing i wanted to share is the effect of frosted film over scrapbook paper – the result are just as cool.
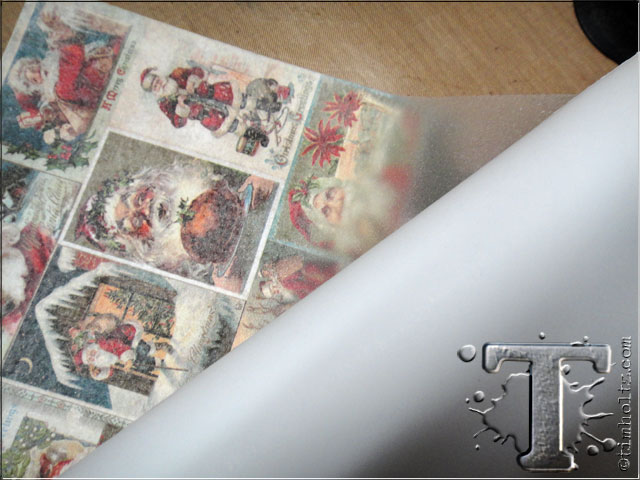 – remember to cut the frosted film to the size of your surface first.
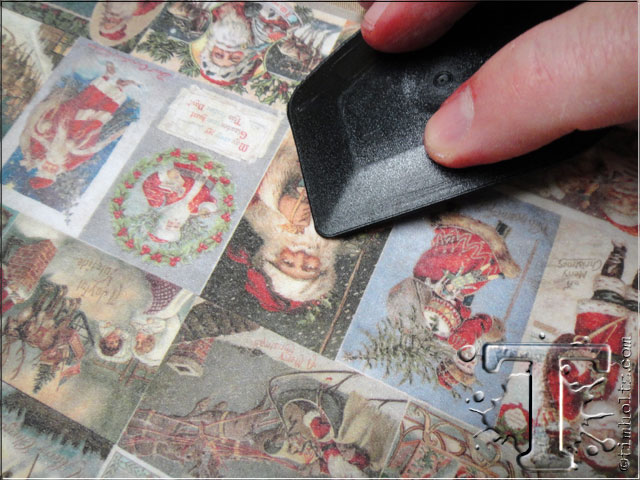 – remove the backing and apply directly to the paper and smooth out with a craft scraper.
 – check out the cool frosted finish on this paper. it’s even more incredible in person, very shimmery and frosty not to mention it adds durability to the surface (kind of like laminating the paper).
well that should get your creativity in the holiday spirit. this technique can also be used year round with flowers, butterfly wings, your favorite papers and more! i can’t wait to see what you create with this month’s technique and clearly for art with frosted film. here’s to a season full of festivities and inspiration – happy holidays…t!m
congrats to the winners from the november 12 tags of 2013.
if you see your name (and it links to your tag)
please email [email protected] to claim your prize…
1. Joanne
2. Sue
3. Dolly
4. Aquarius
5. Dixie Cravens
6. Oxana
7. Barb Cady
8. Rosann aka Rea’
9. Notty
10. Barbarayaya
11. Tara’s Creative Accents
12. Mo Stokes
*be sure to check your local stores for these supplies or you can
click the links below to purchase online…
(SSS=simon says stamp / IE=inspiration emporium)
GREAT NEWS! both of these online stores are offering a discount of 10% off your purchase – use the following codes with your order:
(SSS code: DEC2013 / IE code: timtime)
|
|
|
|
|
|
|
 |
|
|
 |
|
|
|
|
|


