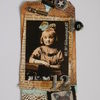
hard to believe we’re already in june – where does the time go seriously? i have to say, it’s a good feeling to be able to post this month’s tag on the 1st woohoo! i love the technique for this month’s tag and ranger has a cool new tool they released earlier this year to make it even easier. get ready to alter your photos distress style…
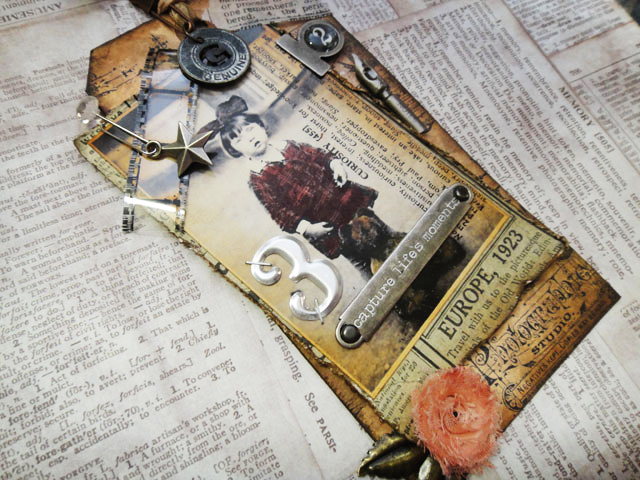 supplies: craft sheet, distress inks/vintage photo/walnut stain/fired brick/antique linen/black soot, ink blending tool, craft nibs, craft nib holder, distress stains/tattered rose/frayed burlap/picket fence, archival ink/jet black, multi medium, paint dabber/snow cap, mister, heat tool, #8 manila tag, trimmings, trinket pin, jump ring, muse token, file tabs, pen nib, gem clip, adornment, mini numeral, word band, long fasteners, foliage, film strip ribbon, tiny attacher, paper stash/destinations, tissue tape/symphony, cms037 stamps, paper distresser, scratch tool, black & white photo, adhesive
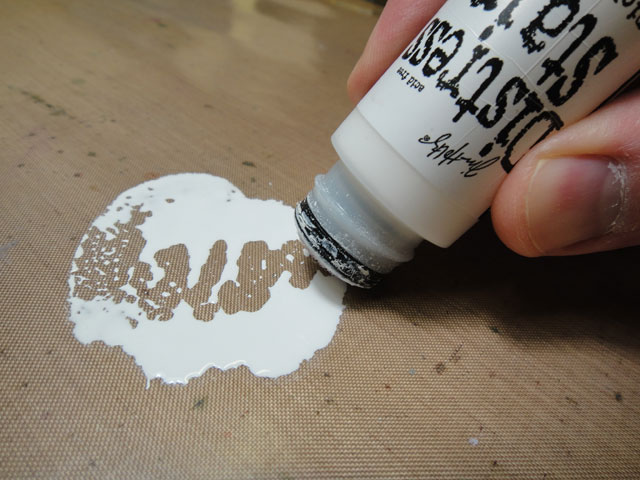 step 1: for background of tag, apply picket fence distress stain to craft sheet.
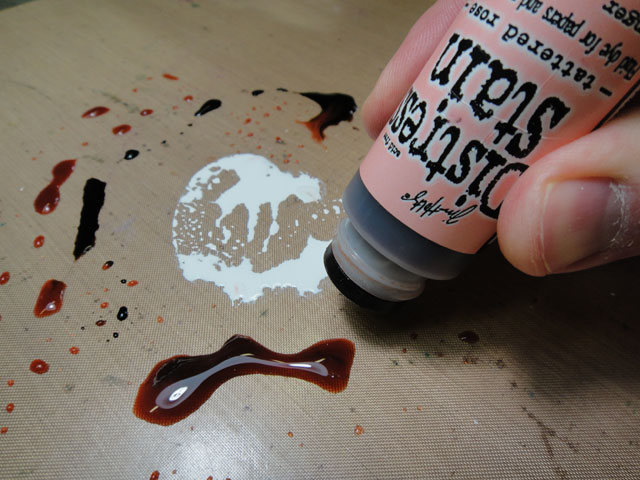 step 2: apply additional colors of distress stains around picket fence.
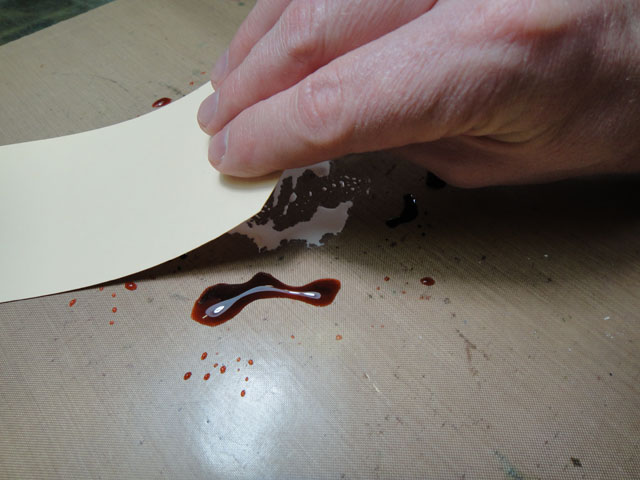 step 3: swipe tag through stains on craft sheet to create a marbleized effect.
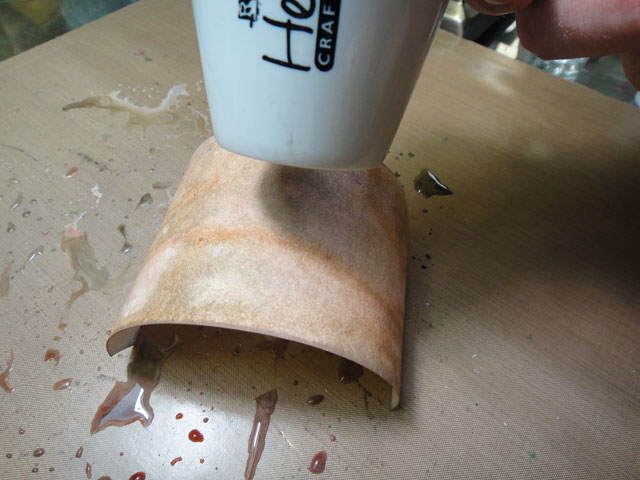 step 4: dry tag with heat tool.
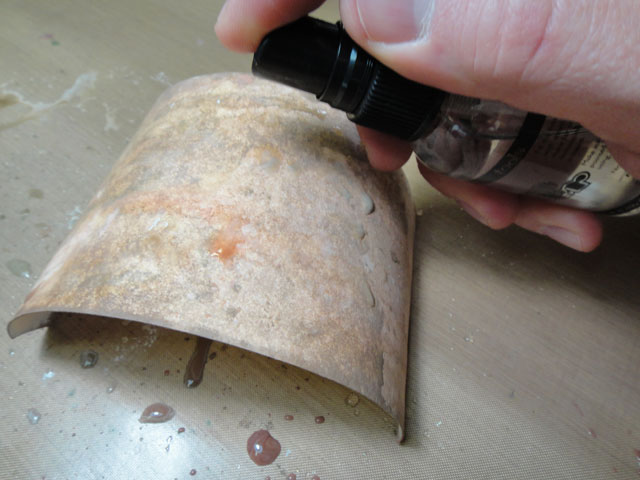 step 5: mist tag with water and dry again to mottle the background inks.
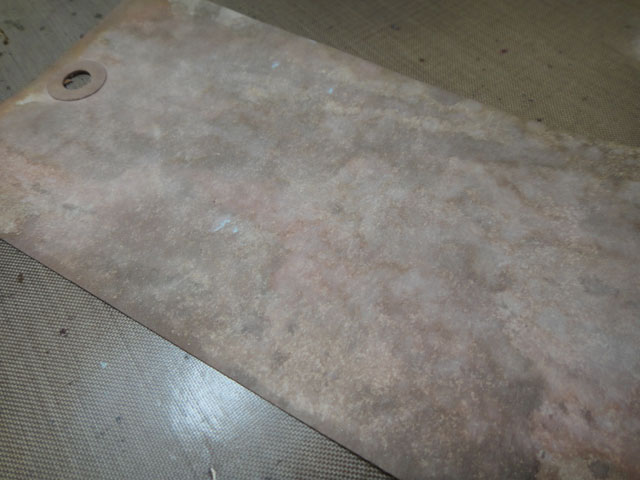 *this is the background effect this technique creates.
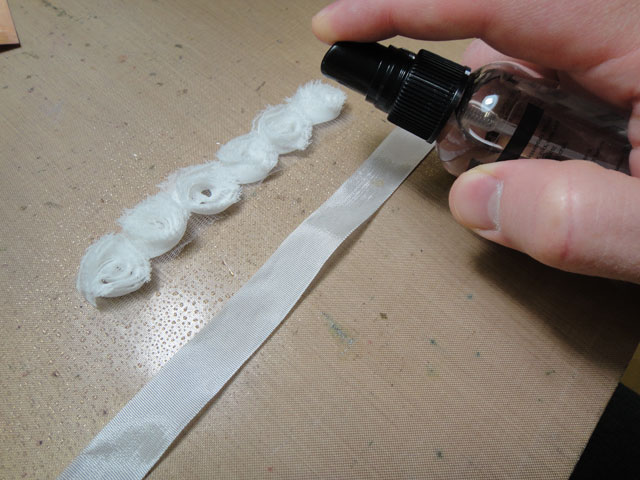 step 6: to colorize trimmings, cut a few pieces of ribbon and rose trim and mist with water from mister.
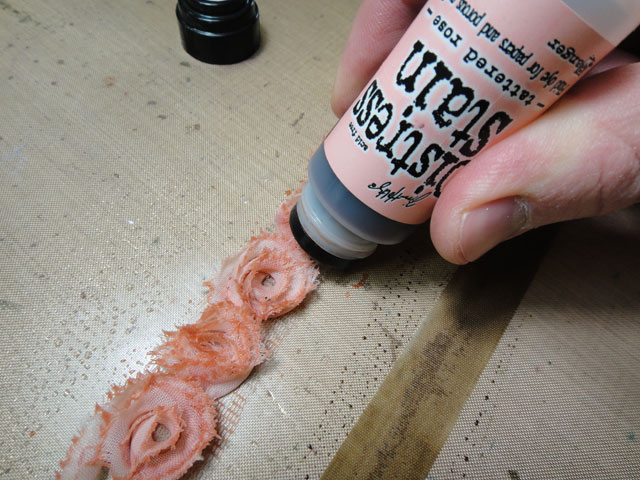 step 7: swipe distress stains directly over trims.
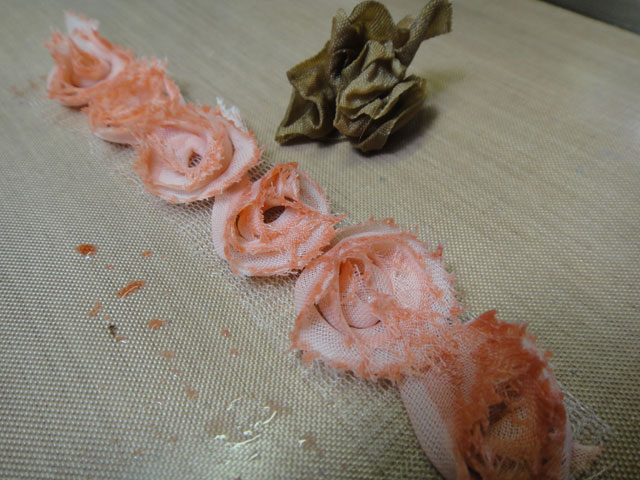 step 8: crumple crinkle ribbon into a ball and set both aside to dry.
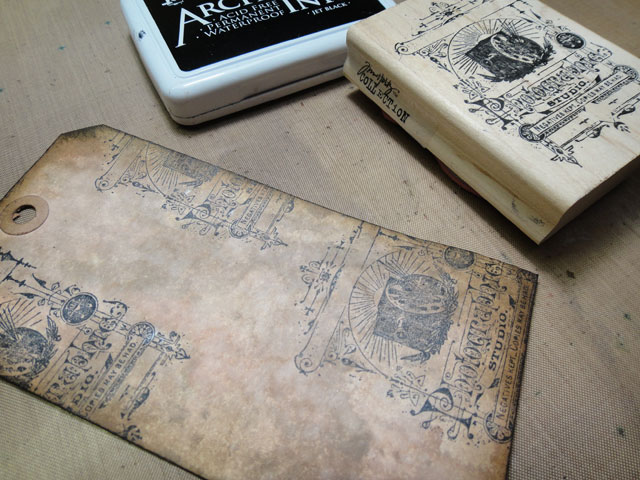 step 9: stamp background of tag using archival ink and create a random pattern.
step 10: next we’re going to tint a photo using distress inks. check out this video for the step by step tutorial.

*here’s a copy of the original photo – click to save and print.
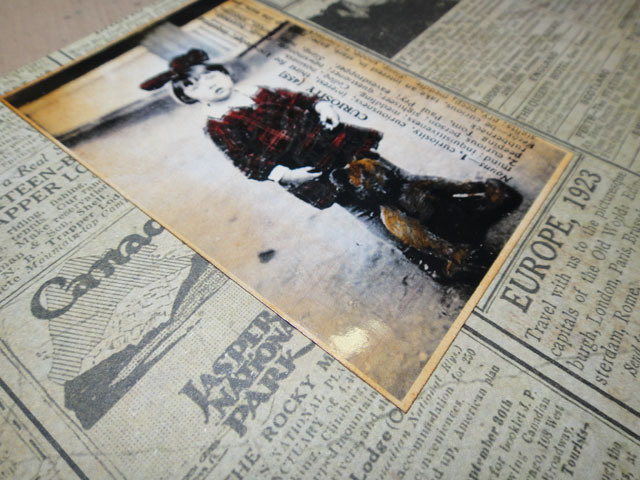 step 11: mount your tinted photo on to background paper and trim leaving a border.
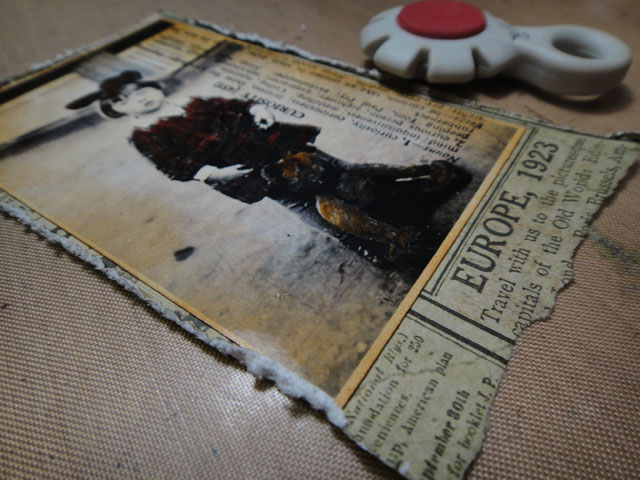 step 12: distress the edges with a paper distress and tear the bottom edge.
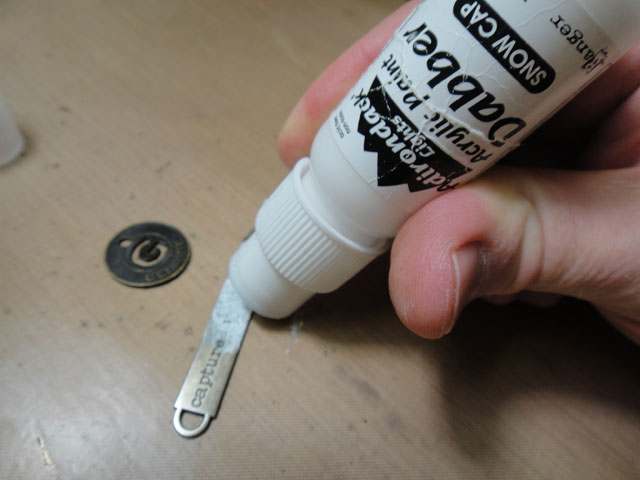 step 13: apply snow cap paint dabber over metal embellishments.
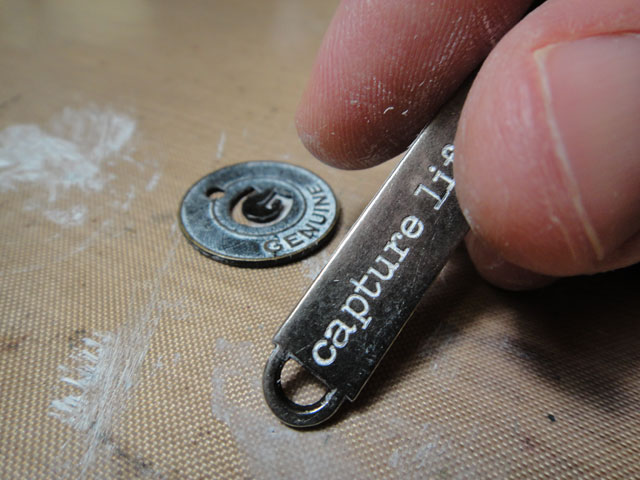 step 14: rub excess paint off of embellishments with your fingers leaving paint in the recessed areas.
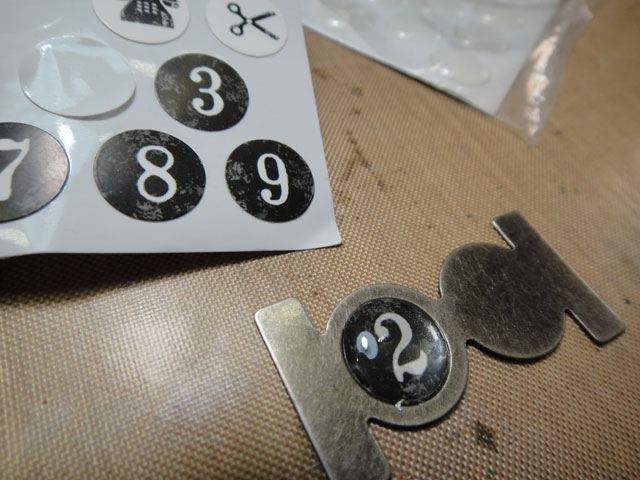 step 15: create file tab by layering the included image and epoxy stickers.
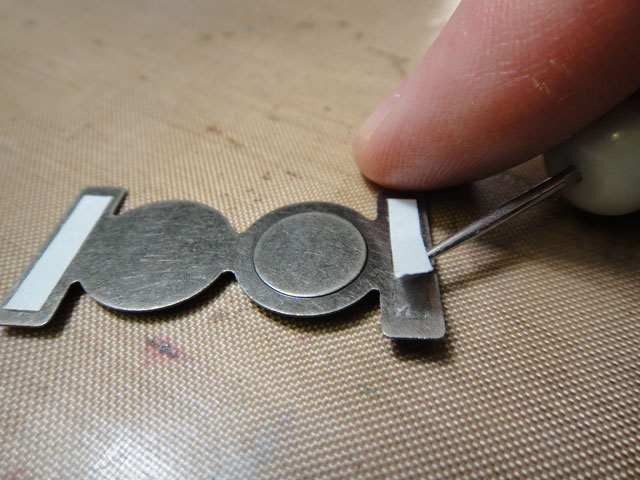 step 16: remove the pre-adhesive back tabs.
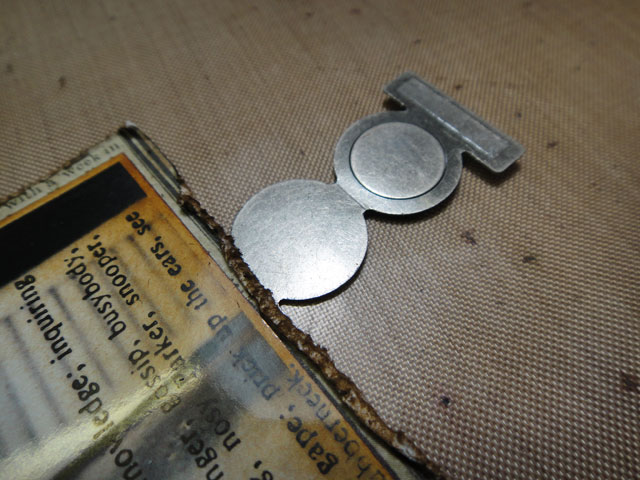 step 17: place the first tab behind the edge of the photo as shown.
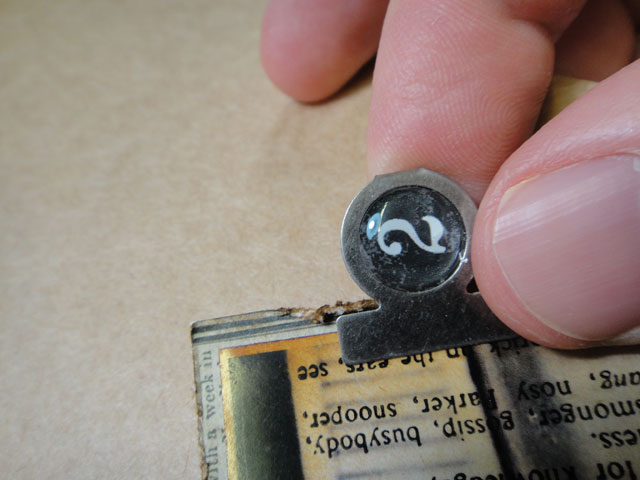 step 18: fold tab in half and press to secure top adhesive tab.
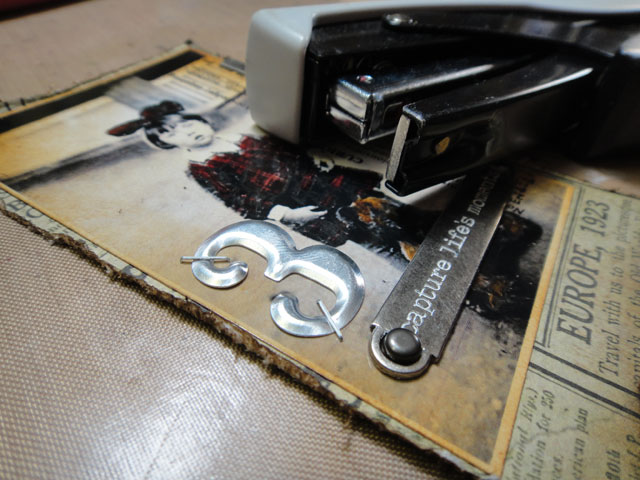 step 19: attach word band to photo with long fasteners and attach mini numeral using tiny attacher (the tiny attacher is a perfect way to secure across the mini numerals – cool huh?).
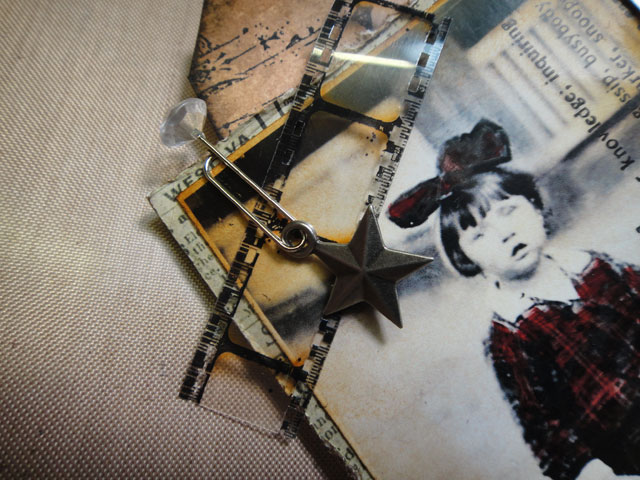 step 20: adhere photo to tag and clip a snip of film strip ribbon to photo using gem clip for a little bling.
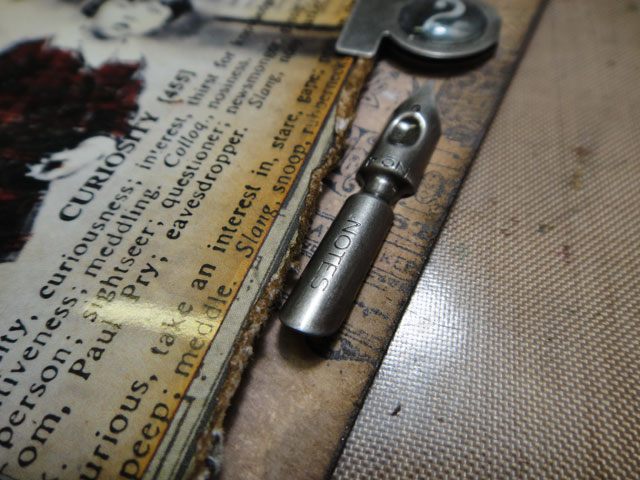 step 21: adhere pen nib to tag with multi-medium.
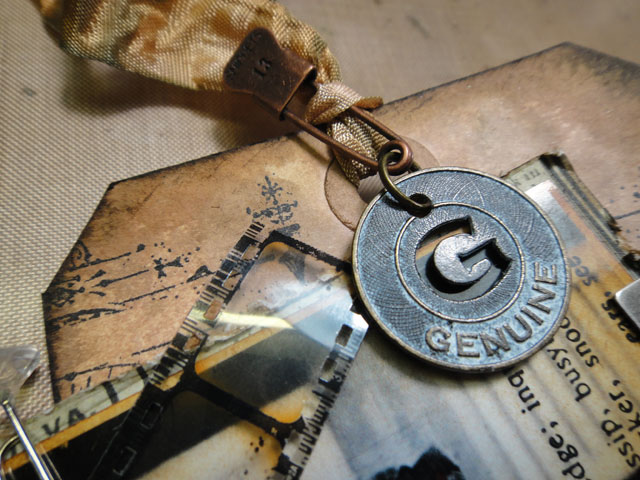 step 22: tie ribbon through top of tag and secure muse token with trinket pin and jump ring.
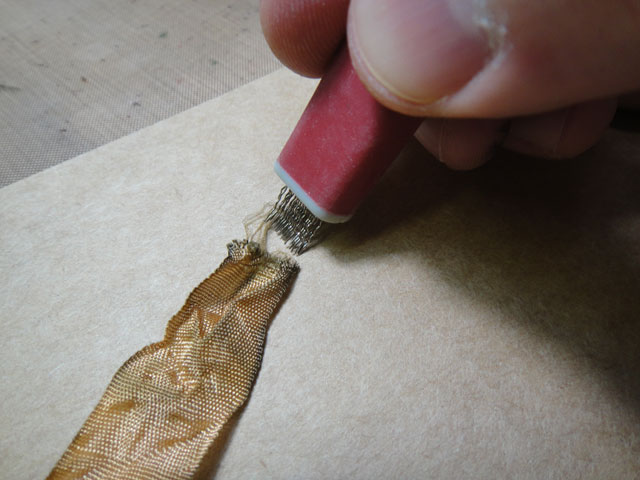 step 23: to tatter the edges of ribbon, i like to use my scratch tool from tonic (it’s a great way to fray the edges of die cut fabric pieces too).
 step 24: adhere a piece of tissue tape to the corner of the tag for a collage element.
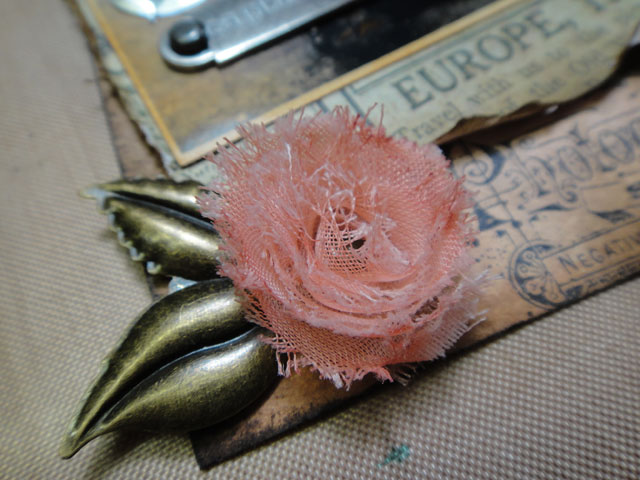
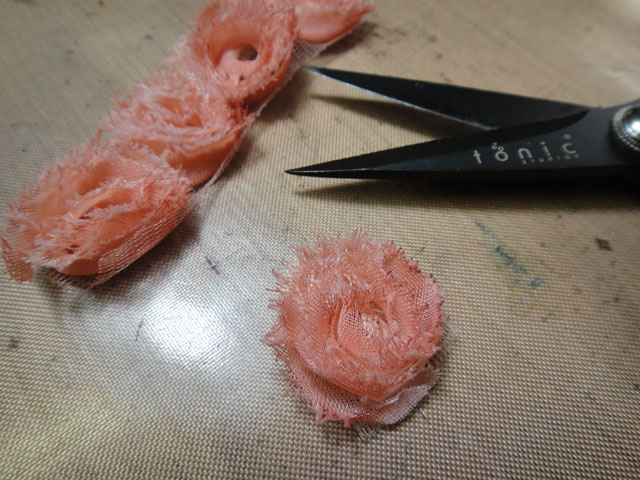 step 25: snip a piece of rose trimmings.
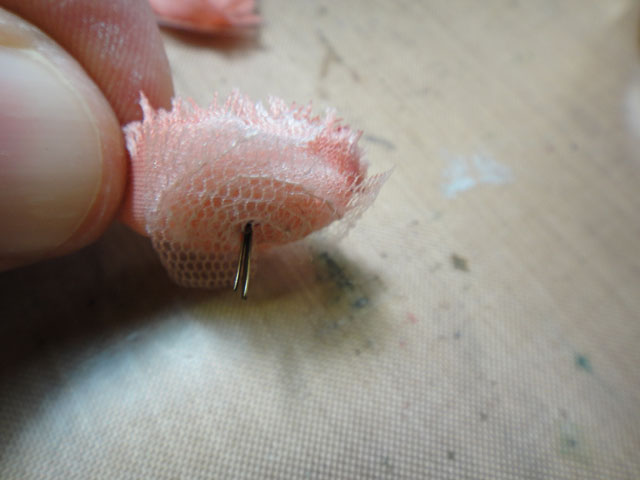 step 26: insert a long fastener through the center of the rose.
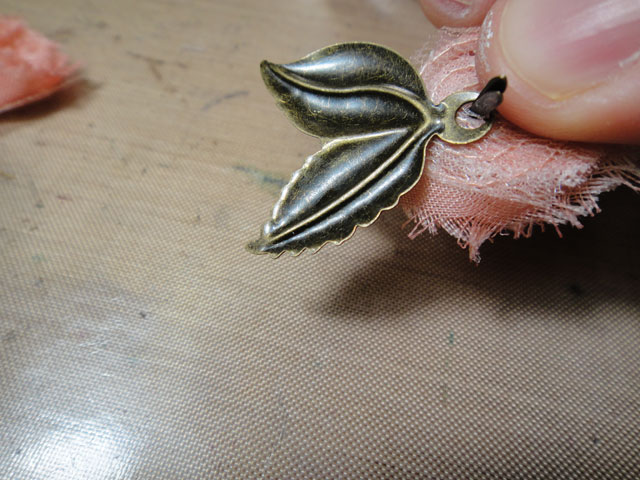 step 27: slide the leaves from the foliage over the fastener.
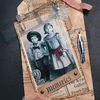
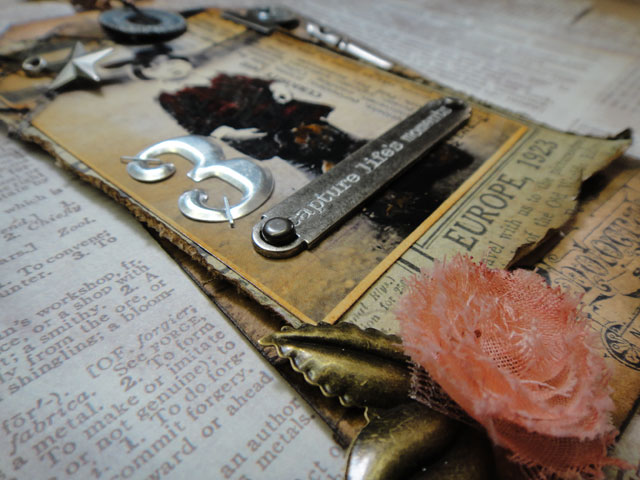 the details: i love the combination of textures on this tag including the photo, metals, and fabrics.
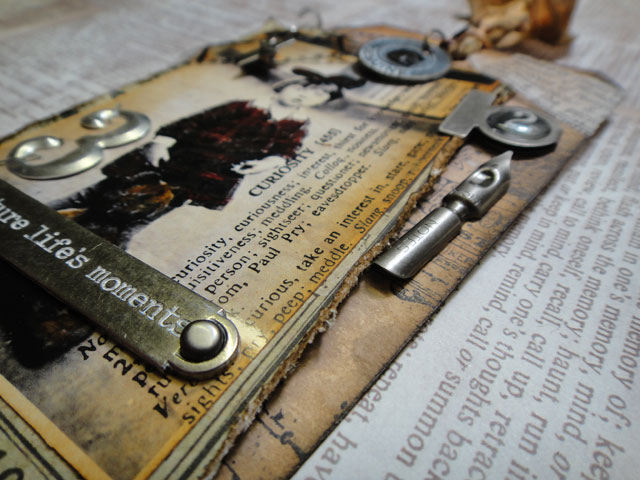 the details: creating the tattered edge of the tinted photo is also a great texture to add to this tag.
well i hope you try this cool way to tint photos adding this nostalgic look to your memories. this month’s tag is your opportunity to dig into your embellishment stash and (brace yourself) use them! lol… honestly, it’s so much fun to use a random assortment of trinkets and findings to create a wonderful finished collage styled tag. have fun with this one – i sure did…t!m
congrats to the winners from the may 12 tags of 2012 gallery posts. if you see your name below and it links to your tag, please contact mario@timholtz.com to claim your prize! (*note: we are leaving for australia on monday so if you claim your prize by sunday 6/3 it will ship before we leave otherwise it will not be sent until we return on 6/26)
1. BJ
2. Barbara Greve
3. Prickan
4. Jennifer Hawkins
5. Linda, the funkie junkie
6. Tracey ~ GardenOf
7. Miss Stamp Alot
8. Kimberly F
9. Pascale B.
10. Kate
11. nikita20
12. Kirstin Crossland
*be sure to check your local stores for these supplies or you can
click the links below to purchase online…
(SSS=simon says stamp / IE=inspiration emporium)
|
|
|
|
|
|
|
|
|
|
|
|
|
|
|
|
|
|
|
|
|
|
|
|
|
|
|
|
|
|
|
|
|
|
UPLOAD YOUR PROJECT: here's the place to share your own project inspired by this month's "12 tags of 2012" right here on my blog!
To Get Started:
1. click on the (add your link) button at the bottom of the post.
2. after you enter your info, click (next step) and you'll be able to select the photo you wish to display as a thumbnail.
*note:you may link from your blog or from a public hosting site. please only post your project photo which will appear in random order so be sure to upload it only once - thanks.
| | | | |
| | | | |
| | | | |
| | | | |
| | | | |
| | | | |
| | | | |
| | | | |
| | | | |
| | | | |
| | | | |
| | | | |
| | | | |
| | | | |
| | | | |
| | | | |
| | | | |
| | | | |
| | | | |
| | | | |
| | | | |
| | | | |
| | | | |
| | | | |
| | | | |
| | | | |
| | | | |
| | | | |
| | | | |
| | | | |
| | | | |
| | | | |
| | | | |
| | | | |
| | | | |
| | | | |
| | | | |
| | | | |
| | | | |
| | | | |
| | | | |
| | | | |
| | | | |
| | | | |
| | | | |
| | | | |
| | | | |
| | | | |
| | | | |
| | | | |
| | | | |
| | | | |
| | | | |
| | |
